

Introduction
This is a simple application for beginners that shows how to create an animated rotating rectangle on canvas using HTML5. We know that HTML 5 is the advanced version of HTML. Basically, HTML 5 can be used to develop 3D applications. This article is intended to help with the use of HTML5 tools to create an animated rotating rectangle on canvas application. <canvas> is an HTML element which can be used to draw graphics using scripting. It can be used to draw graphs to make photo compositions or do simple animations. The <canvas> element is a bitmap drawing API and once you have committed to a set of pixels you are stuck with them. Canvas is an important tag of a HTML 5 that is used to show the image and text in an HTML 5 application. I hope this article helps to create an animated rotating rectangle on canvas using HTML5 tools.
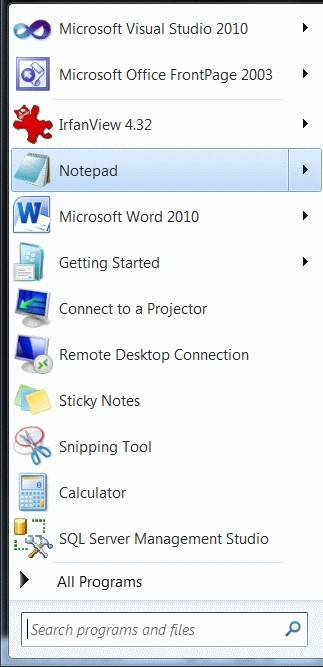
Step 1: First open a HTML editor such as Notepad.
- Open start->Notepad.
- The name of editor is "Rotation".
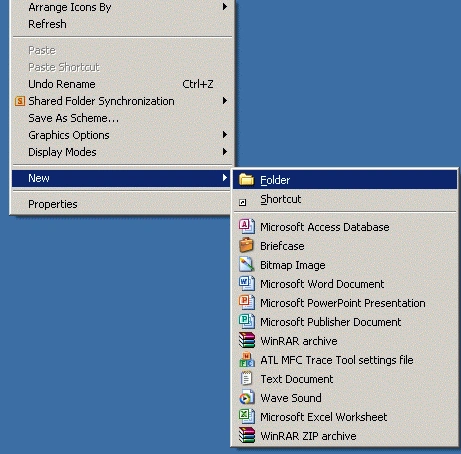
- Right-click on desktop->new->Folder.
- The name of the folder is "Sam".
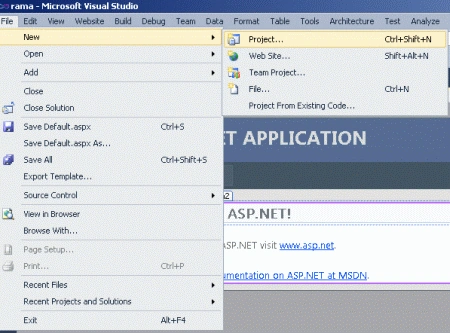
- Go to file -> New->Projects.
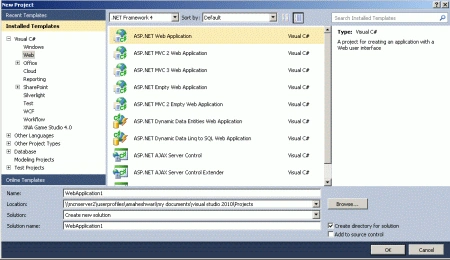
- Crete an ASP. NET Web Application.
- Name of "Rectengle.aspx".
- Right-click on Solution Explorer.
- Add->add new item->HTML form.
- The Name of the HTML form is "Animation.html".
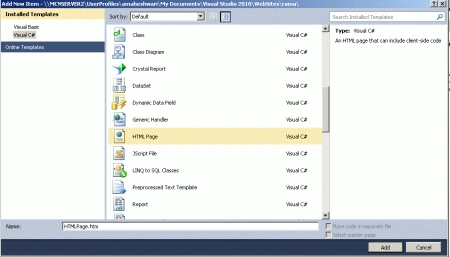
Code
- <style type="text/css">
- body
- {
- margin: 10px;
- padding: 10px;
- }
- #myCanvas
- {
- border: 1px solid #00ff99;
- background-color:Green;
- }
- </style>
Step 6: Now in this step we set a rectangle height width and set a color of a rectangle.
Code
- var BR = new Kinetic.Rect(
- {
- x: 50,
- y: 75,
- width: 100,
- height: 50,
- fill: "#ff66ff",
- stroke: "black",
- strokeWidth: 4
- });
- var YR = new Kinetic.Rect({
- x: 220,
- y: 75,
- width: 100,
- height: 50,
- fill: "#0000a0",
- stroke: "black",
- strokeWidth: 4,
- centerOffset: {
- x: 50,
- y: 25
- }
- });
- var RR = new Kinetic.Rect({
- x: 400,
- y: 75,
- width: 100,
- height: 50,
- fill: "#ff8080",
- stroke: "black",
- strokeWidth: 4,
- centerOffset: {
- x: -100,
- y: 0
- }
- });
Step 7: Now in this step we add a rectangle color on a layer.
Code
- L.add(BR);
- L.add(YR);
- L.add(RR);
- stage.add(L);
- stage.onFrame(function (frame)
- {
- BR.rotate(Math.PI / 100);
- YR.rotate(Math.PI / 100);
- RR.rotate(Math.PI / 100);
- L.draw();
- });
Step 8: The demo of complete application code is given below.
Code
- <html>
- <head>
- <title>Tom application</title>
- <style type="text/css">
- body
- {
- margin: 10px;
- padding: 10px;
- }
- #myCanvas
- {
- border: 1px solid #00ff99;
- background-color:Green;
- }
- </style>
- <script type="text/jscript" src="Scripts/JScript.js">
- </script>
- <script type="text/javascript">
- window.onload = function ()
- {
- var stage = new Kinetic.Stage("container", 600, 300);
- var L = new Kinetic.L();
- var BR = new Kinetic.Rect(
- {
- x: 50,
- y: 75,
- width: 100,
- height: 50,
- fill: "#ff66ff",
- stroke: "black",
- strokeWidth: 4
- });
- var YR = new Kinetic.Rect({
- x: 220,
- y: 75,
- width: 100,
- height: 50,
- fill: "#0000a0",
- stroke: "black",
- strokeWidth: 4,
- centerOffset: {
- x: 50,
- y: 25
- }
- });
- var RR = new Kinetic.Rect({
- x: 400,
- y: 75,
- width: 100,
- height: 50,
- fill: "#ff8080",
- stroke: "black",
- strokeWidth: 4,
- centerOffset: {
- x: -100,
- y: 0
- }
- });
- L.add(BR);
- L.add(YR);
- L.add(RR);
- stage.add(L);
- stage.onFrame(function (frame)
- {
- BR.rotate(Math.PI / 100);
- YR.rotate(Math.PI / 100);
- RR.rotate(Math.PI / 100);
- L.draw();
- });
- </script>
- </head>
- <body onmousedown="return false;" bgcolor="#400000">
- <h1 style="background-color: #8080FF">Tom developed a Rotated Rectangle</h1>
- <div id="container">
- </div>
- </body>
- </html>
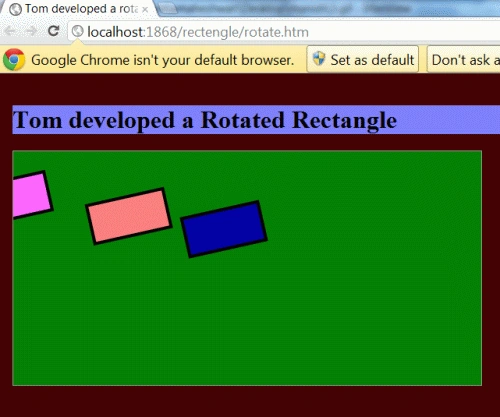
Step 9: Press Ctrl+ F5 to run the code in a browser.
Output
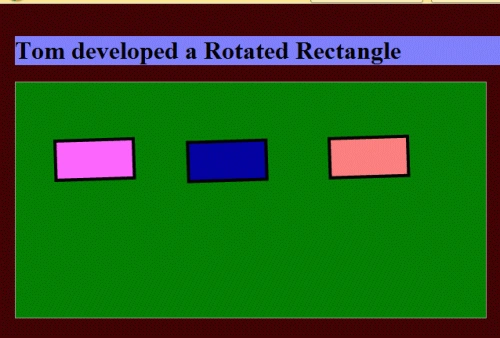
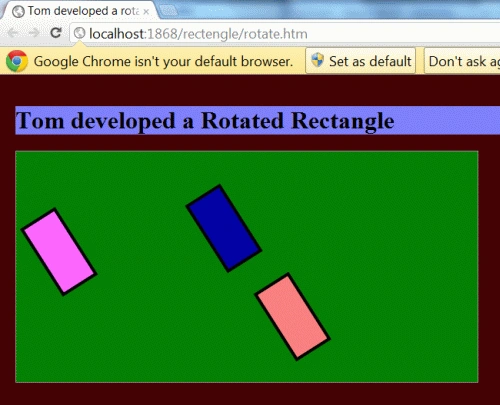
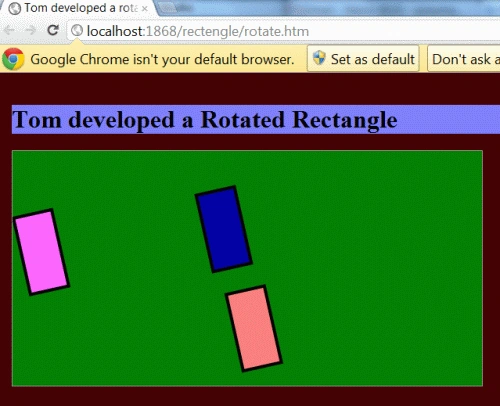
Resources
Here is some useful resources
Join the conversation! Your thoughts help the community grow.