

Introduction
Importing data from Excel into SQL Server is a common task for developers, analysts, and database administrators. Whether you're dealing with bulk uploads, legacy data, or reporting, SQL Server provides a built-in Import Wizard to simplify the process.
In this guide, we’ll walk you through how to import Excel data into SQL Server step by step — with screenshots, a sample Excel file structure, and key tips to avoid common errors.
example Sample Excel Data:

Make sure:
The data is in the first worksheet.
The first row contains column headers.
Step-by-Step Guide: Import Excel to SQL Server
Step 1: Open SQL Server Management Studio (SSMS)
Launch SSMS and connect to your SQL Server instance.
Right-click on the target database (e.g.,
MyDatabase) and choose: Tasks → Import Data...

Step 2: Choose Data Source (Excel)
In the SQL Server Import and Export Wizard, under Data Source, select: Microsoft Excel
Browse to select your
.xlsxfile.Choose the correct Excel version (Excel 2007 or later).
Tick the box: “First row has column names”.


Step 3: Choose Destination
Under Destination, choose:SQL Server Native Client
Provide:
Server name
Authentication type
Database name (e.g.,
MyDatabase)


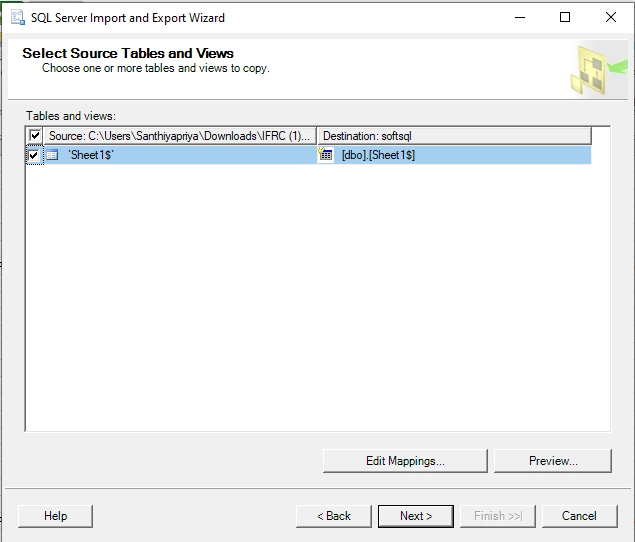
Step 4: Select Source Tables and Views
You’ll see a list of sheets (e.g.,
Sheet1$).Tick the sheet to import (e.g.,
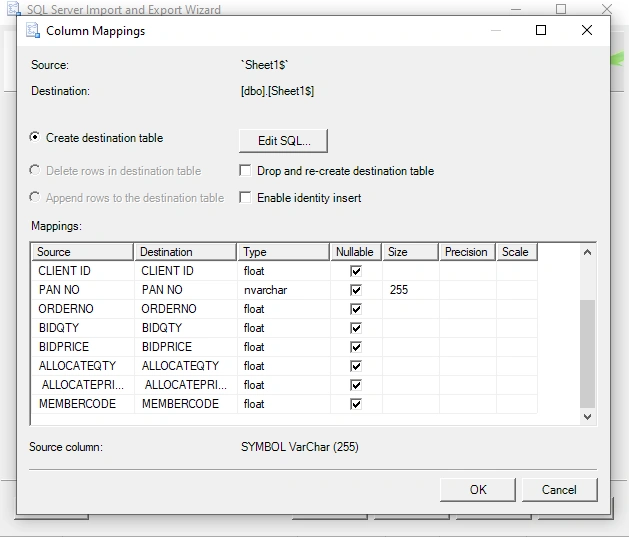
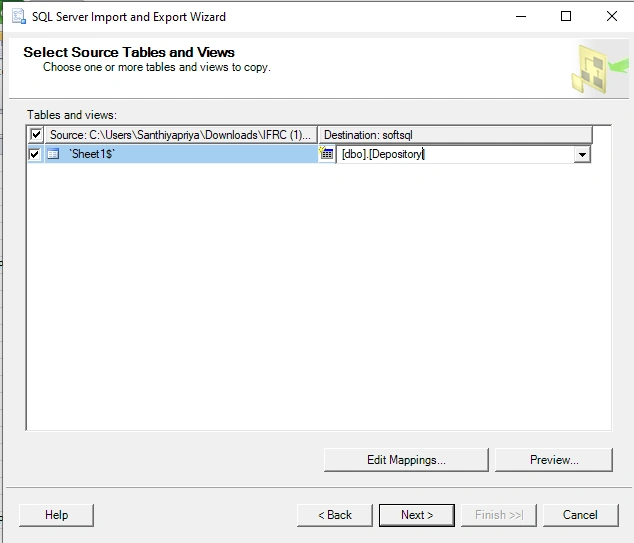
Sheet1$).You can click “Edit Mappings” to:
Modify column data types
Change the target table name (e.g.,
dbo.Employees)
Step 5: Review and Run the Import
Click Next, then Finish.
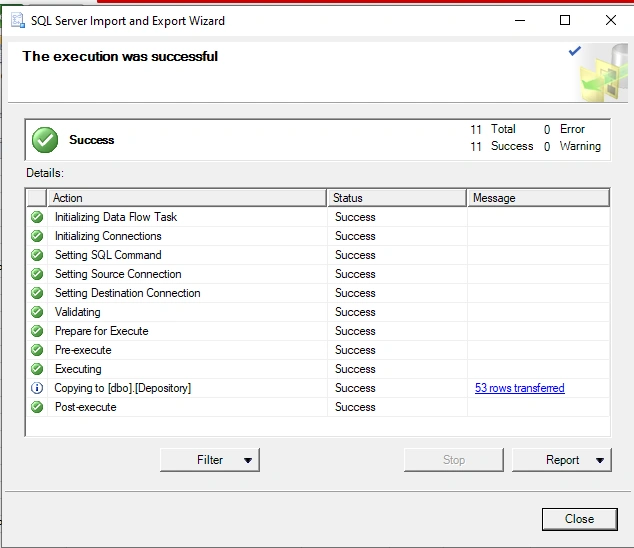
The import will run and display a summary.
If successful, you’ll see: “X rows transferred successfully.”
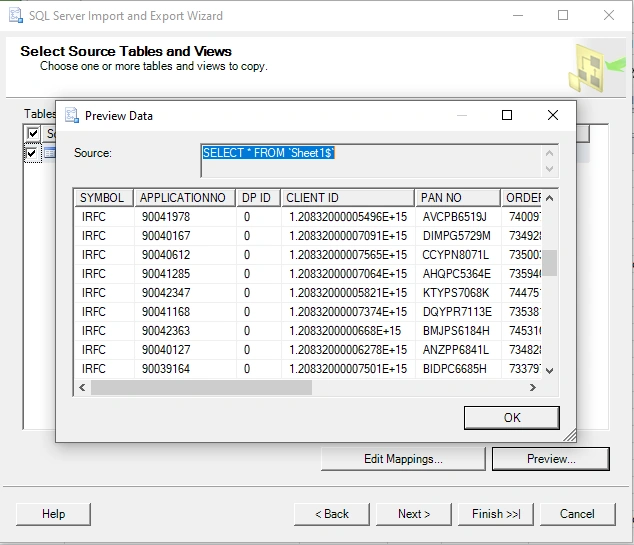

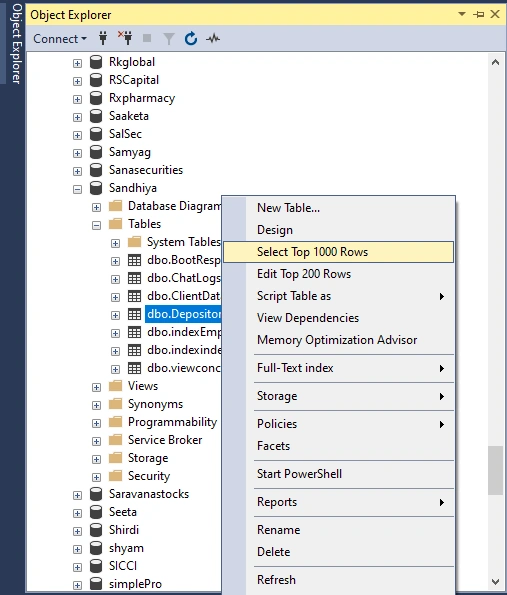
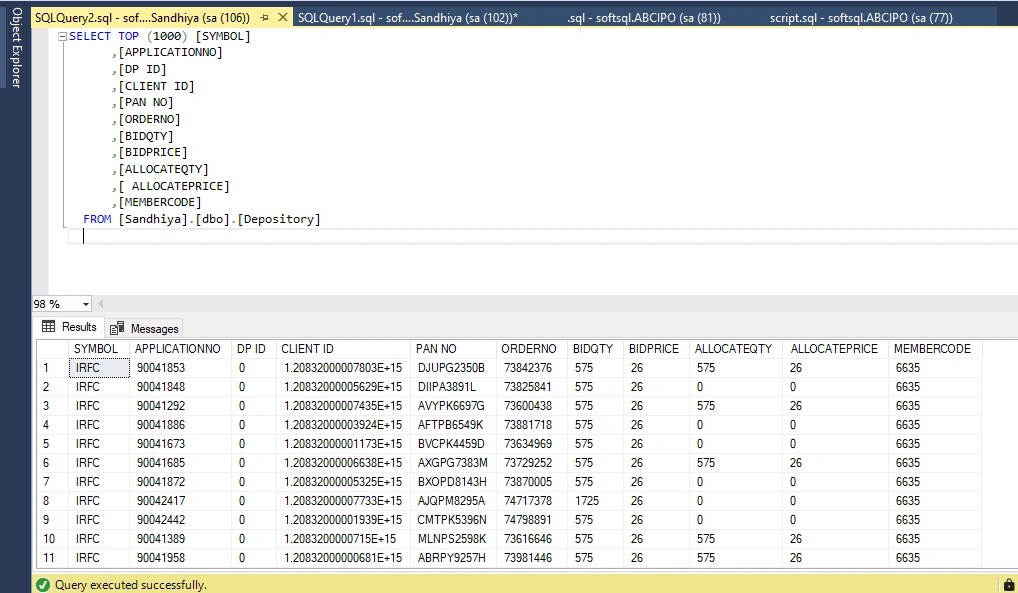
Verify Imported Data in SQL Server
Run this query in your SQL database:
Join the conversation! Your thoughts help the community grow.