

Introduction
In this post, we will see how to host a web app or website, using Visual Studio. For hosting a website we are required to use an ftp client, like Filezilla.
Requirements
- Visual Studio 2015
- Azure Subscription
- Website Template or your Website
Steps to host a website using Visual Studio developer tool in Azure Portal:
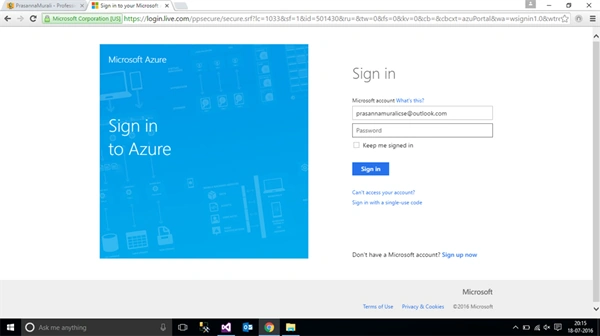
Step 1: Log into Microsoft Azure Portal. Click here for Login.
Step 2: In the dashboard, click New ->Mobile+Web ->Web Apps.
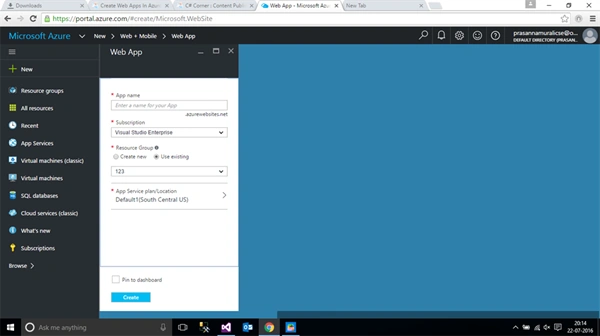
Step 3: Create a Web app using the Web app creation wizard, by giving App Name and Resource group. Click on Create button.
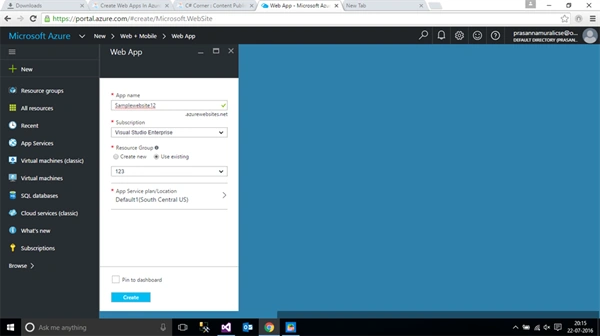
Step 4: It takes some time in the Azure Portal. Finally, the Web App is created.
In Visual Studio:
Step 1: Open Visual Studio 2015 developer tool.
Step 2: In Visual Studio, navigate to File -> Open Project -> Website (Shift+Alt+O).
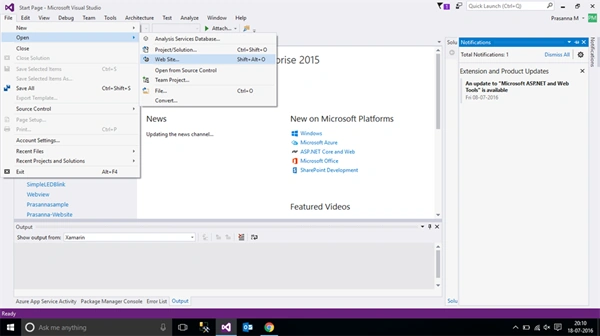
Step 3: Again, the browse file will pop up. In that, select the desired location of the website and click Open.
Step 4: Finally, the website is opened in Visual Studio. In that, right-click on the project name in Solution Explorer and click Publish Web App.
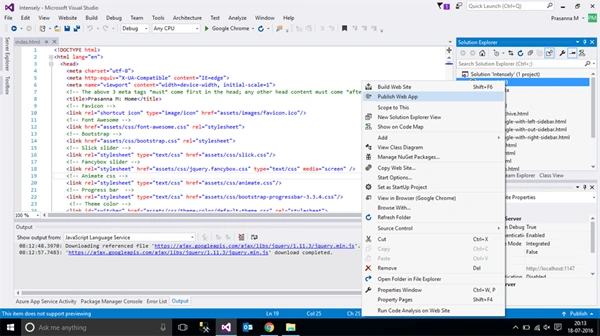
Step 5: Download Publish Profile for your Account and click import option.
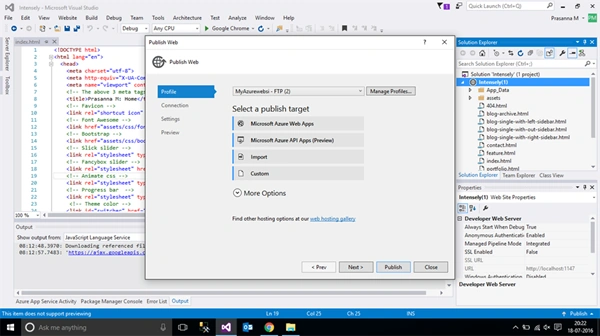
Step 6: Click Next after you have selected your Publish profile. It automatically imports the publish method, Server name, FTP username, and the Password.
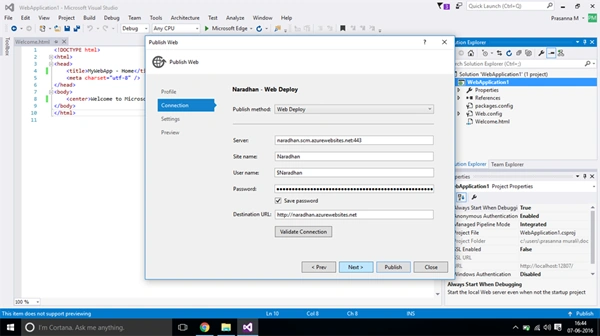
Step 7: In the settings tab, click Next and then Publish.
Step 8: It starts the uploading process. Finally, the website is available in the Configured URL.

kalu singh raoPosted Jul 25, 2016, 8:11 AM
Good one