

If the workflows are not getting attached to a specific list or library while developing SharePoint 2010 workflow in SharePoint Designer 2013, or if you wish to export and import Designer Workflow from one site to another site in a site collection, then follow the below steps:
Workflow (WF) Export and Import process
Export Process
Step 1
Export the source Workflow which you want to attach on another Site’s List.
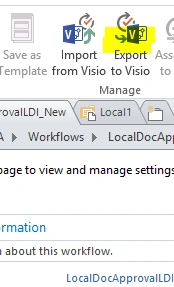
Step 2
Rename the downloaded file and append it with .zip extension.

Step 3
Open the Zip folder and delete “Workflow.xoml.wfconfig.xml”.
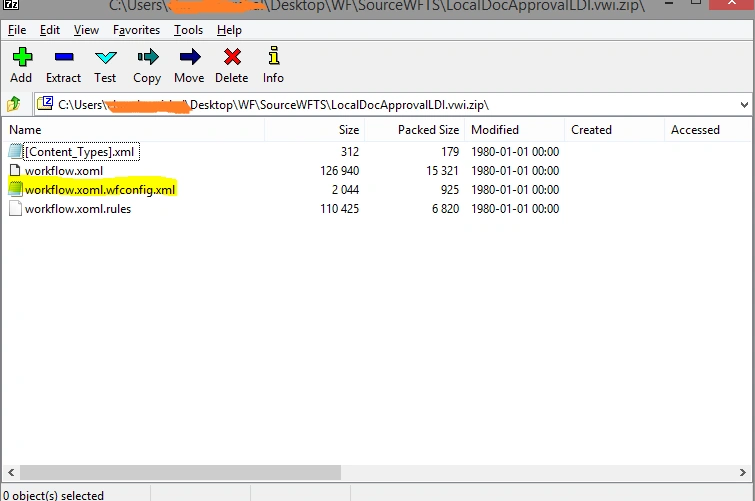
Step 4
Rename the file again. Remove “.zip”.

Import Process
Step 1
Import the Source Workflow from the destination site.
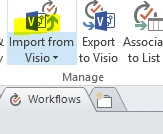
Step 2
Specify the List/library name.
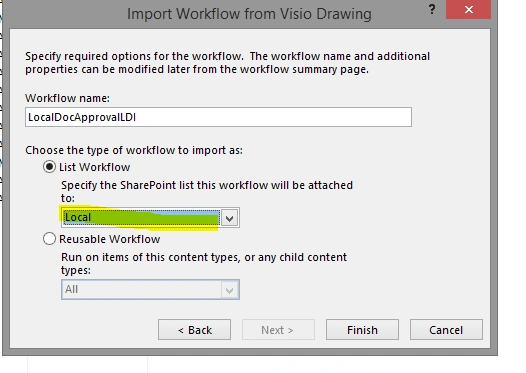
Step 3
Save (do not publish at this step).
Step 4
Update the approver list; i.e., update the objects in your workflow which you want in your new workflow.
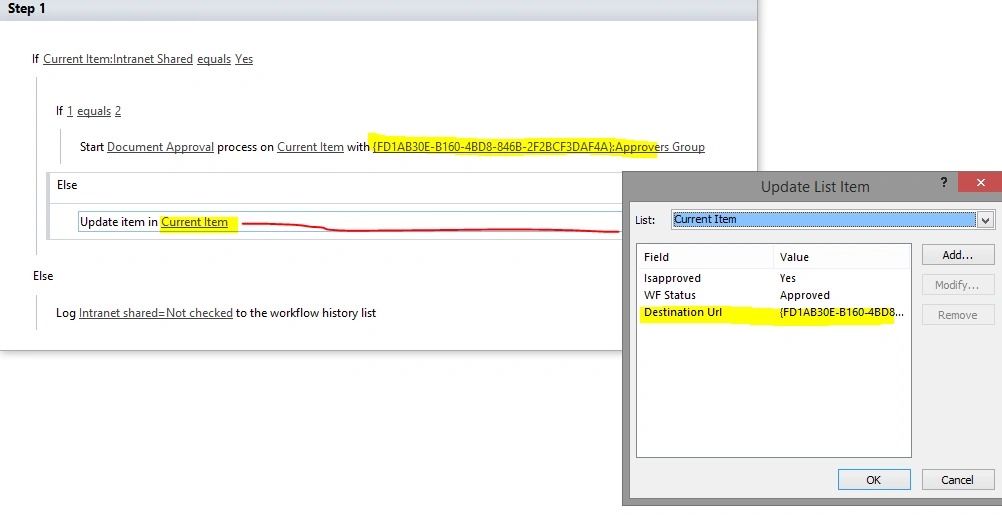
Step 5
Save and Publish.
Step 6
At this stage, the workflow has no Task and History list associated with it.
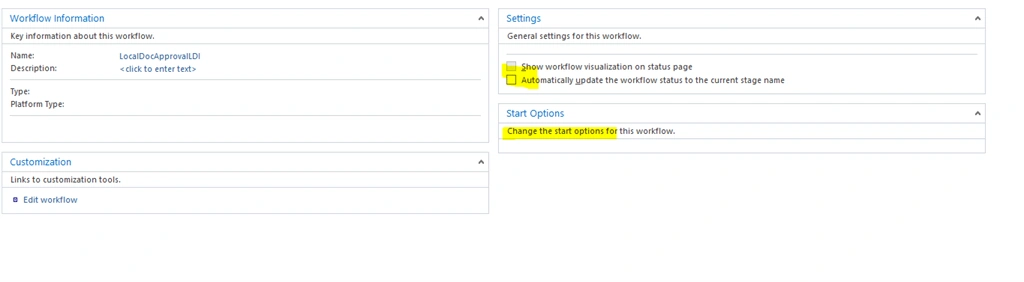
Step 7
Close the Designer because task/history list association and start option are disabled.
Step 8
Open designer once again. Now, you can see that these options are visible.
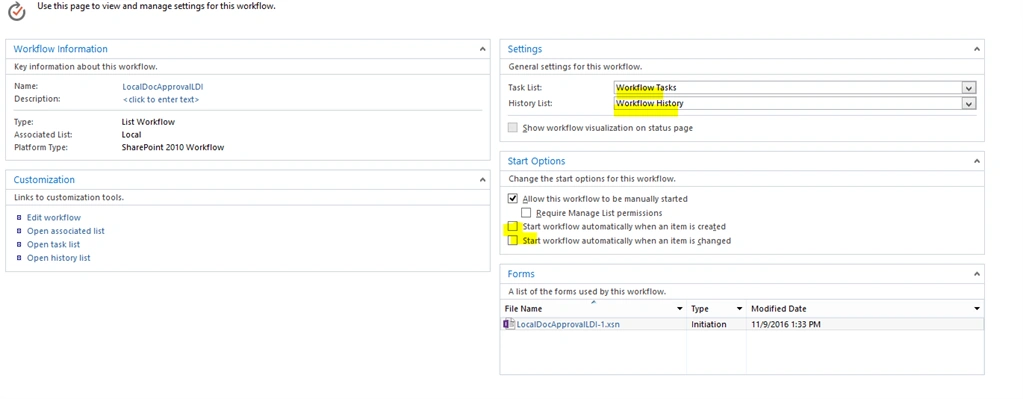
Step 9
Configure Workflow Settings and Save, then Publish.
NOTE - Microsoft Visio installation is not required for this export-import process.
Aman ChuttaniPosted Mar 9, 2020, 11:37 PM
This is great Vipul! Kudos to your blog. I've been struggling with this for last couple of days.
Vijila VPosted Dec 16, 2019, 3:21 AM
Thanks for the workaround, it saved loads of time!
Vijay BhaskarPosted Oct 4, 2017, 5:54 AM
Is there any way to create powershell script for this for one click deployment?
Vijay BhaskarPosted Oct 4, 2017, 5:53 AM
Its worked wonderful to me.