

Introduction
AngularJs is a client-side TypeScript based framework which is used to create dynamic web applications. By using this we can create Single Page Application(SPA). Currently this is the trend.
AngularJS's data binding and dependency injection eliminates much of the code you would otherwise have to write. And it all happens within the browser, making it an ideal partner with any server technology.
Now we will learn how we can configure AngularJs and how can we work with VS Code.
Step 1
Goto - https://nodejs.org/
Click on 15.8.0 Current, it will automatically download “node-v15.8.0-x64.msi”
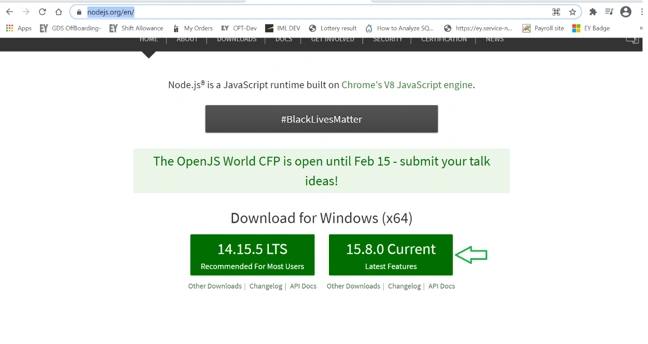
Right click “node-v15.8.0-x64.msi” and select Run as Administrator. Otherwise if your account does not have admin access, it won’t allow it to install.
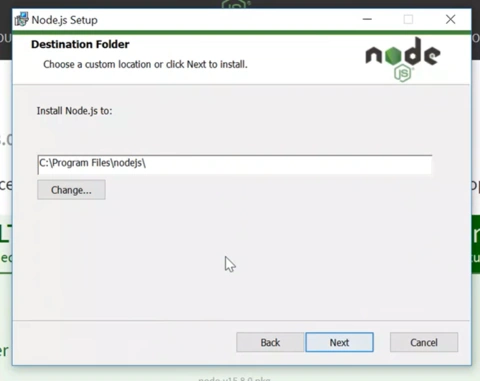
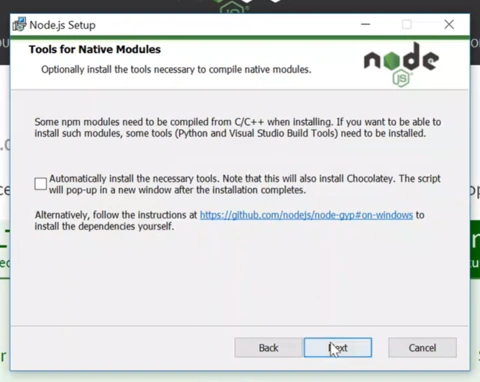
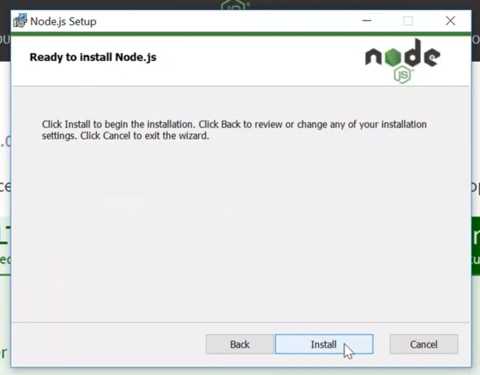
Step 2 - Installation - use the default settings
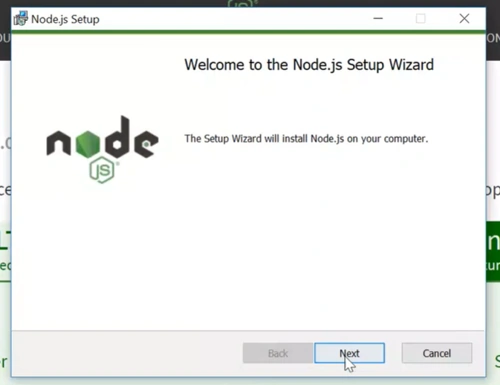 |
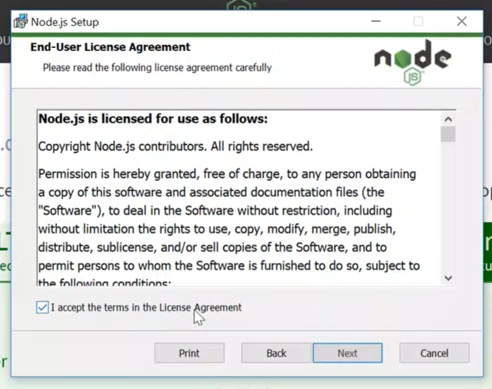 |
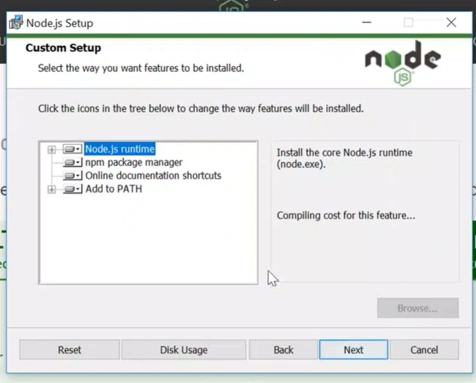 |
 |
 |
 |
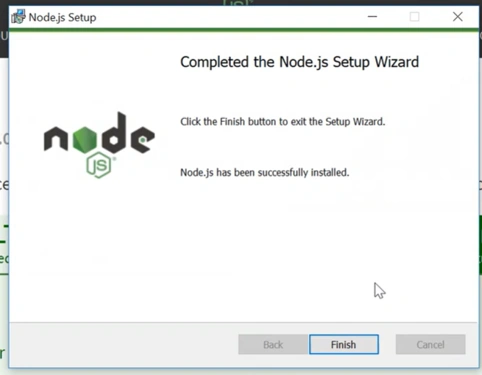 |
It will take a while to install it.
Step 3 - Search for Windows PowerShell
Open Windows Powershell
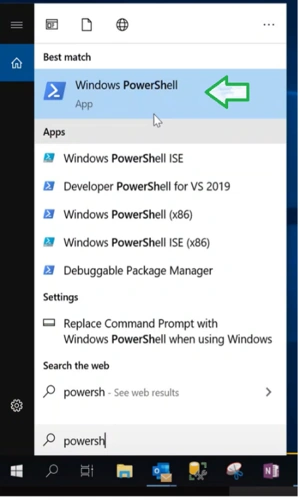
In Powershell window, type:
node --version for checking Node version (installed version is v15.8.0)
npm --version for checking node package manager version (current version see in the below screen is 7.5.1)
Angular CLI will not work with npm 7.5.1 (Angular CLI is not upgrade npm version to 7).So we need to downgrade to 6.0
The following command will downgrade npm versionnpm i -g npm@6
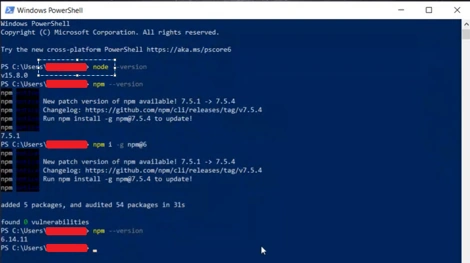
Step 4 - Close the PowerShell and open new PowerShell to install Angular CLI
Use this command npm i g @angular/cli
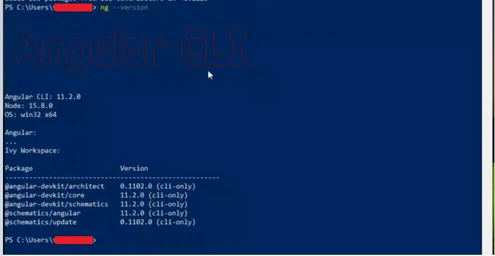
Give "N" for the above question
Once installation is completed run ng --version, to check the Angular CLI version
Step 5 - Installing Visual Studio Code
It is a free editor, this is also an IDE.
Go to here.
Click on Windows - button, will download VSCodeUserSetup-x64-1.53.2.exe
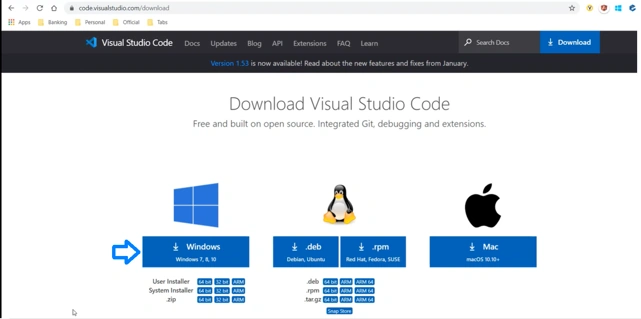
Double click VSCodeUserSetup-x64-1.53.2.exe and install VS Code
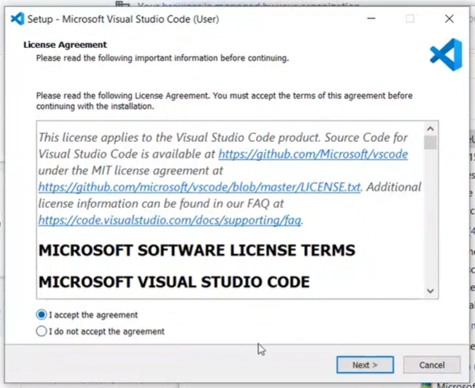 |
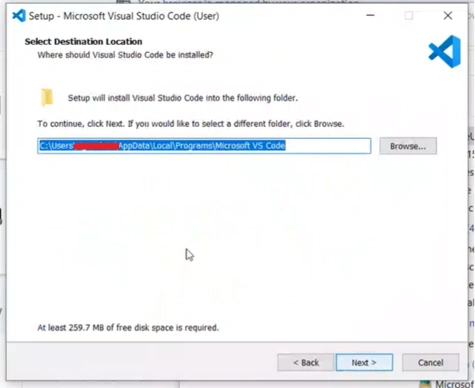 |
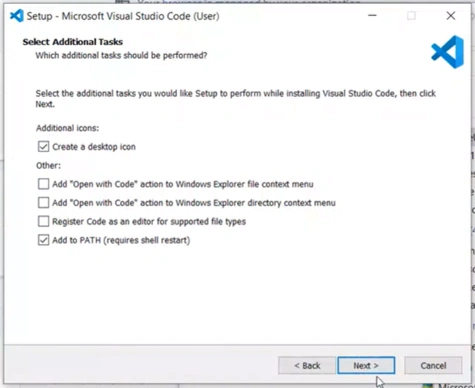 |
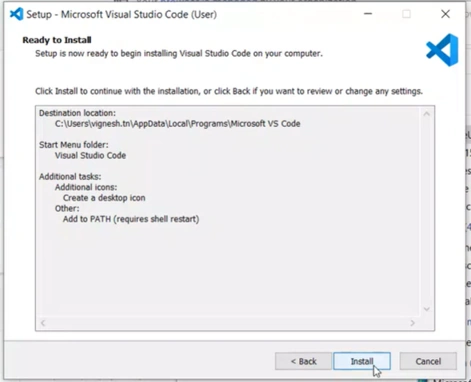 |
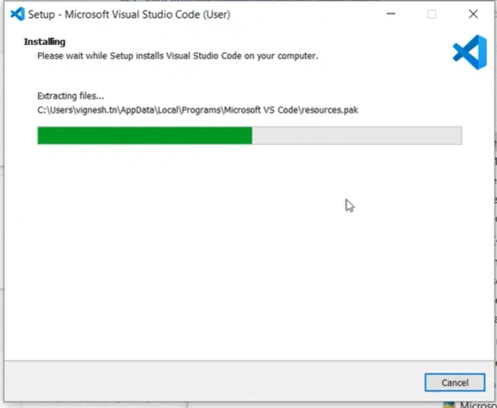 |
Step 6 - Open VS Code
Goto Terminal > New Terminal (Ctrl + `)
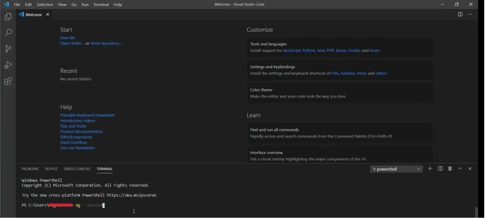
Type : ng --version. If correctly installed all packages (below screenshot), then u will get version. Otherwise you will get this error :
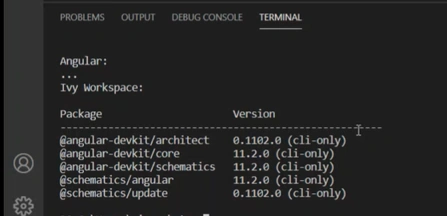
Step 7 - Create new project
Create a new folder, I created folder named "Angular"
Open Windows PowerShell
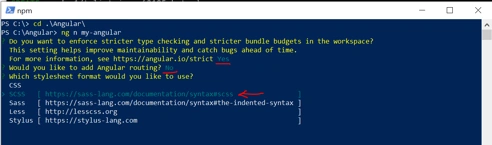
Use ng n my-angular to create new project
Instead of “n”, we can use “new” keyword also. my-angular is the project name I choose.
Once we press enter, we will ask the following questions:
Require more strict type checking..., please give Y
Would you like to add Angular routing, please select N
Press down arrow to select stylesheet as “SCSS”
It will create Project folder structure and it will install all packages from npm. It will take some time to create project.
Different ways to open the project in VS Code are:
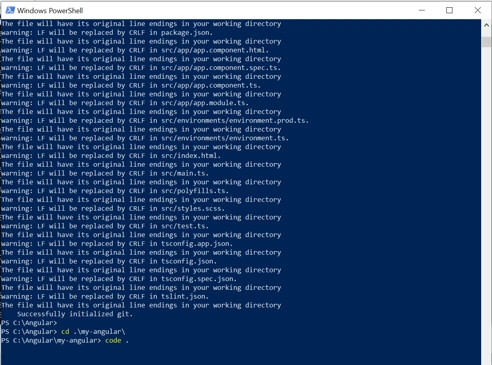
- PS C:\Angular> code .\my-angular\
- PS C:\Angular\my-angular > code.
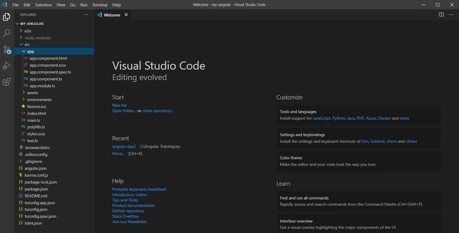
From VS Code
- File > Open Folder > my-angular
Susan MurrayPosted Apr 1, 2021, 2:59 PM
It was interesting
Hamid KhanPosted Feb 26, 2021, 7:59 PM
Very good.............