

Introduction
This article demonstrates how to navigate to modal pages. A modal page can be any of the page types (eg.-content page) supported by Xamarin.Forms. To display a modal page, the application will push it onto the navigation stack where it becomes an active page.
This article demonstrates how to navigate to modal pages. A modal page can be any of the page types (eg.-content page) supported by Xamarin.Forms. To display a modal page, the application will push it onto the navigation stack where it becomes an active page.
Let's start!
Step 1
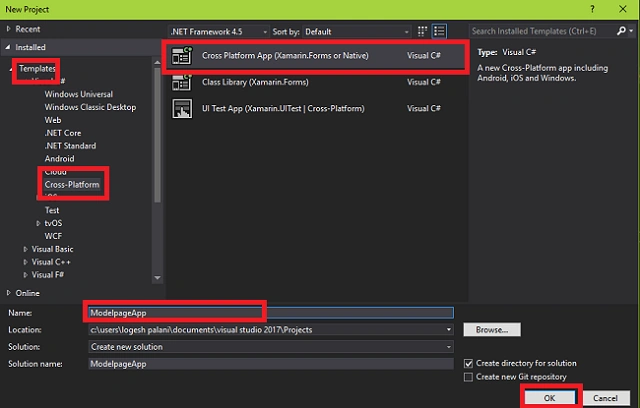
Click File >> New >> Project >>Visual C# >> Cross-Platform(Xamarin.Forms or Native) >> give project a name and location. Then, click OK.
Click File >> New >> Project >>Visual C# >> Cross-Platform(Xamarin.Forms or Native) >> give project a name and location. Then, click OK.
Step 2
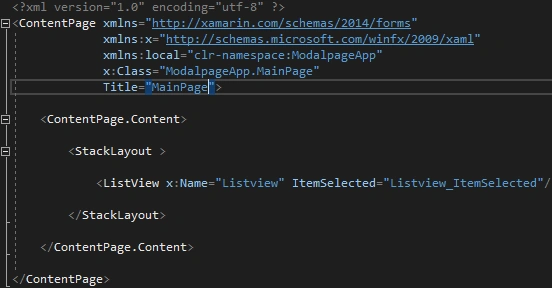
Now, click open Mainpage.xaml and insert the below-given code. For that, go to Solution Explorer >> Modal page (PCL) >> Mainpage.xaml.
Next, insert the toolbar items of ListView to display page names and its clicked events to navigation between the pages.
Now, click open Mainpage.xaml and insert the below-given code. For that, go to Solution Explorer >> Modal page (PCL) >> Mainpage.xaml.
Next, insert the toolbar items of ListView to display page names and its clicked events to navigation between the pages.
- <?xml version="1.0" encoding="utf-8" ?>
- <ContentPage xmlns="http://xamarin.com/schemas/2014/forms"
- xmlns:x="http://schemas.microsoft.com/winfx/2009/xaml"
- xmlns:local="clr-namespace:ModalpageApp"
- x:Class="ModalpageApp.MainPage"
- Title="MainPage">
- <ContentPage.Content>
- <StackLayout >
- <ListView x:Name="Listview" ItemSelected="Listview_ItemSelected"/>
- </StackLayout>
- </ContentPage.Content>
- </ContentPage>
Step 3
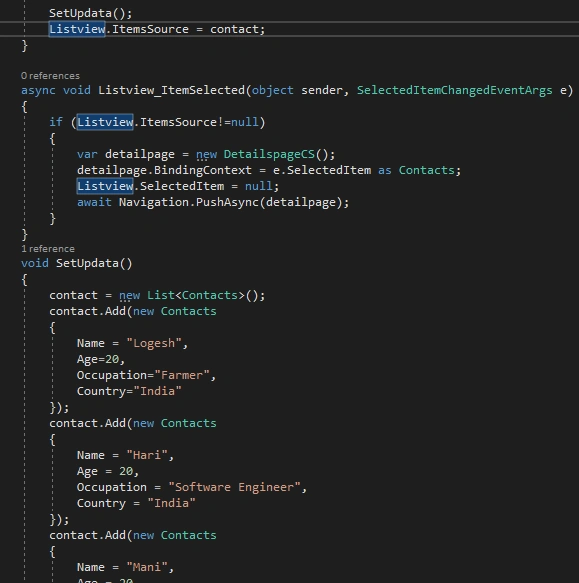
Then, open Solution Explorer >>Modalpages(PCL) >>Mainpage.xaml.cs page and double click to open the design view. Here is the code for this page.
Then, open Solution Explorer >>Modalpages(PCL) >>Mainpage.xaml.cs page and double click to open the design view. Here is the code for this page.
- using System;
- using System.Collections.Generic;
- using System.Linq;
- using System.Text;
- using System.Threading.Tasks;
- using Xamarin.Forms;
- namespace ModalpageApp
- {
- public partial class MainPage : ContentPage
- {
- List<Contacts> contact;
- public MainPage()
- {
- InitializeComponent();
- SetUpdata();
- Listview.ItemsSource = contact;
- }
- async void Listview_ItemSelected(object sender, SelectedItemChangedEventArgs e)
- {
- if (Listview.ItemsSource!=null)
- {
- var detailpage = new DetailspageCS();
- detailpage.BindingContext = e.SelectedItem as Contacts;
- Listview.SelectedItem = null;
- await Navigation.PushAsync(detailpage);
- }
- }
- void SetUpdata()
- {
- contact = new List<Contacts>();
- contact.Add(new Contacts
- {
- Name = "Logesh",
- Age=20,
- Occupation="Farmer",
- Country="India"
- });
- contact.Add(new Contacts
- {
- Name = "Hari",
- Age = 20,
- Occupation = "Software Engineer",
- Country = "India"
- });
- contact.Add(new Contacts
- {
- Name = "Mani",
- Age = 20,
- Occupation = "Farmer",
- Country = "India"
- });
- contact.Add(new Contacts
- {
- Name = "Guna Seker",
- Age = 20,
- Occupation = "Farmer",
- Country = "India"
- });
- contact.Add(new Contacts
- {
- Name = "Palani",
- Age = 20,
- Occupation = "Farmer",
- Country = "India"
- });
- contact.Add(new Contacts
- {
- Name = "Laxman",
- Age = 30,
- Occupation = "Driver",
- Country = "India"
- });
- }
- }
- }
Step 4
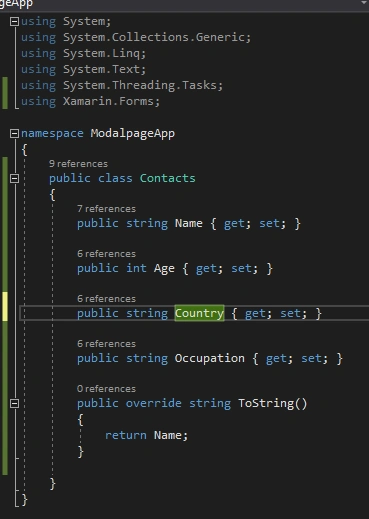
Now, create a class named Contacts.cs. For that, go to Solution Explorer>>Modalpage(PCL)>>right click and select Add>> New Item. In this popup window, select CrossPlatform>>class. Give a name such as Contacts.cs.
After double clicking to open it, insert the code given-below.
Now, create a class named Contacts.cs. For that, go to Solution Explorer>>Modalpage(PCL)>>right click and select Add>> New Item. In this popup window, select CrossPlatform>>class. Give a name such as Contacts.cs.
After double clicking to open it, insert the code given-below.
- using System;
- using System.Collections.Generic;
- using System.Linq;
- using System.Text;
- using System.Threading.Tasks;
- using Xamarin.Forms;
- namespace ModalpageApp
- {
- public class Contacts
- {
- public string Name { get; set; }
- public int Age { get; set; }
- public string Country { get; set; }
- public string Occupation { get; set; }
- public override string ToString()
- {
- return Name;
- }
- }
- }
Step 5
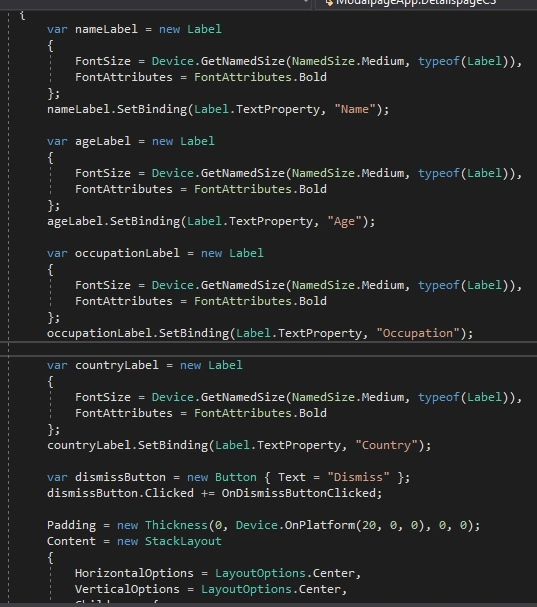
Similarly, create another class named Masterdetails.cs. This page is used when the user clicks on listview items after navigating t a new page to display details.
Similarly, create another class named Masterdetails.cs. This page is used when the user clicks on listview items after navigating t a new page to display details.
- using System;
- using System.Collections.Generic;
- using System.Linq;
- using System.Text;
- using System.Threading.Tasks;
- using Xamarin.Forms;
- namespace ModalpageApp
- {
- public class DetailspageCS : ContentPage
- {
- public DetailspageCS()
- {
- var nameLabel = new Label
- {
- FontSize = Device.GetNamedSize(NamedSize.Medium, typeof(Label)),
- FontAttributes = FontAttributes.Bold
- };
- nameLabel.SetBinding(Label.TextProperty, "Name");
- var ageLabel = new Label
- {
- FontSize = Device.GetNamedSize(NamedSize.Medium, typeof(Label)),
- FontAttributes = FontAttributes.Bold
- };
- ageLabel.SetBinding(Label.TextProperty, "Age");
- var occupationLabel = new Label
- {
- FontSize = Device.GetNamedSize(NamedSize.Medium, typeof(Label)),
- FontAttributes = FontAttributes.Bold
- };
- occupationLabel.SetBinding(Label.TextProperty, "Occupation");
- var countryLabel = new Label
- {
- FontSize = Device.GetNamedSize(NamedSize.Medium, typeof(Label)),
- FontAttributes = FontAttributes.Bold
- };
- countryLabel.SetBinding(Label.TextProperty, "Country");
- var dismissButton = new Button { Text = "Dismiss" };
- dismissButton.Clicked += OnDismissButtonClicked;
- Padding = new Thickness(0, Device.OnPlatform(20, 0, 0), 0, 0);
- Content = new StackLayout
- {
- HorizontalOptions = LayoutOptions.Center,
- VerticalOptions = LayoutOptions.Center,
- Children = {
- new StackLayout {
- Orientation = StackOrientation.Horizontal,
- Children = {
- new Label {
- Text = "Name:",
- FontSize = Device.GetNamedSize (NamedSize.Medium, typeof(Label)),
- HorizontalOptions = LayoutOptions.FillAndExpand
- },
- nameLabel
- }
- },
- new StackLayout {
- Orientation = StackOrientation.Horizontal,
- Children = {
- new Label {
- Text = "Age:",
- FontSize = Device.GetNamedSize (NamedSize.Medium, typeof(Label)),
- HorizontalOptions = LayoutOptions.FillAndExpand
- },
- ageLabel
- }
- },
- new StackLayout {
- Orientation = StackOrientation.Horizontal,
- Children = {
- new Label {
- Text = "Occupation:",
- FontSize = Device.GetNamedSize (NamedSize.Medium, typeof(Label)),
- HorizontalOptions = LayoutOptions.FillAndExpand
- },
- occupationLabel
- }
- },
- new StackLayout {
- Orientation = StackOrientation.Horizontal,
- Children = {
- new Label {
- Text = "Country:",
- FontSize = Device.GetNamedSize (NamedSize.Medium, typeof(Label)),
- HorizontalOptions = LayoutOptions.FillAndExpand
- },
- countryLabel
- }
- },
- dismissButton
- }
- };
- }
- async void OnDismissButtonClicked(object sender, EventArgs args)
- {
- await Navigation.PopModalAsync();
- }
- }
- }
Step 6
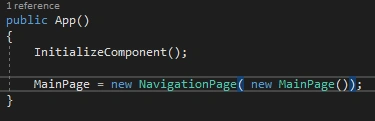
Then, open App.xaml.cs page to declare that the Main Page of application is Mainpage.xaml and it's navigation pages. For that, go to Solution Explorer >> Modal page (PCL) >> click open App.xaml.cs and put the code given below.
Then, open App.xaml.cs page to declare that the Main Page of application is Mainpage.xaml and it's navigation pages. For that, go to Solution Explorer >> Modal page (PCL) >> click open App.xaml.cs and put the code given below.
- using System;
- using System.Collections.Generic;
- using System.Linq;
- using System.Text;
- using Xamarin.Forms;
- namespace ModalpageApp
- {
- public partial class App : Application
- {
- public App()
- {
- InitializeComponent();
- MainPage = new NavigationPage( new MainPage());
- }
- protected override void OnStart()
- {
- // Handle when your app starts
- }
- protected override void OnSleep()
- {
- // Handle when your app sleeps
- }
- protected override void OnResume()
- {
- // Handle when your app resumes
- }
- }
- }
Step 7

Press F5 or "Build and Run" your application. The result is shown below like this.
Press F5 or "Build and Run" your application. The result is shown below like this.
Finally, we have successfully created a Xamarin.Forms Modalpage application.
Join the conversation! Your thoughts help the community grow.