

Introduction
Xamarin.Forms code runs on multiple platforms - each of which has its own filesystem. This means that reading and writing files is most easily done using the native file APIs on each platform. Alternatively, embedded resources are a simpler solution to distribute data files with an app.
Prerequisites
- Visual Studio 2017 or later (Windows or Mac)
Setting up a Xamarin.Forms Project
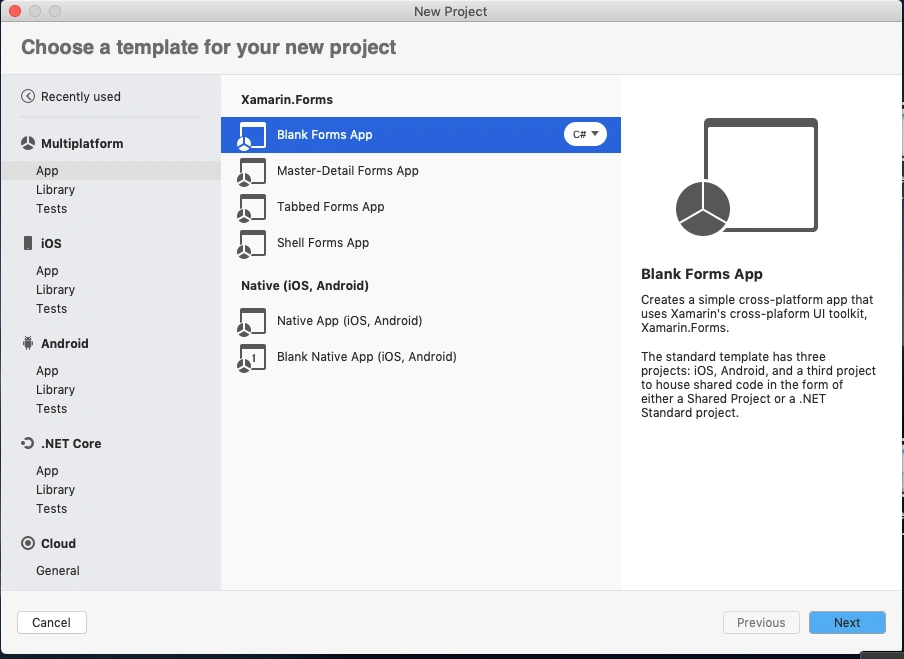
Start by creating a new Xamarin.Forms project. You wíll learn more by going through the steps yourself.
Create a new or existing Xamarin forms(.Net standard) Project. with Android or iOS Platform.
Simple Title
- <?xml version="1.0" encoding="utf-8"?>
- <ContentPage xmlns="http://xamarin.com/schemas/2014/forms"
- xmlns:x="http://schemas.microsoft.com/winfx/2009/xaml"
- xmlns:d="http://xamarin.com/schemas/2014/forms/design"
- xmlns:mc="http://schemas.openxmlformats.org/markup-compatibility/2006"
- mc:Ignorable="d"
- x:Class="XamarinApp.MainPage"
- Title="My Page">
- <StackLayout Margin="0,100,0,0" VerticalOptions="StartAndExpand">
- <Image VerticalOptions="Center" Source="xamarinmonkeysbanner.png"/>
- </StackLayout>
- </ContentPage>

Simple TitleView with NavigationView
App.Xaml.cs
Your page must be a Navigation Page
- public App()
- {
- InitializeComponent();
- MainPage = new NavigationPage(new MainPage());
- }
Here, we are going to use NavigationPage,TitleView. You can use this for Custom TitleView.
MainPage.Xaml
- <?xml version="1.0" encoding="utf-8"?>
- <ContentPage xmlns="http://xamarin.com/schemas/2014/forms" xmlns:x="http://schemas.microsoft.com/winfx/2009/xaml" xmlns:d="http://xamarin.com/schemas/2014/forms/design" xmlns:mc="http://schemas.openxmlformats.org/markup-compatibility/2006" mc:Ignorable="d" x:Class="XamarinApp.MainPage">
- <NavigationPage.TitleView>
- <StackLayout HorizontalOptions="Center" VerticalOptions="Center" Orientation="Horizontal">
- <Label HorizontalOptions="Center" VerticalTextAlignment="Center" Text="MyPage" FontSize="Small"/>
- </StackLayout>
- </NavigationPage.TitleView>
- <StackLayout Margin="0,100,0,0" VerticalOptions="StartAndExpand">
- <Image VerticalOptions="Center" Source="xamarinmonkeysbanner.png"/>
- </StackLayout>
- </ContentPage>
Title with Icon
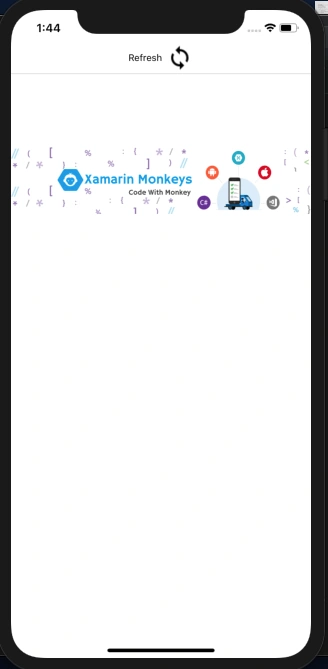
Now, added Title with Image in TitleView
- <?xml version="1.0" encoding="utf-8"?>
- <ContentPage xmlns="http://xamarin.com/schemas/2014/forms" xmlns:x="http://schemas.microsoft.com/winfx/2009/xaml" xmlns:d="http://xamarin.com/schemas/2014/forms/design" xmlns:mc="http://schemas.openxmlformats.org/markup-compatibility/2006" mc:Ignorable="d" x:Class="XamarinApp.MainPage">
- <NavigationPage.TitleView>
- <StackLayout HorizontalOptions="Center" VerticalOptions="Center" Orientation="Horizontal">
- <Label HorizontalOptions="Center" VerticalTextAlignment="Center" Text="Refresh" FontSize="Small"/>
- <Image VerticalOptions="Center" HorizontalOptions="End" Source="sync.png"/>
- </StackLayout>
- </NavigationPage.TitleView>
- <StackLayout Margin="0,100,0,0" VerticalOptions="StartAndExpand">
- <Image VerticalOptions="Center" Source="xamarinmonkeysbanner.png"/>
- </StackLayout>
- </ContentPage>
TitleView with SearchView
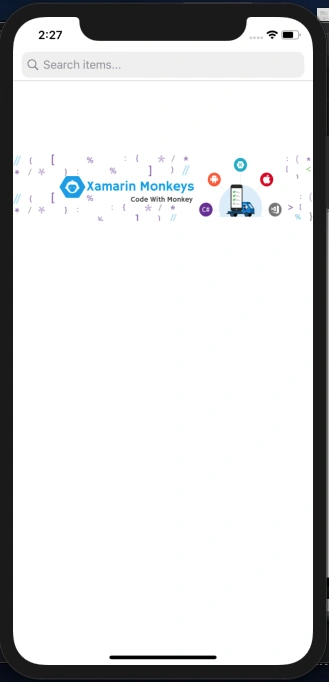
You can add SearchBar also in the TitleView
- <?xml version="1.0" encoding="utf-8"?>
- <ContentPage xmlns="http://xamarin.com/schemas/2014/forms"
- xmlns:x="http://schemas.microsoft.com/winfx/2009/xaml"
- xmlns:d="http://xamarin.com/schemas/2014/forms/design"
- xmlns:mc="http://schemas.openxmlformats.org/markup-compatibility/2006"
- mc:Ignorable="d" x:Class="XamarinApp.MainPage">
- <NavigationPage.TitleView>
- <SearchBar Placeholder="Search items..."
- HorizontalTextAlignment="Center"
- FontSize="Medium"
- />
- </NavigationPage.TitleView>
- <StackLayout Margin="0,100,0,0" VerticalOptions="StartAndExpand">
- <Image VerticalOptions="Center" Source="xamarinmonkeysbanner.png"/>
- </StackLayout>
- </ContentPage>
Custom TitleView
Here, we are going to create a common TitleView, you can reuse your Content pages.
TitleView.Xaml
- <?xml version="1.0" encoding="UTF-8"?>
- <ContentView xmlns="http://xamarin.com/schemas/2014/forms" xmlns:x="http://schemas.microsoft.com/winfx/2009/xaml" x:Class="XamarinApp.CustomView.TitleView">
- <ContentView.Content>
- <Label HorizontalOptions="Center" Text="Xamarin Monkeys"/>
- </ContentView.Content>
- </ContentView>
Consume TitleView
Now, Consume the TitleView from your custom files folder.
- <?xml version="1.0" encoding="utf-8"?>
- <ContentPage xmlns="http://xamarin.com/schemas/2014/forms"
- xmlns:x="http://schemas.microsoft.com/winfx/2009/xaml"
- xmlns:d="http://xamarin.com/schemas/2014/forms/design"
- xmlns:mc="http://schemas.openxmlformats.org/markup-compatibility/2006"
- xmlns:TitleView="clr-namespace:XamarinApp.CustomView"
- mc:Ignorable="d" x:Class="XamarinApp.MainPage">
- <NavigationPage.TitleView>
- <TitleView:TitleView/>
- </NavigationPage.TitleView>
- <StackLayout Margin="0,100,0,0" VerticalOptions="StartAndExpand">
- <Image VerticalOptions="Center" Source="xamarinmonkeysbanner.png"/>
- </StackLayout>
- </ContentPage>
I hope you have understood how to create a custom TitleView in Xamarin.Forms.
Thanks for reading. Please share your comments and feedback.
Happy Coding :)
Join the conversation! Your thoughts help the community grow.