

Let’s start,
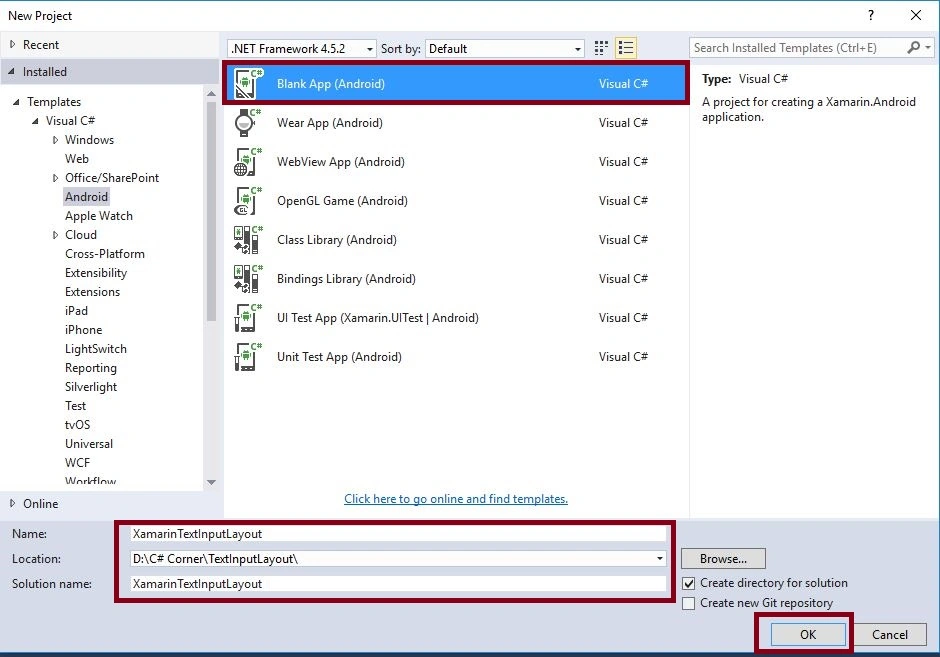
Step 1: Open Visual Studio->New Project->Templates->Visual C#->Android->Blank app
Select blank app. Give the Project Name and Project Location.
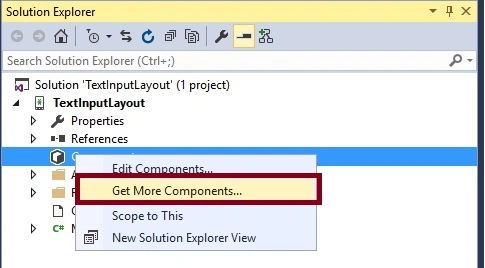
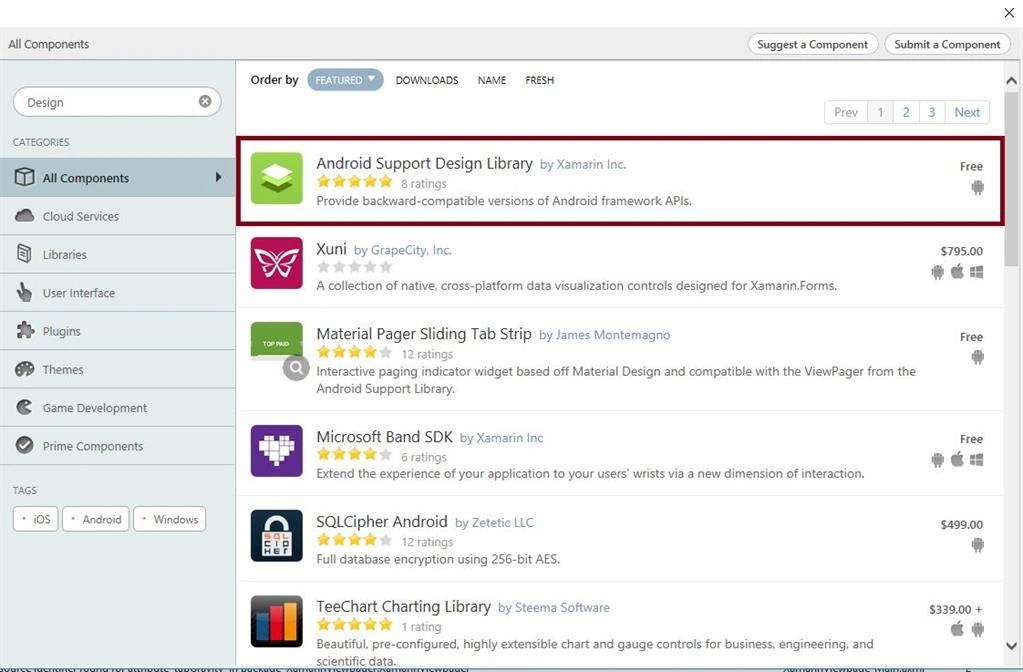
Step 2: Go to Solution Explorer-> Project Name-> Components, right click to get more components, open new dialog box. This dialog box is required to search the design, add the Android Support Design Library Packages.
Step 3: Next to Add Theme.AppCompat.Light.NoActionBar, create styles.xml file. Go to Solution Explorer-> Project Name->Resources->values, right click to Add-> New Item, open new dialog box. Select XML file and give the name for styles.xml,
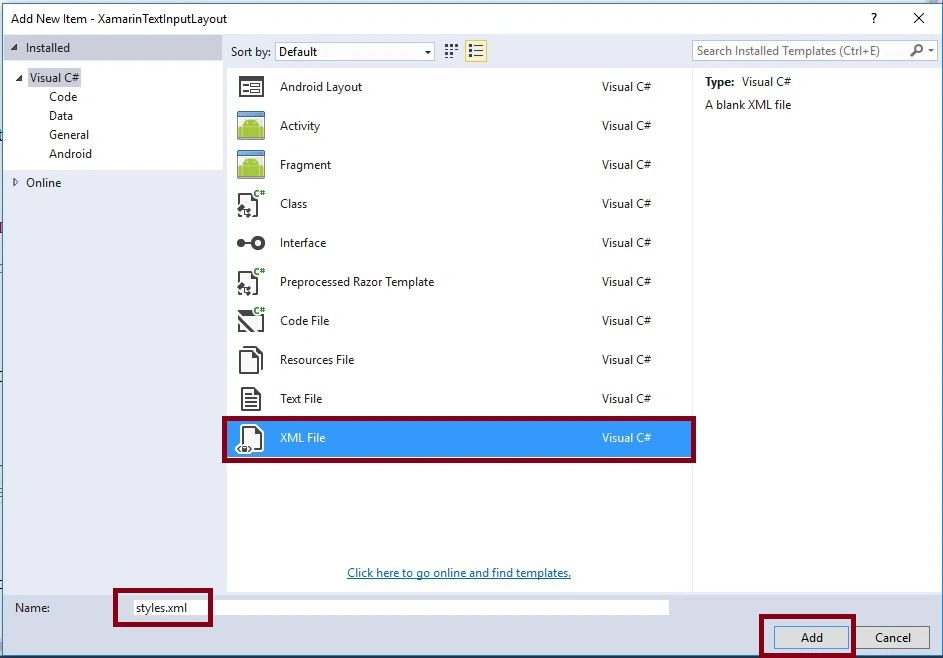
Step 4: Create colors.xml file. Go to Solution Explorer-> Project Name->Resources->values, right click to Add-> New Item, open new dialog box. Select XML file, give the name for colors.xml.
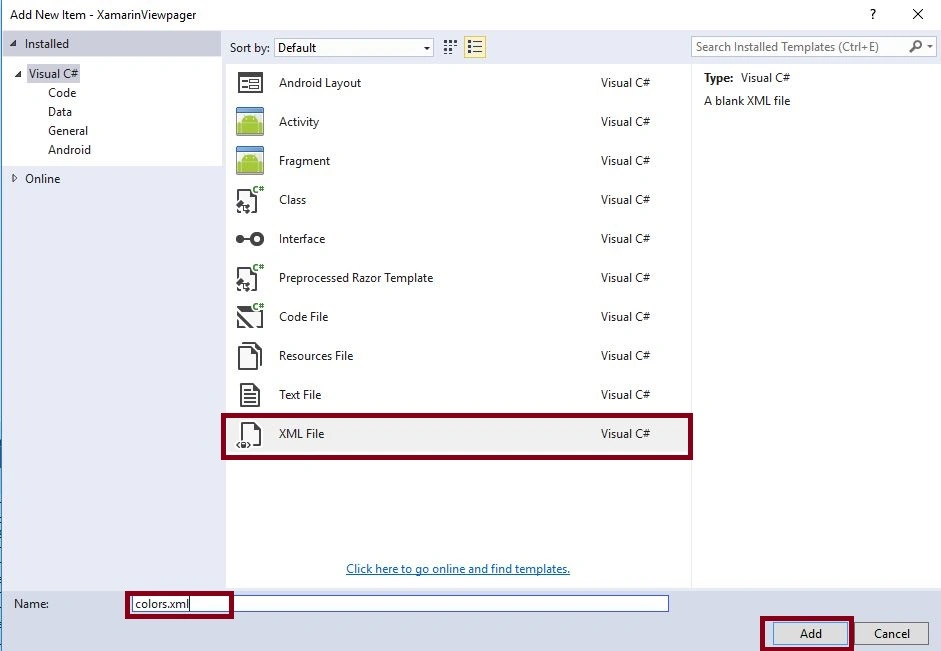
Step 5: Open Solution Explorer-> Project Name->Resources->values->colors.xml. Click to open Design View and the code, given below:
- <?xml version="1.0" encoding="utf-8" ?>
- <resources>
- <color name="window_background">#8AA5B9</color>
- </resources>
Step 6: Open Solution Explorer-> Project Name->Resources->values->styles.xml. Click to open Design View and the code, given below:
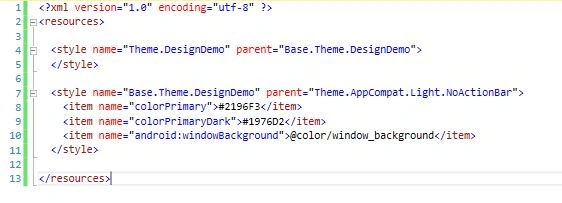
- <?xml version="1.0" encoding="utf-8" ?>
- <resources>
- <style name="Theme.DesignDemo" parent="Base.Theme.DesignDemo">
- </style>
- <style name="Base.Theme.DesignDemo" parent="Theme.AppCompat.Light.NoActionBar">
- <item name="colorPrimary">#2196F3</item> <item name="colorPrimaryDark">#1976D2</item> <item name="android:windowBackground">@color/window_background</item>
- </style>
- </resources>
Step 7: Open Solution Explorer-> Project Name->Resources->values->Strings.xml. Click to open Design View and the code, given below:
- <string name="pro_Languages1">Type of Languages</string>
- <string-array name="pro_Languages">
- <item>C#</item>
- <item>.Net</item>
- <item>Java</item>
- <item>C</item>
- <item>C++</item>
- <item>Swift</item>
- </string-array>
- </resources>
Step 8: Open Solution Explorer-> Project Name->Resources->layout ->Main.axml. Click to open Design View and the code, given below:
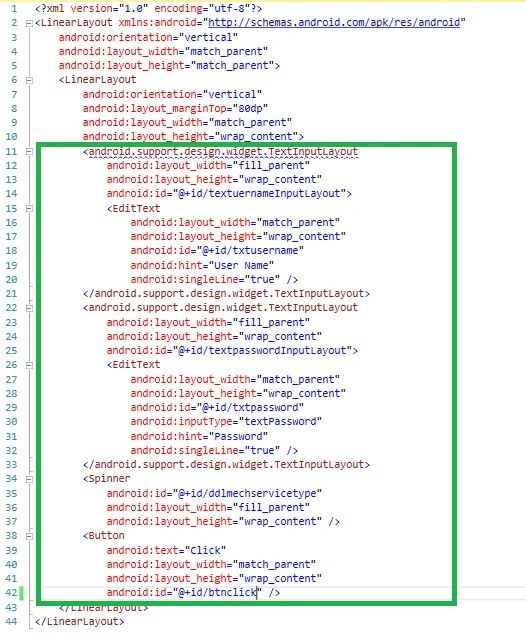
- <?xml version="1.0" encoding="utf-8"?>
- <LinearLayout xmlns:android="http://schemas.android.com/apk/res/android" android:orientation="vertical" android:layout_width="match_parent" android:layout_height="match_parent">
- <LinearLayout android:orientation="vertical" android:layout_marginTop="80dp" android:layout_width="match_parent" android:layout_height="wrap_content">
- <android.support.design.widget.TextInputLayout android:layout_width="fill_parent" android:layout_height="wrap_content" android:id="@+id/textuernameInputLayout">
- <EditText android:layout_width="match_parent" android:layout_height="wrap_content" android:id="@+id/txtusername" android:hint="User Name" android:singleLine="true" /> </android.support.design.widget.TextInputLayout>
- <android.support.design.widget.TextInputLayout android:layout_width="fill_parent" android:layout_height="wrap_content" android:id="@+id/textpasswordInputLayout">
- <EditText android:layout_width="match_parent" android:layout_height="wrap_content" android:id="@+id/txtpassword" android:inputType="textPassword" android:hint="Password" android:singleLine="true" /> </android.support.design.widget.TextInputLayout>
- <Spinner android:id="@+id/ddlmechservicetype" android:layout_width="fill_parent" android:layout_height="wrap_content" />
- <Button android:text="Click" android:layout_width="match_parent" android:layout_height="wrap_content" android:id="@+id/btnclick" /> </LinearLayout>
- </LinearLayout>
Step 9: After Design view creation open Solution Explorer-> Project Name->MainActivity.cs then following below steps.
Step 10: Add below Namespaces,
- using Android.Support.V7.App;
- using Android.Support.Design.Widget;
Step 11: Create Spinner and TextInputLayout variable, declare the Spinner and TextInputLayout within the OnCreate().before to change to the Activity to AppCompatActivity.
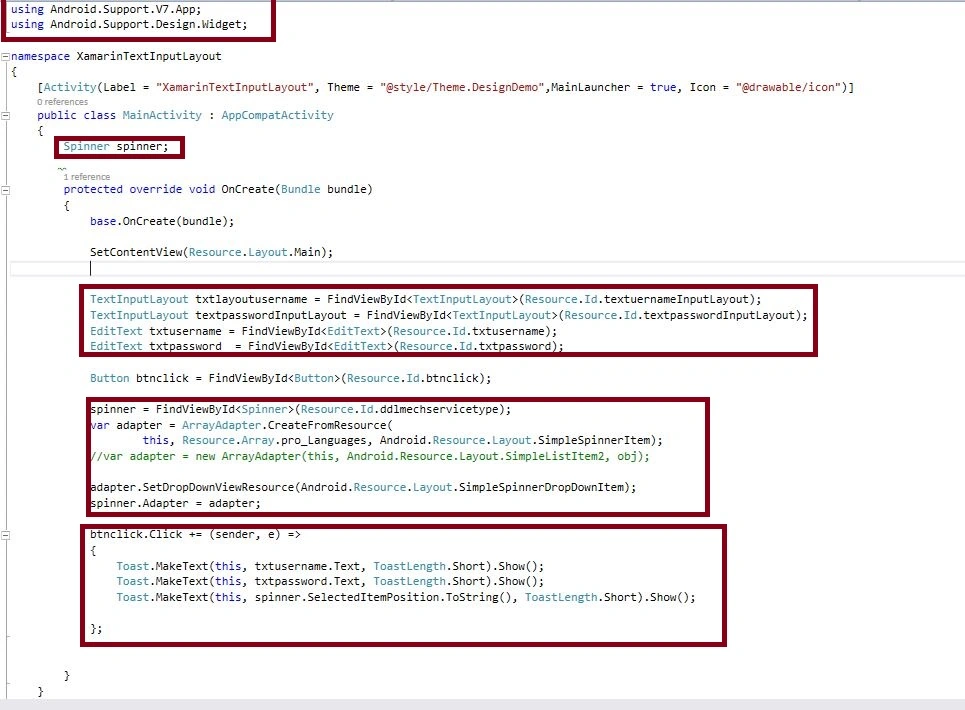
- //TextInputLayout
- TextInputLayout txtlayoutusername = FindViewById < TextInputLayout > (Resource.Id.textuernameInputLayout);
- TextInputLayout textpasswordInputLayout = FindViewById < TextInputLayout > (Resource.Id.textpasswordInputLayout);
- EditText txtusername = FindViewById < EditText > (Resource.Id.txtusername);
- EditText txtpassword = FindViewById < EditText > (Resource.Id.txtpassword);
- Button btnclick = FindViewById < Button > (Resource.Id.btnclick);
- //Spinner
- spinner = FindViewById < Spinner > (Resource.Id.ddlmechservicetype);
- var adapter = ArrayAdapter.CreateFromResource(this, Resource.Array.pro_Languages, Android.Resource.Layout.SimpleSpinnerItem); //Assign Array List Strings
- adapter.SetDropDownViewResource(Android.Resource.Layout.SimpleSpinnerDropDownItem);
- spinner.Adapter = adapter;
- //Button Click
- btnclick.Click += (sender, e) =>
- {
- //Showing Notifications
- Toast.MakeText(this, txtusername.Text, ToastLength.Short).Show();
- Toast.MakeText(this, txtpassword.Text, ToastLength.Short).Show();
- Toast.MakeText(this, spinner.SelectedItemPosition.ToString(), ToastLength.Short).Show();
- };
Step 12: Press F5 or build and run the Application.

Finally, we successfully created Xamarin Android TextInputLayout and Spinner app.
Former memberPosted May 21, 2018, 7:13 AM
Hi anbu, Unable to download that attached sample
Anu VPosted Jul 18, 2016, 12:16 AM
Nice
Bhavik PatelPosted Jul 16, 2016, 5:27 AM
Nice. very useful
Bhuvanesh MohankumarPosted Jul 15, 2016, 2:01 PM
Nice