

Before reading this article, please go through the following article to get some knowledge about Windows 10 UWP application.
- Overlay
- Inline
- CompactOverlay
- CompactInline
- Visual Studio 2015 Update 3
- Windows 10 SDK
Let’s get started.
Open Visual Studio 2015.
Create a new blank Windows app (File >> New >> Project >> select Visual C# >> Windows >> Universal), provide a suitable name for your Windows application, and click OK.
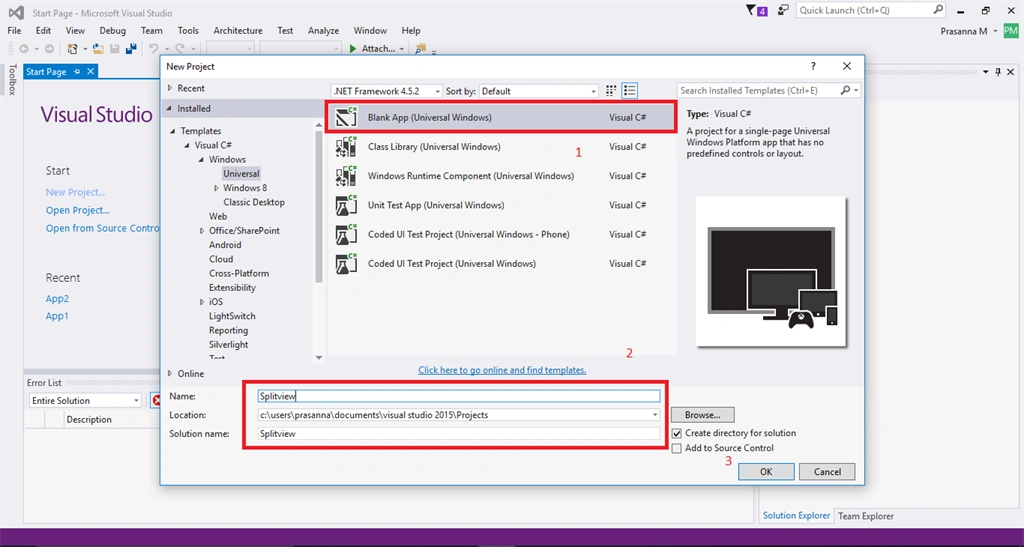
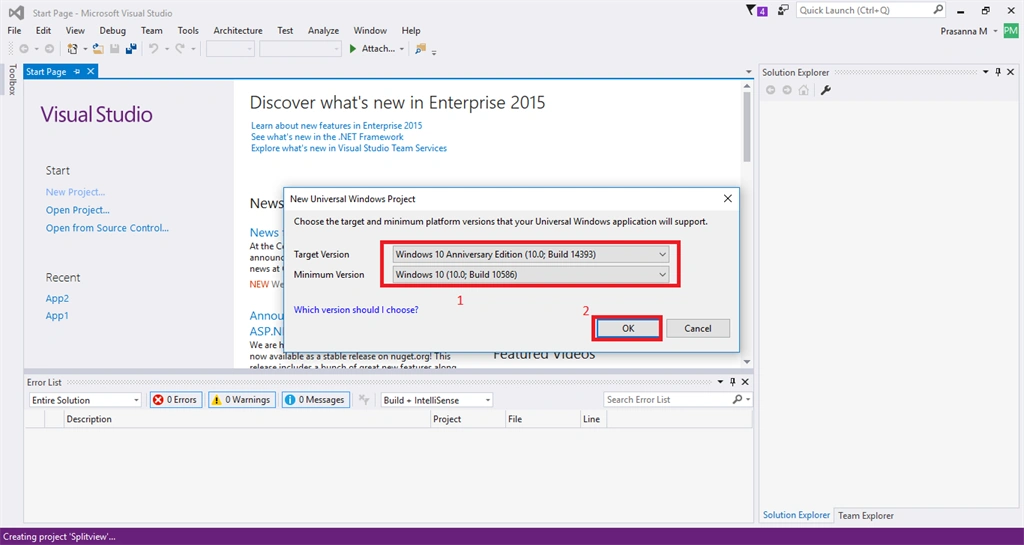
It takes some time to create a Windows application. Once the project creation is successful, you will be redirected to App.Xaml.cs.
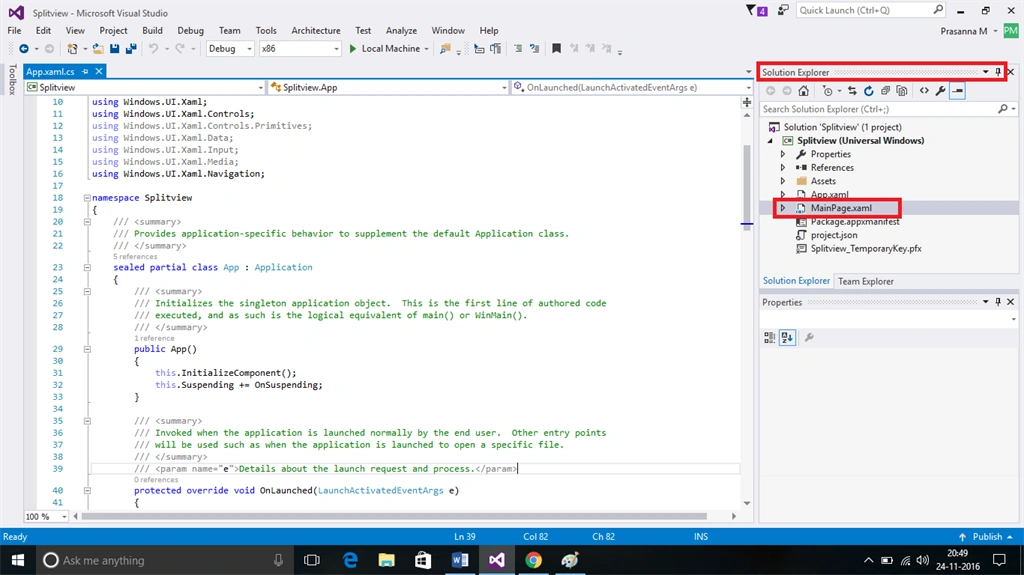
Go ahead and open MainPage.Xaml from Solution Explorer. Now, switch code page into the designer page.
- <SplitView>
- <SplitView.Pane>
- //Add your menu here
- </SplitView.Pane>
- <SplitView.Content>
- //Add your content here
- </SplitView.Content>
- </SplitView>
Now, add the following code to create a split view. Add the following code under the Grid tag.
- <SplitView x:Name="MySplitView" DisplayMode="CompactOverlay" IsPaneOpen="False"
- CompactPaneLength="50" OpenPaneLength="250">
- <SplitView.Pane>
- <StackPanel Background="Bisque">
- <Button x:Name="HamburgerButton" FontFamily="Segoe MDL2 Assets" Content=""
- Width="50" Height="50" Background="Transparent" Click="HamburgerButton_Click"/>
- <StackPanel Orientation="Horizontal">
- <Button x:Name="MenuButton1" FontFamily="Segoe MDL2 Assets" Content=""
- Width="50" Height="50" Background="Transparent"/>
- <TextBlock Text="C# Corner" FontSize="18" VerticalAlignment="Center" />
- </StackPanel>
- <StackPanel Orientation="Horizontal">
- <Button x:Name="MenuButton2" FontFamily="Segoe MDL2 Assets" Content=""
- Width="50" Height="50" Background="Transparent"/>
- <TextBlock Text="Contact" FontSize="18" VerticalAlignment="Center" />
- </StackPanel>
- <StackPanel Orientation="Horizontal">
- <Button x:Name="MenuButton3" FontFamily="Segoe MDL2 Assets" Content=""
- Width="50" Height="50" Background="Transparent"/>
- <TextBlock Text="Back" FontSize="18" VerticalAlignment="Center" />
- </StackPanel>
- </StackPanel>
- </SplitView.Pane>
- <SplitView.Content>
- <Grid>
- <TextBlock Text="SplitView Basic" FontSize="54" Foreground="White"
- HorizontalAlignment="Center" VerticalAlignment="Center"/>
- </Grid>
- </SplitView.Content>
- </SplitView>
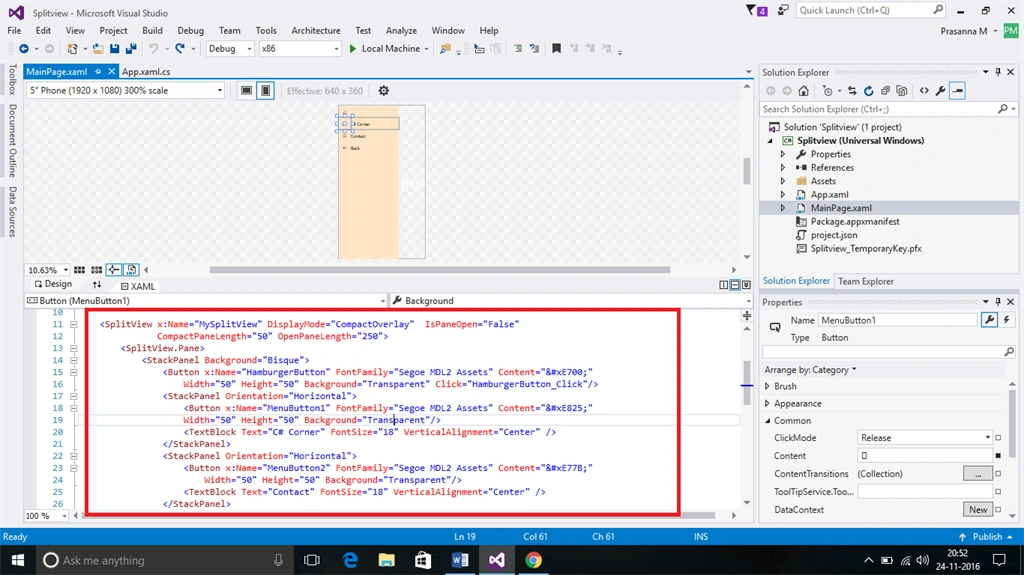
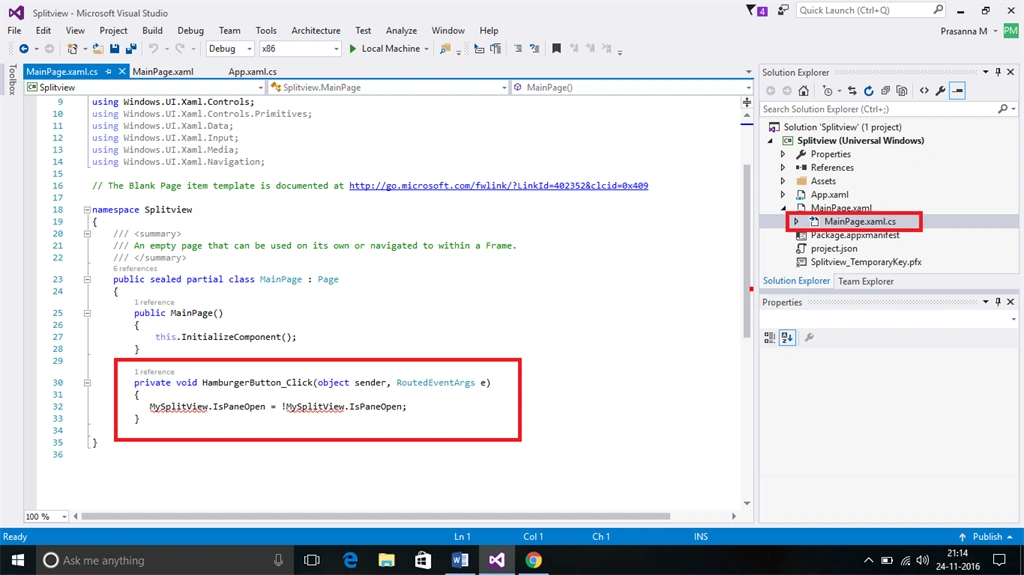
Open MainPage.Xaml.cs and add the following code in Hamburger button method, as shown below.
- private void HamburgerButton_Click(object sender, RoutedEventArgs e)
- {
- MySplitView.IsPaneOpen = !MySplitView.IsPaneOpen;
- }
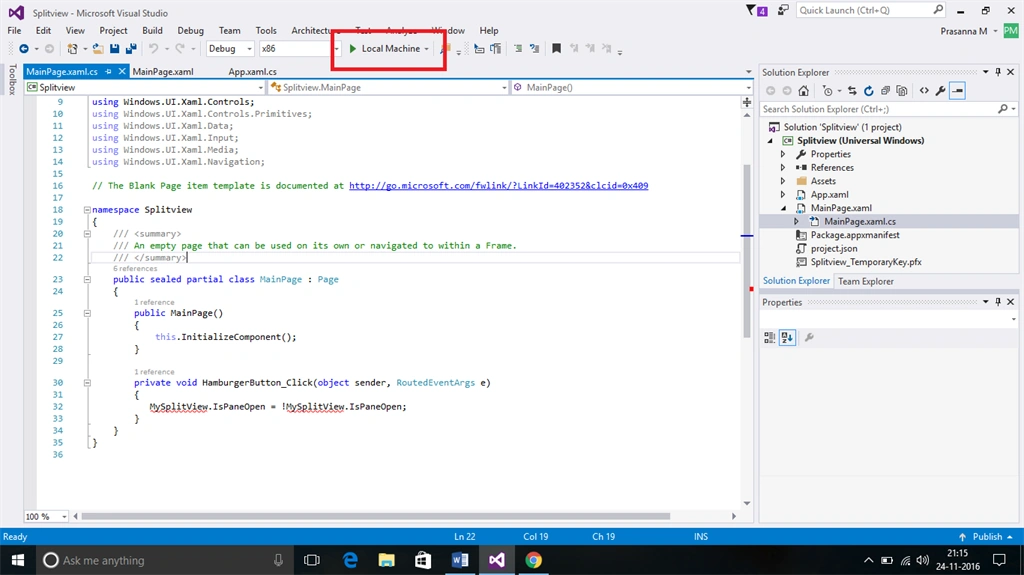
Congrats ! Finally, we have created a simple application using Split View component. Click F5 button to run the application. Here, I am deploying the app on Local Machine.
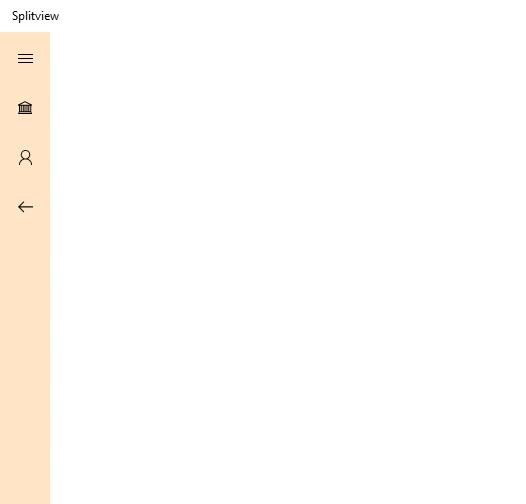
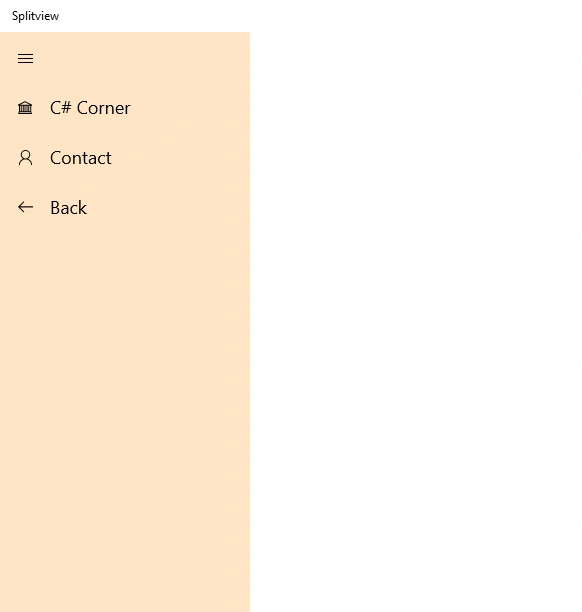
Finally, the output is projected, as shown below.
Vijayaragavan SPosted Nov 25, 2016, 11:14 PM
Nice Article Prasanna....