

Introduction
In this article we are going to have a very interesting session with a PhoneGapPhoto application. In this application we will have a very close look at HTML, JavaScript and CSS.
Let's see how to work with HTML, JavaScript and CSS in PhoneGap applications.
Step 1 : Open Visual Studio 2010

Step 2 : Open File menu ->select new ->Choose Project then.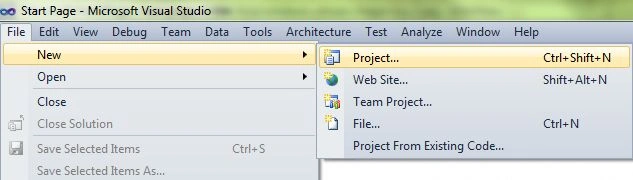
Step 3 : Select the new phone application and rename it according to your requirement. 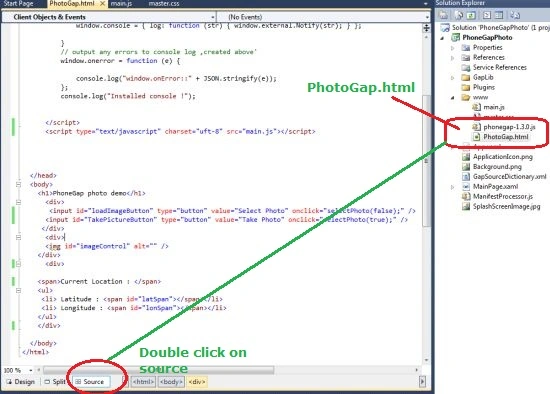
Step 4 : After the opening up source code, replace code by given code with PhotoGap.html file
Scripting for getting User interface
<!DOCTYPE html>
<html>
<head>
<meta name="viewport" content="width=device-width, height=device-height, initial-scale=1.0, maximum-scale=1.0, user-scalable=no;" />
<meta http-equiv="Content-type" content="text/html; charset=utf-8"/>
<title>PhoneGap WP7</title>
<link rel="stylesheet" href="master.css" type="text/css" media="screen" title="no title" charset="utf-8"/>
<script type="text/javascript" charset="utf-8" src="phonegap-1.3.0.js"></script>
<script type="text/javascript">
// provide our own console if it does not exist ,huge dev aid'
if (typeof window.console == "Undefined") {
window.console = { log: function (str) { window.external.Notify(str); } };
}
// output any errors to console log ,created above'
window.onerror = function (e) {
console.log("window.onError::" + JSON.stringify(e));
};
console.log("Installed console !");
</script>
<script type="text/javascript" charset="uft-8" src="main.js"></script>
</head>
<body>
<h1>PhoneGap photo demo</h1>
<div>
<input id="loadImageButton" type="button" value="Select Photo" onclick="selectPhoto(false);" />
<input id="TakePictureButton" type="button" value="Take Photo" onclick="selectPhoto(true);" />
</div>
<div>
<img id="imageControl" alt="" />
</div>
</body>
</html>
Step 5 : Code for Master.css file.
body
{
background:#000 none repeat scroll 0 0;
color:#ccc;
font-family:Helvetica, Verdana, Geneva, sans-serif;
margin:0;
border-top:1px solid #393939;
}
h1
{
text-align:center;
font-size:18px;
color:#FFC312; /* Mango me! */
}
input[tpye=button]
{
background-color:#000;
border:4px Solid #fff;
padding:4px;
color:#fff;
}
div input[type=button]:nth-child(n+2)
{
margin-left:6px;
}
#imageControl
{
margin-top:80px;
margin-left:10px;
width:300px;
height:300px;
}
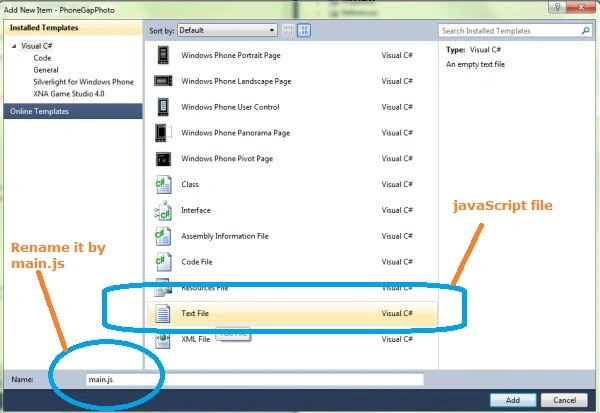
Step 6 : In this section we use JavaScript for various functionality for the PhoneGapPhoto application. For creating a new main.js file -go to www then right click -add new items then select Text file and rename it by main.js.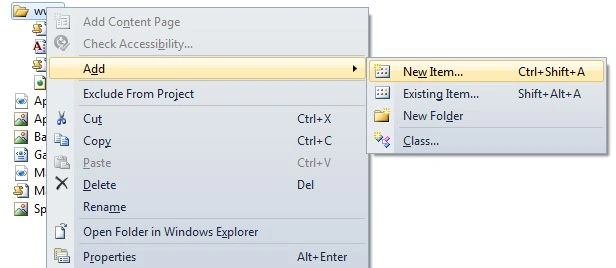
Scripting for getting info using JavaScript
Put the given JavaScript on main.js file.
/* js file the operations */
var pictureSource;
var destinationType;
document.addEventListener("deviceready", onDeviceReady, false);
function onDeviceReady() {
pictureSource = navigator.camera.PictureSourceType;
destinationType = navigator.camera.DestinationType;
}
function selectPhoto(useCamera) {
if (useCamera) { // take picture
navigator.camera.getPicture(photoLoaded, onError, { allowEdit: true, destinationType: destinationType.FILE_URI });
}
else {
// select from library
navigator.camera.getPicture(photoLoaded, onError, { allowEdit: true, sourceType: pictureSource.PHOTOLIBRARY, destinationType: destinationType.FILE_URI });
}
}
function photoLoaded(imageData) {
var image = document.getElementById("imageControl");
image.src = imageData;
}
function onError() {
navigator.notification.alert(message, "", "Error");
}
Step 7 : Output Press F5.
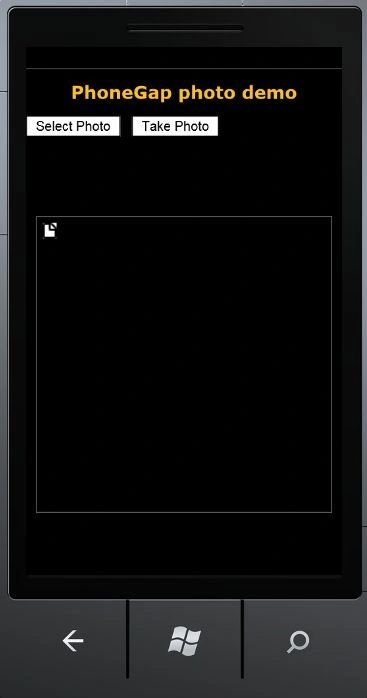
Whenever we click on the select photo button the output looks like:
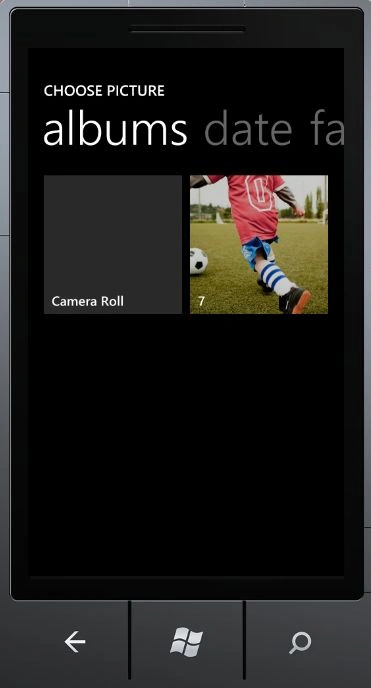
Choose a picture by clicking on a displaying picture you will find some more picture.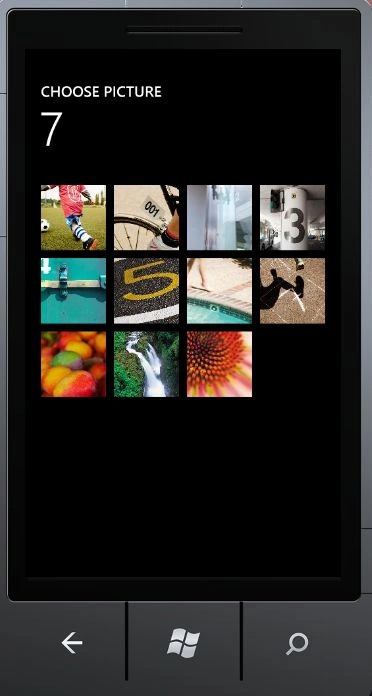
When you choose your desired picture from the above pictures your output on the PhoneGap look likewise.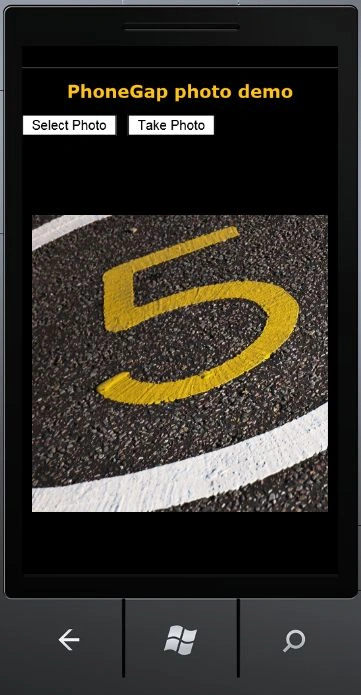
kalu singh raoPosted Dec 14, 2015, 7:50 AM
Nice one
Sanjay SinghPosted Jun 21, 2014, 1:05 PM
nice article..
SIVAPosted Dec 3, 2012, 11:08 AM
Hi Deepak, Nice article.. I need to create application for android through the phonegap.. I don't have basic idea that how to do. Can i have step by step process to do this?
SIVAeditedPosted Dec 3, 2012, 11:08 AMEdited Dec 3, 2012, 11:09 AM
Hi Deepak, Nice article.. I need to create application for android through the phonegap.. I don't have basic idea that how to do. Can i have step by step process to do this?
SIVAeditedPosted Dec 3, 2012, 11:08 AMEdited Dec 3, 2012, 11:09 AM
Nice article..
Ameya RotePosted Feb 25, 2012, 1:35 AM
I'm starting off with phonegap project for that I need to play a video on windows phone, Please help me for playing video on device / emulator for windows phone ! does video works on emulator, please tell method. Thanks..
Ameya RotePosted Feb 25, 2012, 1:35 AM
I'm starting off with phonegap project for that I need to play a video on windows phone, Please help me for playing video on device / emulator for windows phone ! does video works on emulator, please tell method. Thanks..