

INTRODUCTION
In this article, I am going to explain how to use a CheckBox in a Windows Forms app using Visual Studio 2017.
STEP 1 - Start the Project
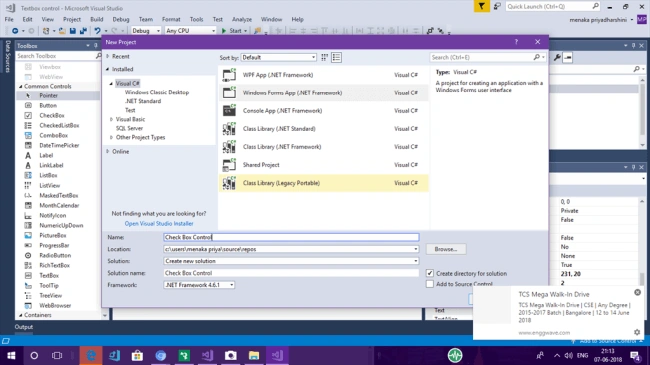
Let's create a new project using Visual Studio 2017.
STEP 2 - Drag and Drop Control
Let's add a CheckBox control to the form by dragging it from Toolbox and dropping it to the form. You will see that CheckBox 1 is added to the form. This control is now available to you in the code behind.
CheckBox Control
CheckBox allows the user to make multiple selections from a provided options. It is used to give a user an option, such as true/false or yes/no. You can click a CheckBox to select it and click it again to deselect it. The CheckBox is a useful control in Windows Forms platform and the C# language. But it is not often a major focus of an application. It is a small, supporting control used with other controls.
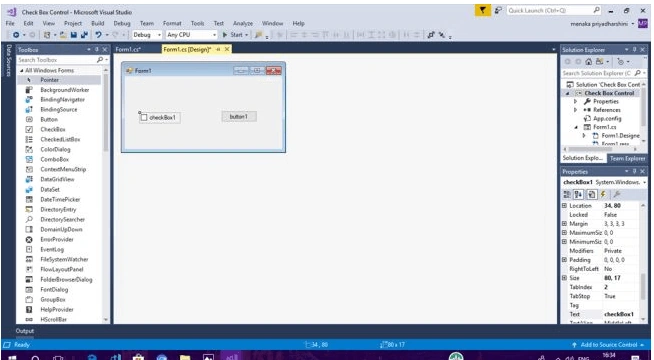
Now, let's add another control to the form by dragging the other control from Toolbox to the form. You may also want to change the properties of the other controls.
Let's add a button control to the form. CheckBox's state is read when a user performs an action on another control, such as a button. Change the text of button control to what you like.
STEP 3 - Coding for CheckBox Checked Event Handler
- private void checkBox1_CheckedChanged(object sender, EventArgs e)
- {
- Do_Checked();
- }
- private void Do_Checked()
- {
- button1.Enabled = checkBox1.Checked;
- }
- private void Form1_Load(object sender, EventArgs e)
- {
- Do_Checked();
STEP 4 - Compile and Run
Now, simply compile and run the application.
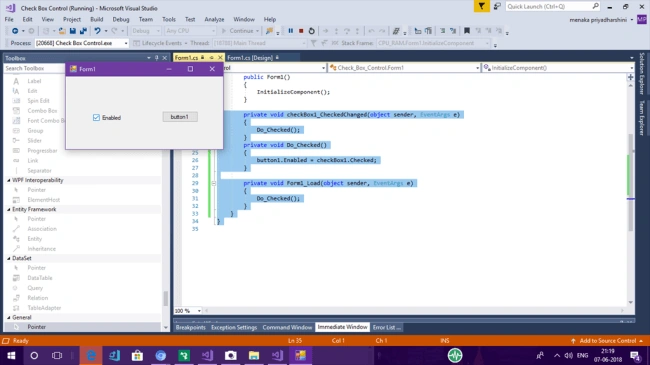
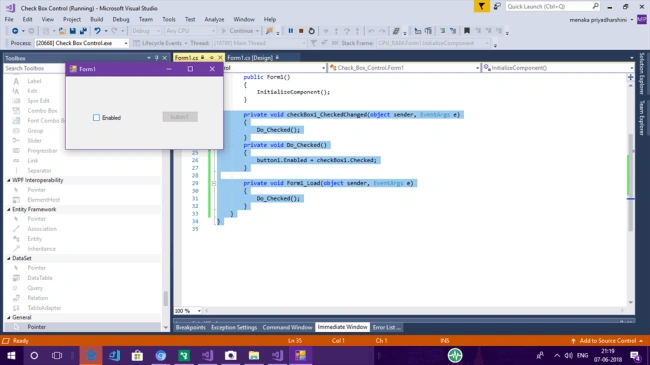
If the CheckBox is Checked, then the button click is enabled and if the CheckBox is not checked, then the button click is disabled.
Summary
Menaka Priyadharshini BPosted Aug 11, 2018, 6:59 AM
Thank you bro
Sundaram SubramanianPosted Aug 11, 2018, 6:43 AM
Great writing. Keep contributing