

This article has been
excerpted from book "Graphics Programming with GDI+".
A bitmap stores data for an image and its attributes in pixel format. The Bitmap
class, which is inherited from the Image class, encapsulates a graphic bitmap in
GDI+. Because the Bitmap class in inherited from the Image class, it offers all
the methods and properties that we discussed in the previous section. The Bitmap
class defines additional functionality. In this section we will learn about the
members of the Bitmap class and how to use them.
Creating a Bitmap Object
The Bitmap class provides about a dozen overload forms of the constructors. You
can create a Bitmap object from a bitmap file, or from Image, Stream, string, or
Type objects. When you create a Bitmap object, you can also specify the size of
the bitmap, the resolution of the Graphics object, and the pixel format of the
bitmap.
The code snippet in Listing 7.17 creates Bitmap objects from an Image and file
name with or without the size of the Bitmap included.
Listing 7.17: Creating Bitmap object from different sources
//Creating an Image object
Image curImage =
Image.FromFile("myfile.gif");
//Creating a Bitmap object from a file
name
Bitmap curBitmap1 =
new Bitmap("myfle.gif");
//Creating a Bitmap object from an Image
object
Bitmap curBitmap2 =
new Bitmap(curImage);
//Creating a Bitmap object with size and
image
Bitmap curBitmap3 =
new Bitmap(curImage,
new Size(200,
100));
//Creating a Bitmap object with no images
Bitmap curBitmap4 =
new Bitmap(200,
100);
Beside the constructor, the Bitmap class provides two static methods FromHicon
and FromResource which can be used to create a Bitmap object from a window
handle to an icon and from a Windows resource (.res file), respectively.
Viewing a Bitmap
Viewing a bitmap using the Bitmap class is similar to viewing an image. After
constructing a Bitmap object, you just pass it as a parameter to DrawImage. The
following code snippet creates a Bitmap object from a file and views the bitmap
by calling the DrawImage method of a Graphics object associated with a form. You
can write this code on a menu or a button click event handler.
Graphics g =
this.CreateGraphics();
Bitmap bitmap =
new Bitmap("myfile.jpg");
g.DrawImage(bitmap, 20, 20);
g.Dispose();
The Bitmap Class Methods and Properties
The Bitmap class doesn't define any properties beyond those defined in the Image
class. However, Bitmap does provide additional methods. Among them are FromHicon,
FromResource, GetHbitmap, GetHicon, GetPixel, LockBits, MakeTransparent,
SetPixel, SetResolution, and UnlockBits.
The FromHicon and FromResource methods create a Bitmap object from a window
handle to an icon and from a Windows resource, respectively.
The GetHbitmap and GetHicon methods create a Windows HBITMAP structure and a
window handle to an icon.
The GetPixel and SetPixel methods get and set the color of the specified pixel
of an image. There methods are useful when an application needs to blur images,
change the color of specific pixels, change the contrast of pixels, and so on.
You can blur an image by reducing the color depth of pixels. We will use
GetPixel and SetPixel in examples in this article and the next.
The following line of code returns the color of a pixel at positions x=10 and
y=10:
Color curColor =
curBitmap.GetPixel(10, 10);
The following code snipped uses SetPixel to change all pixels between point
(50,50) and point (60,60) to red:
for (int i = 50;
i < 60; i++)
{
for (int
j = 50; j < 60; j++)
{
curBitmap.SetPixel(i, j, Color.Red);
}
}
SetResolution sets the resolution of a bitmap. This method takes two parameters
of type float, which represent the horizontal resolution and vertical resolution
in dots per inch.
MakeTransparent makes the default color transparent to a bitmap. This method
takes either no arguments or a single argument of type Color:
Color curColor =
CurBitmap.GetPixel(10, 10);
curBitmap.MakeTransparent();
or
curBitmap.MakeTransparent(curColor);
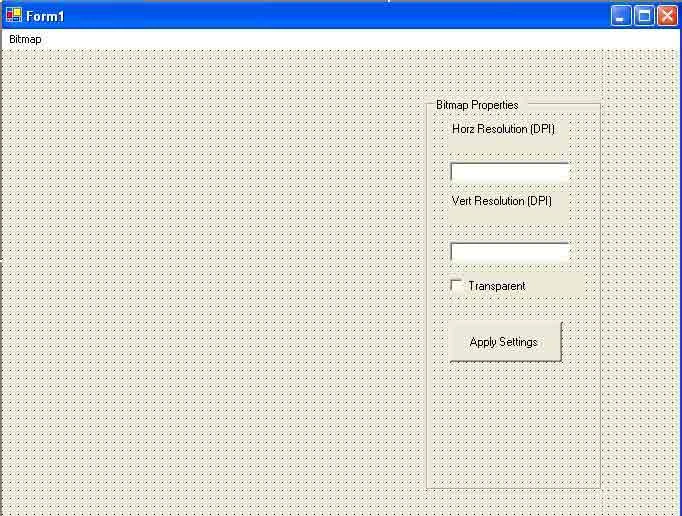
To test the methods and properties of Bitmap, we create a Windows application
and add Open File and Exit menu items as in the previous examples. Then we add
controls for a group box, text boxes, a button, a check box, and some labels.
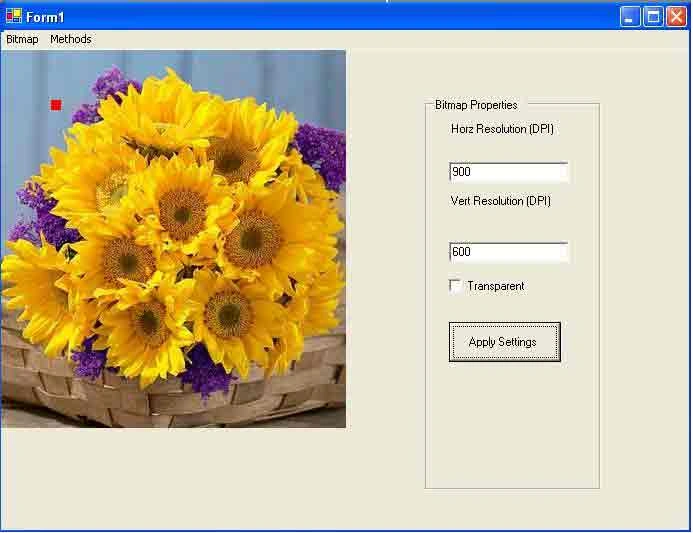
The final form looks like Figure 7.33. We can set the resolution and
transparency of the bitmap from here.
We add the following application-level variable to the application.
//Varaible
private
Bitmap curBitmap;
private float
imgHeight;
private float
imgWidth;

Join the conversation! Your thoughts help the community grow.