

Introduction
Windows Phone App Studio: Part 1
In my previous article we were making a news app. We completed adding a data source to our application. In this article we will work at an application UI. At the end of this article our application will be ready for publishing in the store. This article includes:
- Application Section
- Panorama Control
- Data Binding
- Actions
- Styles, Tiles and Splash
- Completing the News App
Application Section
In simple words it is a page shown to the user. We can have a maximum of six Application Sections in our app. It is of the following two types:
- Sections
A section is a group of pages connected to one common data source. All pages are used for representing various levels of data granularity. Each section has one main page. That main page can be connected to one or more detail pages. In a Windows Phone UI we have two types of controls, one is a Pivot Control and the other is a Panorama Control. A Pivot Control is used for showing contents side by side or in a grouped way or in a tabed pane or simply for dividing the content. A Panorama is usefull for creating an application hub or to create a top-most UI from which an entire application can be reached.
- Menu
A menu is used for navigating among the various parts of the app or to navigate outside the app. We have two types of item links, one is "Section" and the other is "Action". A section is used for navigating among the Application Sections. Actions are used for outside app navigation like Call, SMS, Location service, Web service and so on.
Panorama Control
A Panorama is a list of sections that a user can see from swipping left or right on the app. Sections are used for displaying various parts of an app. A Panorama Control is the first thing one sees when one opens an app.
Data Binding
One of the exciting features of App Studio is data binding. In data binding we maintain our data at one data source and then we connect all our UI elements or application elements with that data source using data binding. Binding a data source to any section of an App is very easy. Will see this late in this article.
Menu Actions
-
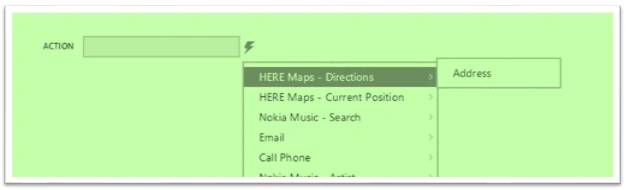
Call Phone: It can be used for adding call functionality on any number.
-
Email: This action sends an email to the address we mentioned.
-
Nokia music: Actions related to the Nokia music liberary, like displaying artist info, search and play.
-
HERE MAPS -Directions: Opens a map showing directions from the current user location to the entered address.
-
HERE Maps- Address: Locates an address entered on the HERE map.
Styles
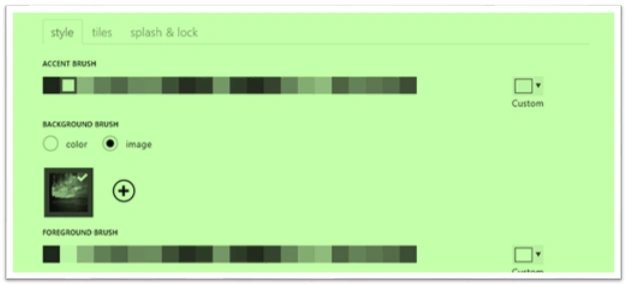
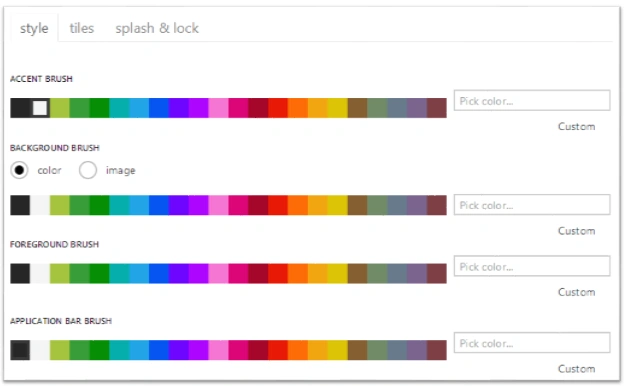
Styles involves application color combination settings. It includes:
-
Accent brush: It is the color of the application Header.
-
Background brush: The color of the application background. It can be an image or a color.
-
Foreground brush: It is the same as the font color or application text color.
-
Application bar brush: The color of the application bar of an application.
Tiles
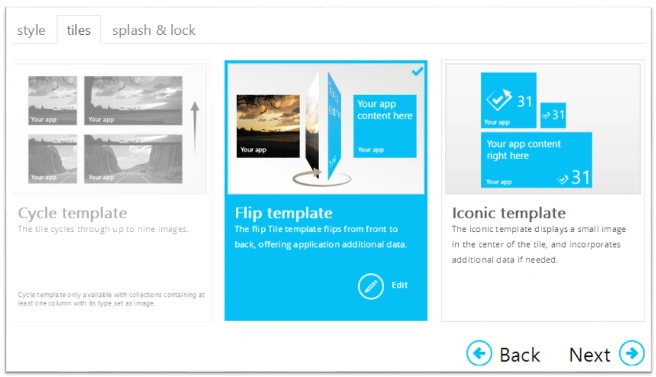
In this section we configure the tiles for our application. Windows Phone 8 supports three types of tile templates.
-
Cycle template: A Tile Image cycles through the list of images up to 9. For this template to work, our app must have at least one data column of image type in any collection data source.
-
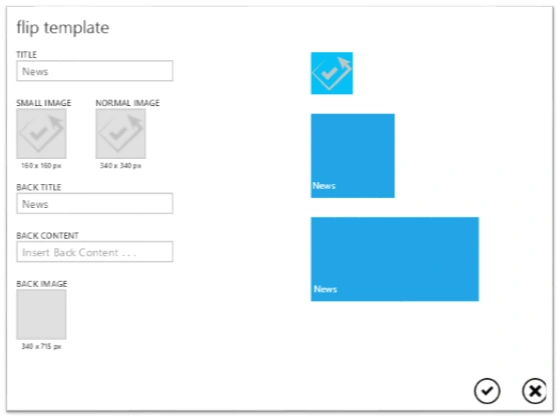
Flip template: As the name implies, a Tile flips between front and back. Both front and back can have various images as well as data.
-
Iconic Template: It is used for showing an icon on tile. It also allows additional data addition. This tile only supports icons. Adding images may result in a complete white tile.
Completing our App
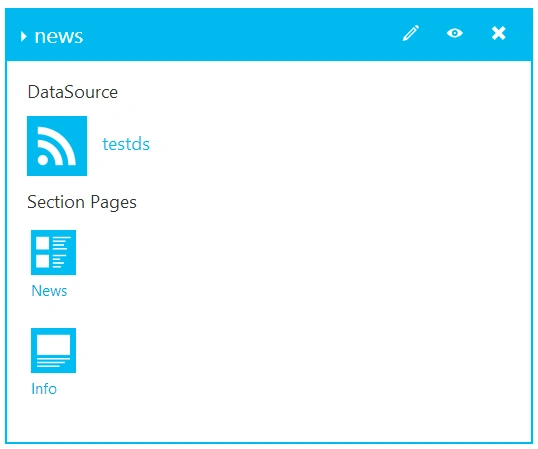
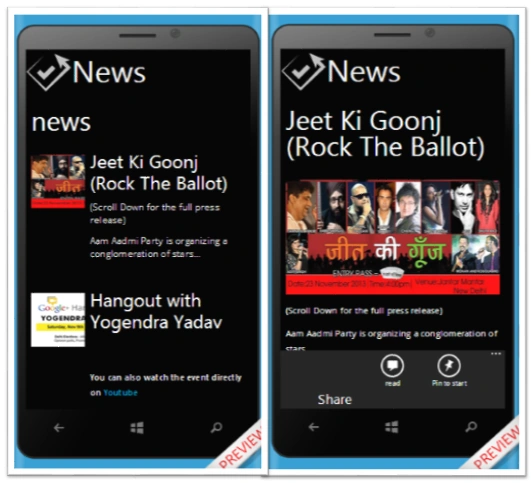
So we have added a data source to our application. When we added a data source, we also added the section. In RSS data sources a detail page is also added automatically in addition to a section page. Now we need to bind the RSS data source to our Section. To do this:
-
Click on the newly added section page. Let us say "news".
-
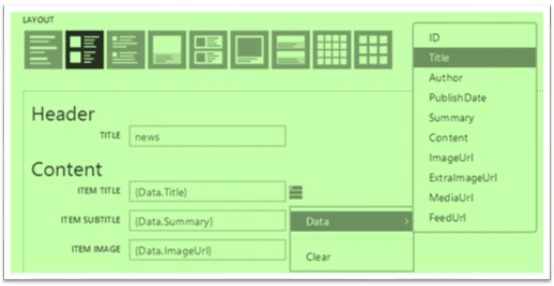
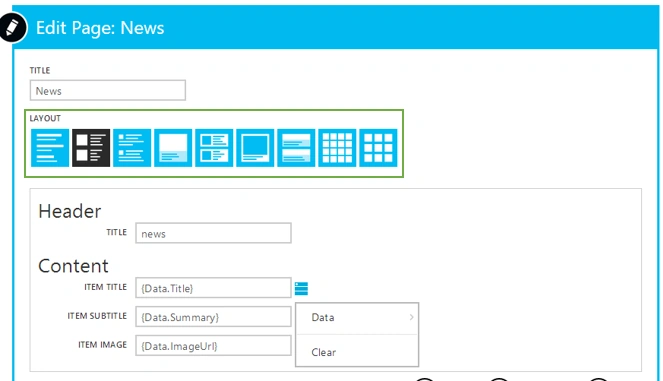
Select the layout of your choice. We have 9 choices. Each choice has its own use. The last two layouts are useful for an image gallery and the rest depends on your taste. I'm choosing the second layout for this app.
-
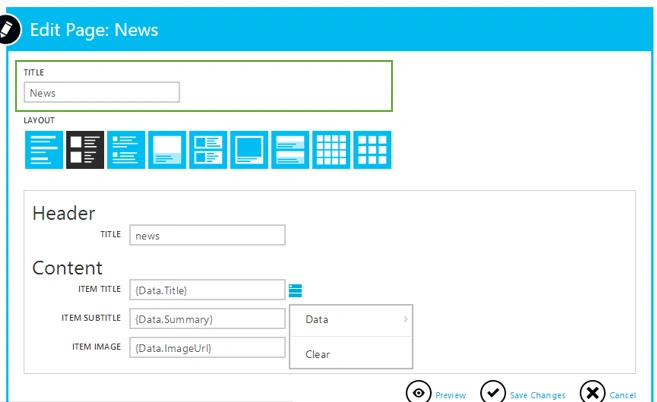
In the header section enter your Header title "News".
-
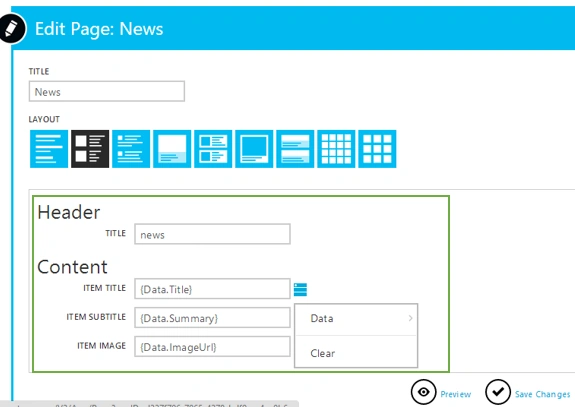
To bind an item title with the RSS data, clcik on the right box then select "Data" and then "Title".
-
Repeat the preceding step for Item subtitle and Item image also.
-
Now click on "Save changes".
-
Click on "Info page".
-
Enter a title and choose the layout for this page.
-
This is our detail page. It will be opened when the user clicks on any news item of the main page.
-
Bind the header with Context.Title.
-
Repeat the preceding step for Content and Image also.
-
Click on "Save changes".
Now we are done with the internals. The next task is to set the look and feel.
-
Clcik on "Configure App Style".
-
For this app keep the settings to the defaults or you can change as you wish.
-
Click on the "Tiles" tab and select "Flip template". Click "Edit".
-
Fill in the required info, like tile title, tile image and tile content.
-
Click on "Save" (check mark).
-
Now click on the "Splash & lock" tab.
-
Upload the splash screen background and lock the screen background images and click "Next". (If you don't change the images then your app will be rejected during store certification.)
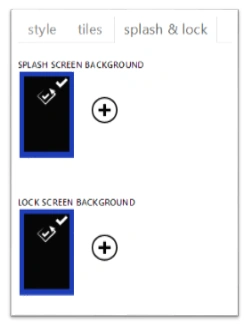
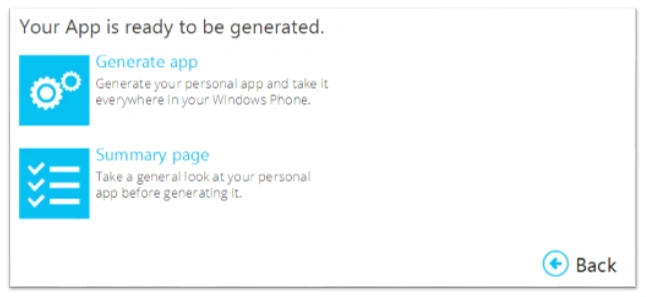
That's it! we are done. Click on "Generate" and then download your app.
Summary
From this article we saw how easy it is to create apps for Windows Phone. Now you are an app developer. So start showing your creativity and use this tool for converting your idea into reality.
What next
Earn some rewards by submitting your apps here . Register here and add your developer account. Submit some apps and get your favourite reward.
Join the conversation! Your thoughts help the community grow.