


This article explains how to use the import and export feature of a Collection Data Source of Windows Phone App Studio. In my last article we learned about how to use the Collection Data Source for entering and managing our data manually. We learned various table management operations. Entering a data item one by one is a difficult and annoying task. This article explains how you can do the task of table entry automatically.
Importing data
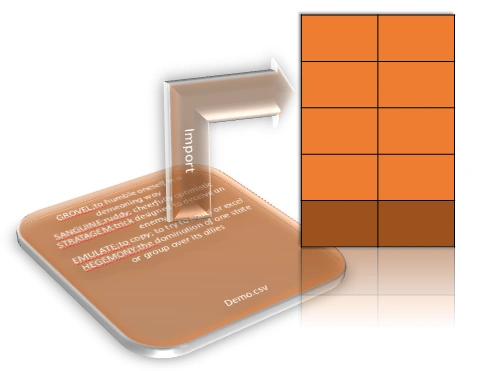
This feature enables you to use your existing files to populate the collection data table. You can create your data file in a Excel Sheet on your PC and upload it directly to a data table. This feature also provides quick updates of a data table. Windows Phone App Studio's Collection Data Source provides an "Import data" feature so that you can use any existing data to populate the table. Right now it supports only Comma Separated Values (CSV) file types. You can create a CSV file using Excel or even Notepad.
Exporting data
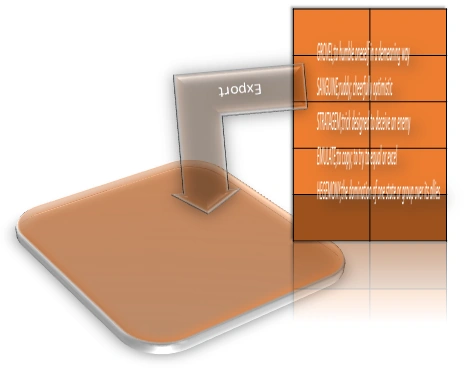
Export is the reverse of import. It is a very useful feature and is handy for backup and schema modification tasks. It allows you to get a copy of your data table in a CSV file format. The CSV file is downloaded to the local computer and can be modified locally. Later on the same file can be used to update the app's Data Source using the import feature.
File Format
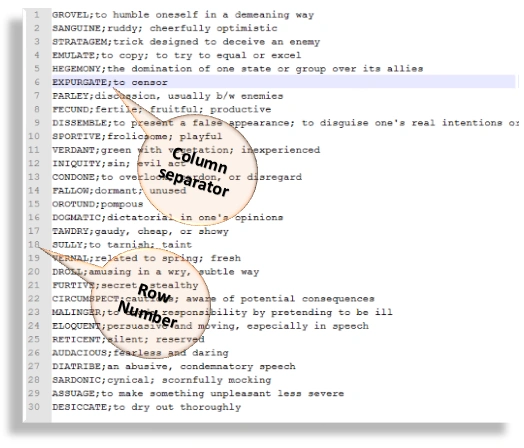
Windows Phone App Studio supports only CSV file types. You can add a maximum of 40 rows to a Data Source. So if the row count increases then only the top 40 rows will be imported and the rest will be rejected. In a CSV file, we have rows separated by new line characters. Columns are separated by a ";" delimiter. The order of columns in the data table and the order of values in a line of a CSV file should be the same for proper functioning. Your CSV may or may not have a header row.
Using the "Import data" option
To import data in your Data Source you need to have one file that will be imported into the Web Studio Server. The file structure should be the same as that of the Data Source table. So let us first create a sample CSV file.
- Create a new text file in your local PC.
- Copy and paste the following text in it.
GROVEL;to humble oneself in a demeaning way
SANGUINE;ruddy; cheerfully optimistic
STRATAGEM;trick designed to deceive an enemy
EMULATE;to copy; to try to equal or excel
HEGEMONY;the domination of one state or group over its allies
EXPURGATE;to censor
PARLEY;discussion, usually b/w enemies
FECUND;fertile; fruitful; productive
DISSEMBLE;to present a false appearance; to disguise one's real intentions or character
SPORTIVE;frolicsome; playful - Save the file with the name of demo.csv
Next we need to create a new Collection Data Source on the server with the same structure.
- Add the Data Source to your demo app.
- Empty the Data Source by removing all the columns. If you receive any binding error (it is very likely you will) then see the next section of the article, "removing bindings".
- Now add two columns, title and subtitle.
- In case of any issue in adding columns, refer to this article Adding columns.
Now we are ready to proceed ahead for using our "Import data" feature.
- Open your Data Source settings page.
- Click on "Import data" at the top-right of the table.
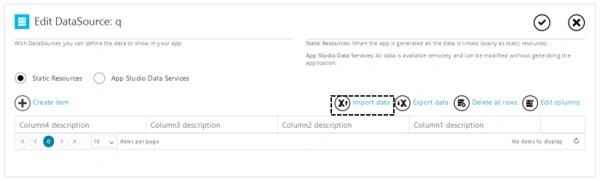
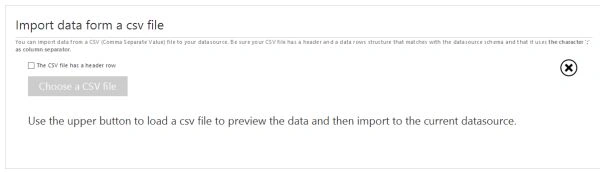
- Tick the checkmark "The CSV file has a header row" if your file contains a header row else untick it. For this example uncheck it.
- Click on "Choose a CSV file".
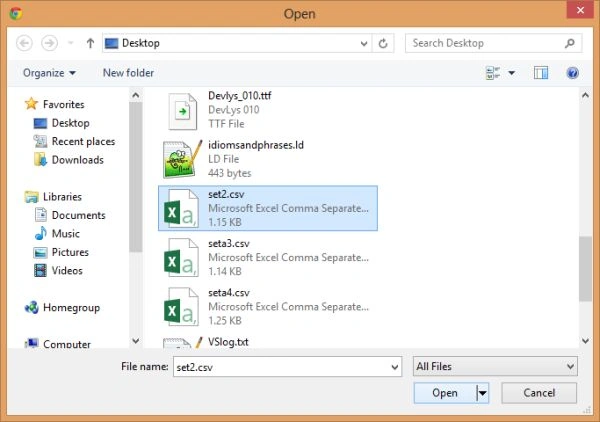
- Now locate your file in the Open file dialog and click "Open".
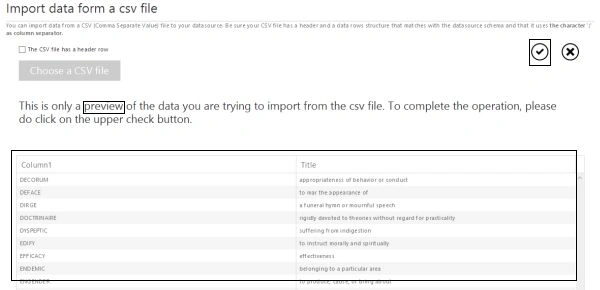
- If everything is done correctly then you will see a table view of your file data. Click on "Save changes" to complete the import operation.
Using the "Export data" option
This is very simple to use. What you need to do is:
- Open your Data Source settings
- Click on "Export data"
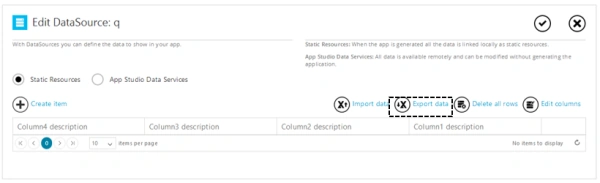
- Your download will begin.
Removing Bindings
To clear the bindings:
- Click on the edit section of the Data Source.
- Now to remove a page click on the red cross. For example delete the "Details" page by clicking on the red cross.
- Click on "Save changes".
- Click on the section page.
- To remove any binding click on "Bind to data" and then select "Clear". To suppress the "This property is required" error write any text in that field.
Possible errors
- Binding error
Check the removing binding section. - Number of Rows exceeded.
The maximum number of rows you can add is 40, so delete some rows from the file. - File size exceed. Max file size is 500KB.

You have done something wrong, such as selecting the wrong file. - File error
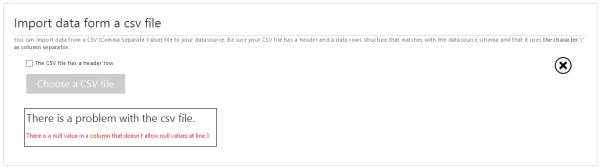
Multiple reasons, may be the wrong file, a mismatching table format and so on.
Summary
The import and export feature of collection data is very useful, especially when we work with dynamic data and slow connections. Thanks for reading this article. Don't forget to comment and share this article. In case of any doubt feel free to query using the comment section.
Join the conversation! Your thoughts help the community grow.