


This article describes the following:
- Introduction to Unity 3D.
- Install Unity from Visual Studio 2015.
- Create your first Unity 3D application.
- Introduction to the Unity 3D Framework.
- How to add a C# Script to your Unity 3D application.
- How to add the C# Script to a selected object to produce the result.
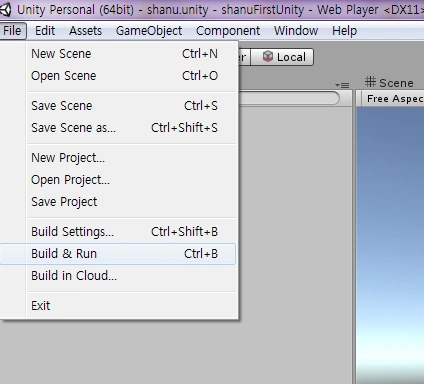
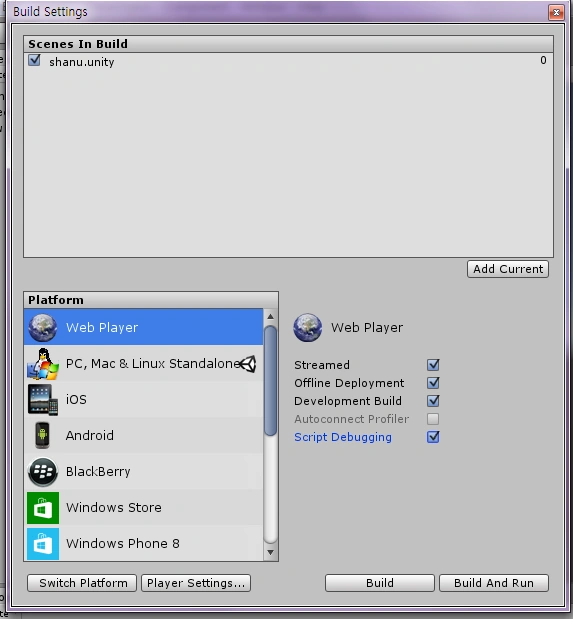
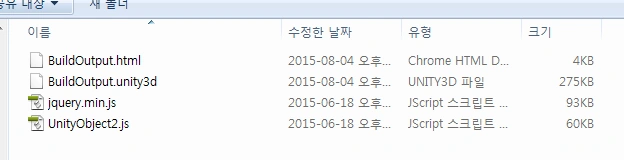
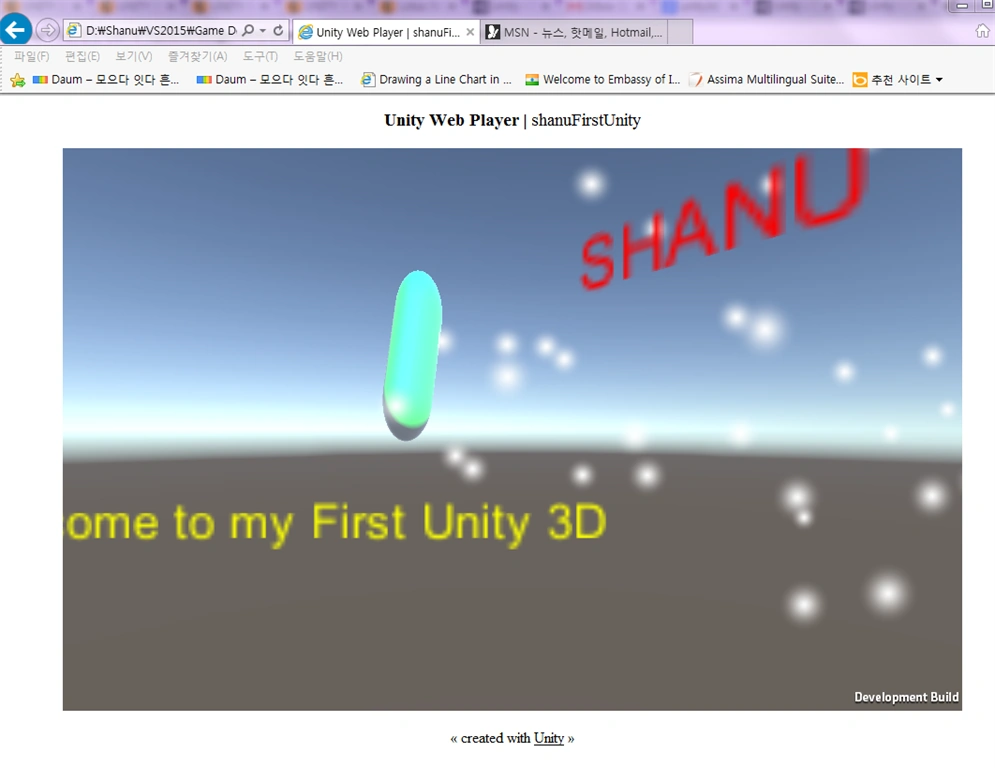
- How to build a Unity 3D application and run it on the web.
Introduction to Unity 3D
Unity supports the development of game applications. Using Unity we can create 2D and 3D games. It also supports multiple platforms, in other words, we can build and deploy our Unity program to the web, Windows, MAC OS, iOS, Android, BlackBerry, and so on. It's interesting, right? Yes, this is the main advantage of Unity since we write once and can deploy to multiple platforms. Another advantage of Unity is we can write our C# script to perform actions on Game Objects. For example, we can write a C# Script to rotate 3D text, Cube, and so on. We can see more details on how to install Unity and how to work and run our first Unity Game application.
You can refer to the Unity3D website for more details.
For game lovers that don't know how to write your game application using C#, it's a good place to start with Unity. Unity is a very good platform to start and write your own game applications and write scripts using C#.
For Unity C# script tutorials kindly refer to this link. You can find both a C# script API and a JavaScript API.
Install Unity from Visual Studio 2015
Here I have used Visual Studio 2015. You can download the Visual Studio 2015 Community Edition from here.
After installing Visual Studio 2015 click Start, then Programs and click Visual Studio 2015.
Click New, then Project and select Game. If you didn't install Unity in your computer you can install it from here. Select Install Unity and click OK.
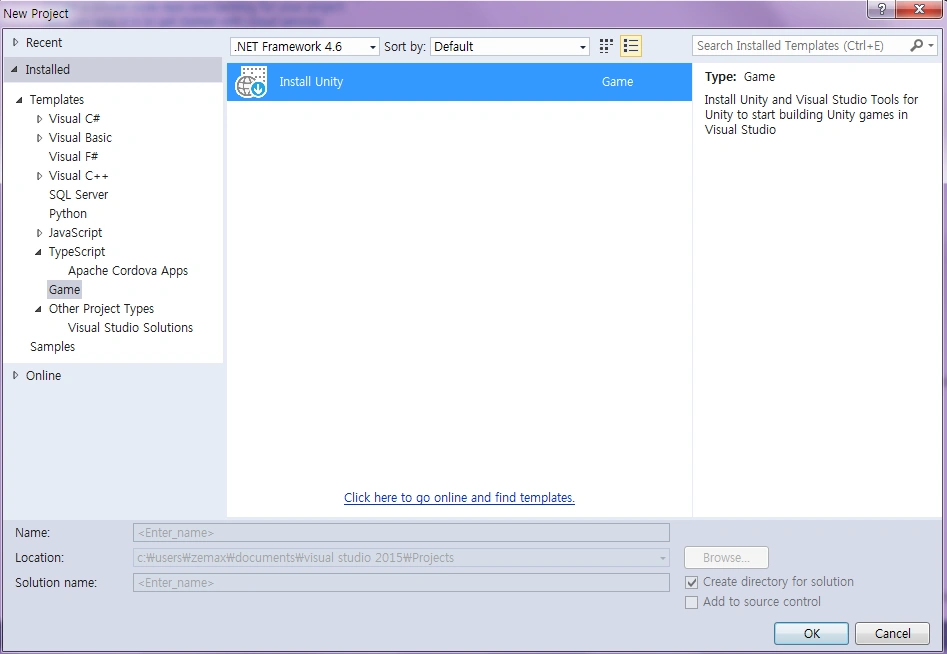
Click Install to continue the installation of Unity and the Visual Studio Tools for Unity.
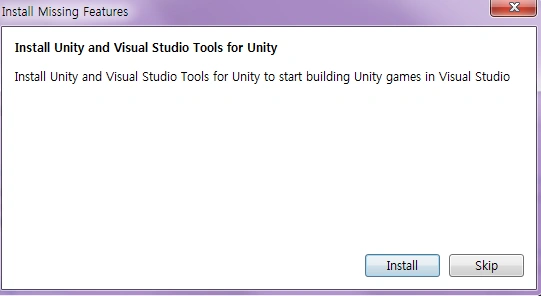
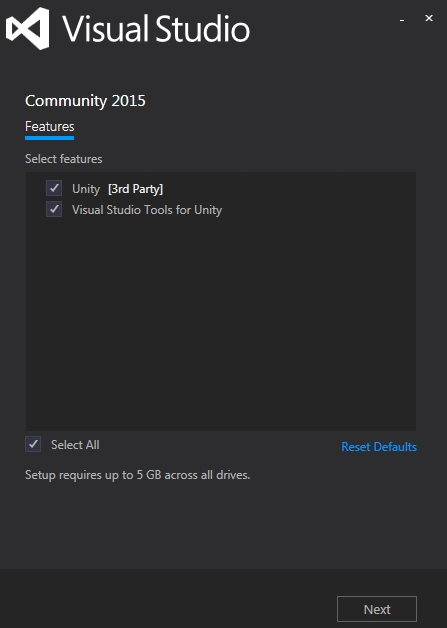
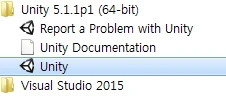
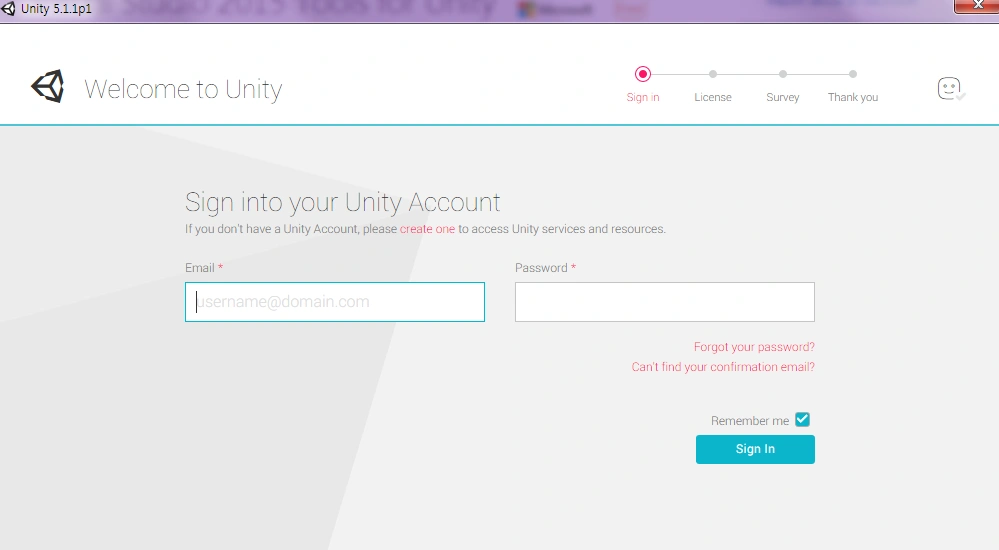
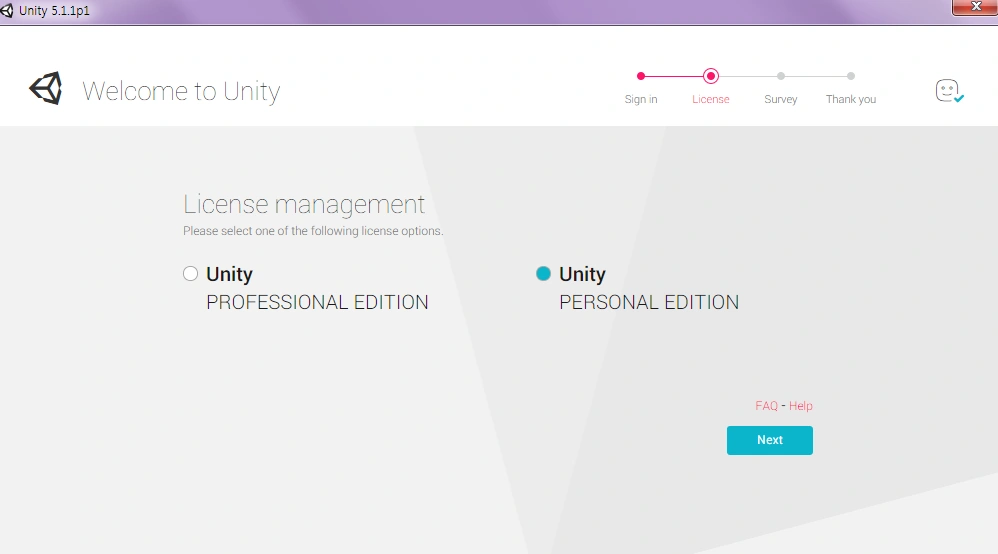
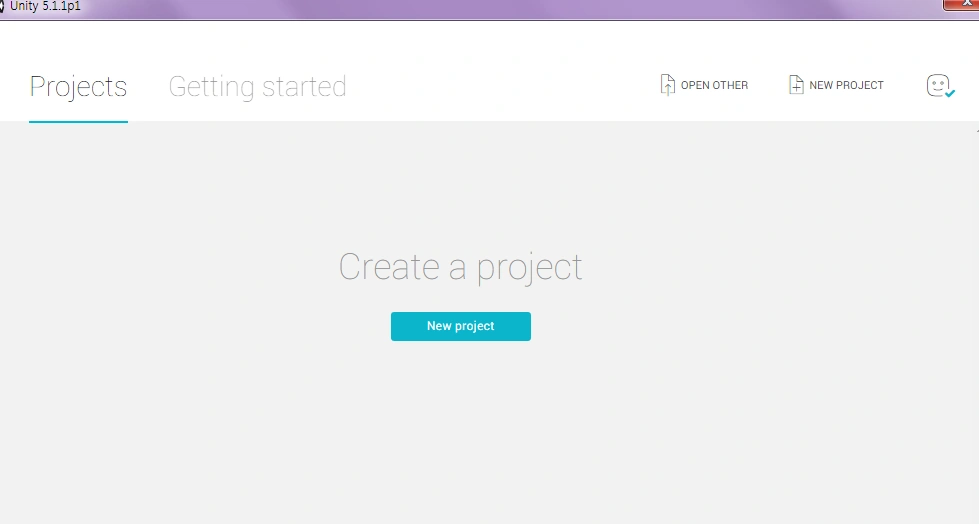
Once the Unity installation completes, click the Start Menu. Then go to the Unity Folder and click Unity.
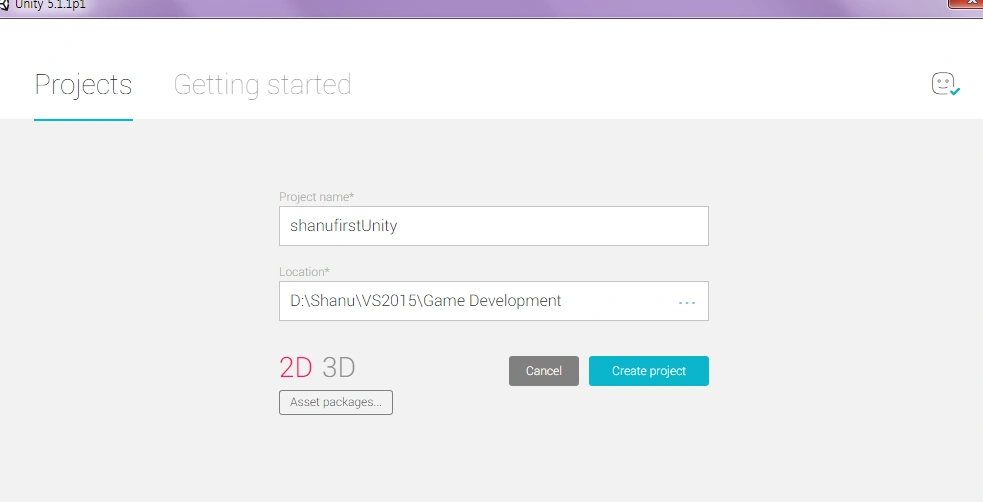
Code Part
- Introduction to Unity 3D Framework
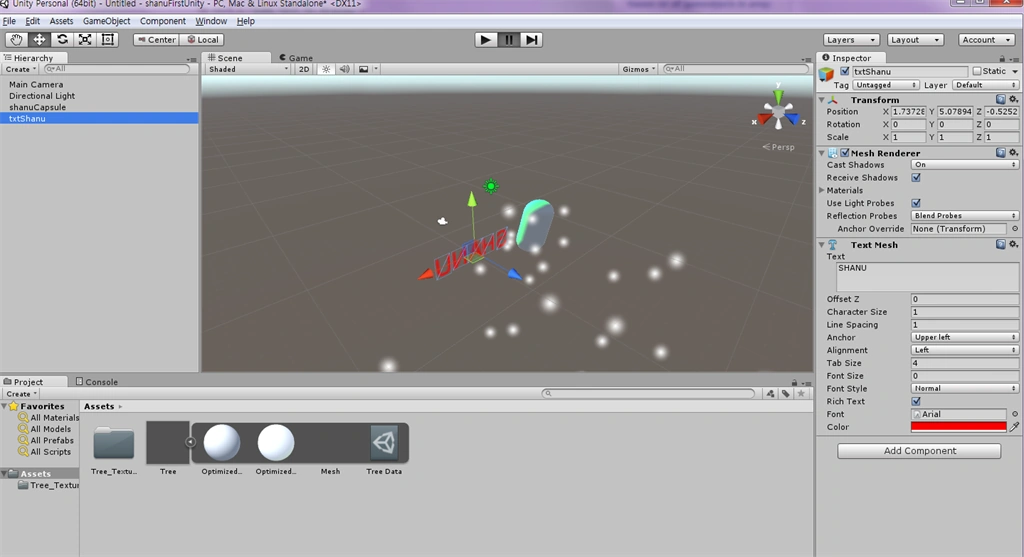
After creating a new project we can see the Unity Framework as in the following. In the Unity framework we can see 6 main parts:
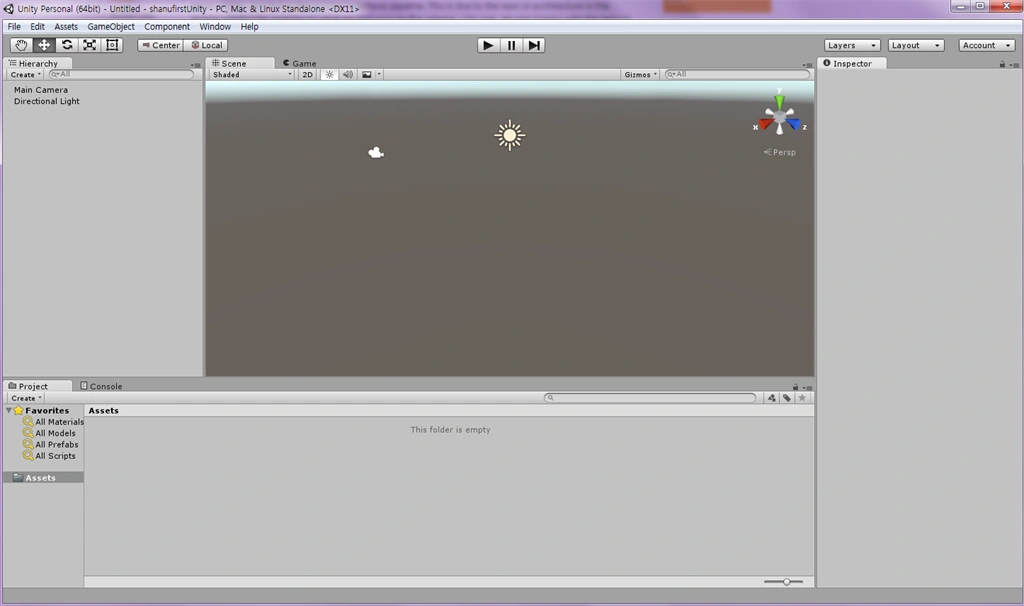
- Hierarchy Window
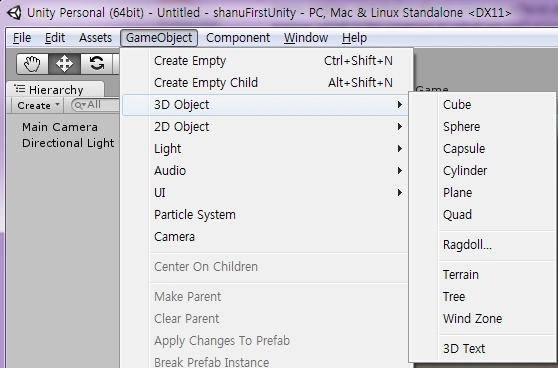
All the added game objects, Cameras, and Light for our Scene will be listed in this window. We can add 2D and 3D objects and so on to our scene by right-clicking the Hierarchy Window and selecting depending on our needs. (Here are the game objects like Cube, Sphere3D text, and so on.) You can also add the objects from the GameObject menu.
- Project Window
We can see our entire project file in this window. We can add a C# Script file from this window.
- Scene Window
We can see all our objects that have been added to the scene here. For example, if we add a Cube and 3D Text then we can see them in this Scene window also.
- Game Window
Here we can see the final output of our scene. We can click the run button to see the game output.
- Console Window
In this window, we can see an error message if any, that we have in our script file.
- Property Window
We can change the selected object Font color, Alignment, and so on.When we care about our Unity program in the Hierarchy window we can see by default the Main Camera and Directional Light will be added.
- Main Camera: This will be used to display our objects in whatever angle we placed it at.
- Object Toolbar: We can see the following toolbar at the top of the Unity Framework.

- The first tool will be used to drag and adjust the Scene of our Game.
- The second tool will be used to move the selected object and place it in our desired location. When we click on the Move tool and select some object from the scene and drag the object we can see the X and Y positions of the object will change from the property window.
- The third tool will be used to rotate the selected object. When we click on the rotate tool and select some object from the scene, by clicking on the object we can rotate the object as we needed, we can also see the selected object rotation X and Y value will change. To see the actual output click on the Game window.
- The fourth tool is to Scale the selected object, we can resize the selected object by clicking the Scale tool.
Now we start with adding color and a Directional Light.
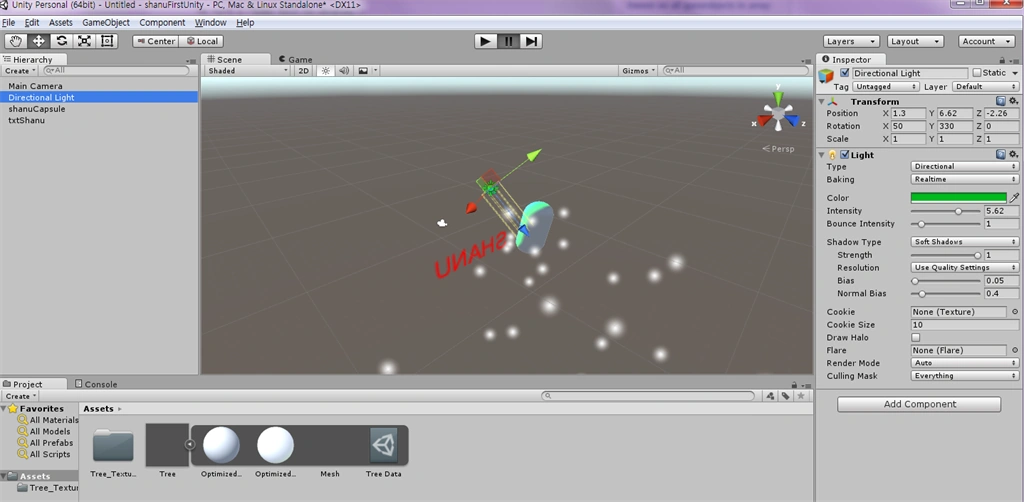
The Directional Light object will be used to add a light effect to our objects. For example, here we can see I have selected the Directional light and have dragged it and placed it near the Capsule Object.
Now in the property window, we can see I have selected the Green color for the Directional Light Object and I have increased the Identity of the Light Object from the property window.
We can see the final light effect on the Capsule object that was initially White in color due to the light placed for the Capsule Object but it has a Green color light effect on it.
3D Text Property
Here we can see the as in our Visual Studio Property window, the 3D Text object has properties like Text. (Here we can add text to the selected 3D Text object. For example, I have given my name as “Shanu”.) We can add color to the Text property and so on. We can provide the name for the object from the top of the Property window or from the Hierarchy window we can rename our object names.
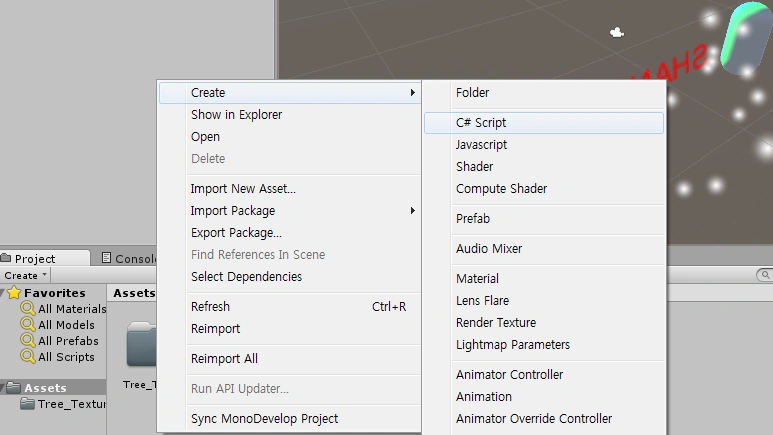
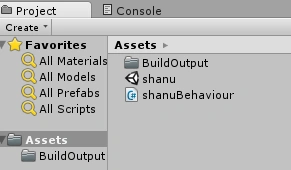
We can see the C# Script file will be opened in the Mono Editor as in the following screenshot.
MonoDevelop is an IDE that is the default editor for writing the scripts such as C#, JavaScript, and so on. For more details on MonoDevelop refer to this link.
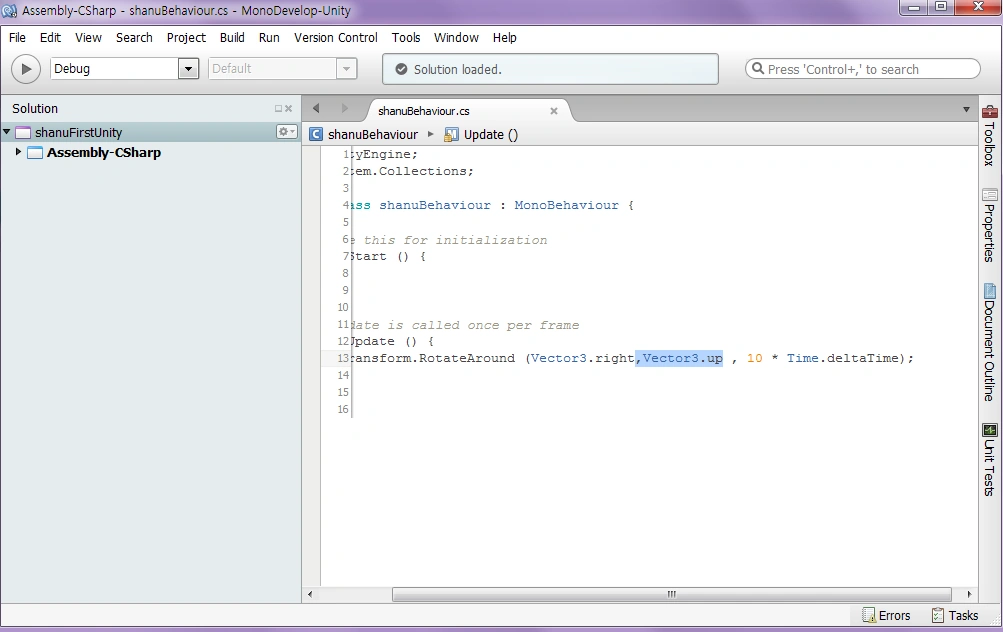
C# Script file Code Part: By default when we open the C# Code file it will look as in the following code.
We can see 2 default namespaces will be added to our C# Script file.
Our entire C# script file will inherit the MonoBehaviour class by default. MonoBehaviour is the base class of all the script derived from, for more details of MonoBehaviour kindly refer to this link.
When we create our C# script file we can see the 2 default method Start() and Update().
- Start() Method: The Start() method is similar to our Webform PageLoad or Windows Forms FormLoad event. The Start method will be run only once at the start of the program.
- Update() Method: The Update() method is an important method since this method will be called every time to perform our action. For example, if we need to rotate an object then we write code in the update method and assign the C# script file to the object. When we run the Unity program every time this update method will be called and we can see the continuous rotation of the object from our game output.
- using UnityEngine;
- using System.Collections;
- public class shanuBehaviour : MonoBehaviour {
- // Use this for initialization
- void Start () {
- }
- // Update is called once per frame
- void Update () {
- }
- }
Simple C# Script file to rotate our Objects
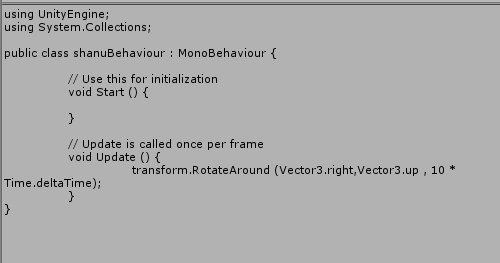
Here we can see I have written a simple code on the Update() method to rotate the objects in a set of interval times.
The transofrm.RotateAround()
the method will be used to rotate the objects. We pass the parameters as rotate directions and time interval to the RotateAround() method.
- using UnityEngine;
- using System.Collections;
- public class shanuBehaviour : MonoBehaviour {
- // Use this for initialization
- void Start () {
- }
- // Update is called once per frame
- void Update () {
- transform.RotateAround (Vector3.right,Vector3.up , 40 * Time.deltaTime);
- }
- }
After writing the C# code, save it in MonoDevelop and we can see the changes in our Unity framework at the right side of the property window.
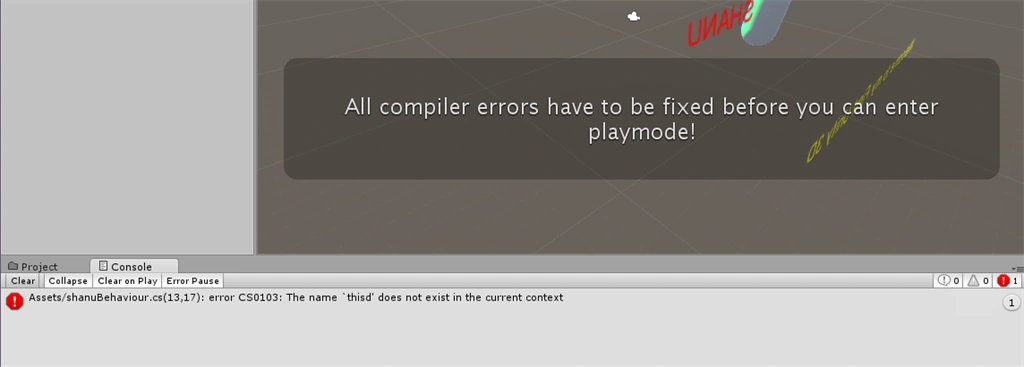
Console Window: We can see the error messages of our C# Script from the Console Window. For example, I have misspelled the “this” keyword with “thisd”, we can see the error message at the bottom of the Console window and also when we click on the Game window we can see the error message as in the following screenshot:
How to add the C# Script to selected object to produce the result

To add our C# Script file to our selected object, click on the C# Script file and drag it to our selected objects in the Hierarchy window. See the following GIF image to see how to add the C# Script file to an Object.
kalu singh raoPosted Jul 19, 2016, 2:04 AM
Nice...
Shariq SiddiquiPosted Jun 13, 2016, 6:46 PM
Thnx for sharing
Asfend YarPosted Feb 29, 2016, 1:49 PM
good
Ankit BansalPosted Aug 13, 2015, 7:41 AM
good one..
Gowtham RajamanickamPosted Aug 13, 2015, 4:49 AM
good one..
Karthikeyan KPosted Aug 13, 2015, 2:38 AM
Good one sir...Thanks for sharing
Vaikesh K PPosted Aug 13, 2015, 2:02 AM
Great Share :)
Sumit JoshiPosted Aug 13, 2015, 1:46 AM
Nice One...
Upendra Pratap ShahiPosted Aug 13, 2015, 1:39 AM
thanks for sharing..
Sibeesh VenuPosted Aug 11, 2015, 2:23 AM
Nice Share
sreenivasa kPosted Aug 10, 2015, 3:51 PM
good
Nipesh JanghelPosted Aug 10, 2015, 12:00 PM
Nice Sir!!
Mohammed IbrahimPosted Aug 7, 2015, 9:15 AM
nice
Rahul PrajapatPosted Aug 7, 2015, 8:10 AM
Nice article sir
Pooja BaraskarPosted Aug 6, 2015, 7:47 AM
Nice, recommended to get started with unity.
King UmarPosted Aug 6, 2015, 5:11 AM
cool
Amol SarkatePosted Aug 6, 2015, 5:05 AM
nice article
Debasis SahaPosted Aug 6, 2015, 12:52 AM
Nice article..
Santhakumar MunuswamyPosted Aug 5, 2015, 11:43 PM
Great Article. Thanks for sharing
Rakesh KalluriPosted Aug 5, 2015, 10:14 PM
Good one
Van LaiPosted Aug 5, 2015, 9:31 PM
Excellent! Thanks for sharing.
Neeraj KumarPosted Aug 5, 2015, 5:44 PM
Nice Article
Abhishek YadavPosted Aug 5, 2015, 2:11 PM
Very nice article Sir....
Pankaj Kumar ChoudharyPosted Aug 5, 2015, 2:01 PM
Nice Explain Sir.........
Gowtham KPosted Aug 5, 2015, 12:30 PM
Good one
Afzaal Ahmad ZeeshanPosted Aug 5, 2015, 11:52 AM
Interesting article Shanu, one more thing I find helpful is that your font is all English in this one. :D
Shridhar SharmaPosted Aug 5, 2015, 10:36 AM
learn something new. thanks for sharing.
RakeshPosted Aug 5, 2015, 10:18 AM
Very nice sir
Nilesh JadavPosted Aug 5, 2015, 8:59 AM
Nice article sir ! Good one !
Rajeesh MenothPosted Aug 5, 2015, 8:38 AM
Awesome Article..
Upendra Pratap ShahiPosted Aug 5, 2015, 8:31 AM
nice sir..