

Introduction
This article will cover the following.
- Brief concepts and prerequisites
- Implementation – Installation of Azure Explorer
- Implementation – Create a storage account in Azure
- Implementation – Use Azure Explorer to add blobs in the storage account
Brief concepts and prerequisites
What is Azure Explorer?
- Free Azure storage tool to manage all the blobs at the common place.
- Great GUI tool for adding and modifying the blobs.
Pre-requisites
Read the following article to create Azure account and for some basic information about Azure to get started.
Implementation – Installation of Azure Explorer
Steps to be followed
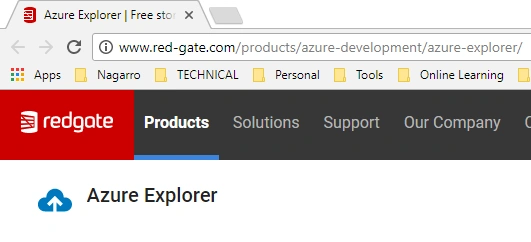
- Download the Azure Explorer from the following link and install it into the system.
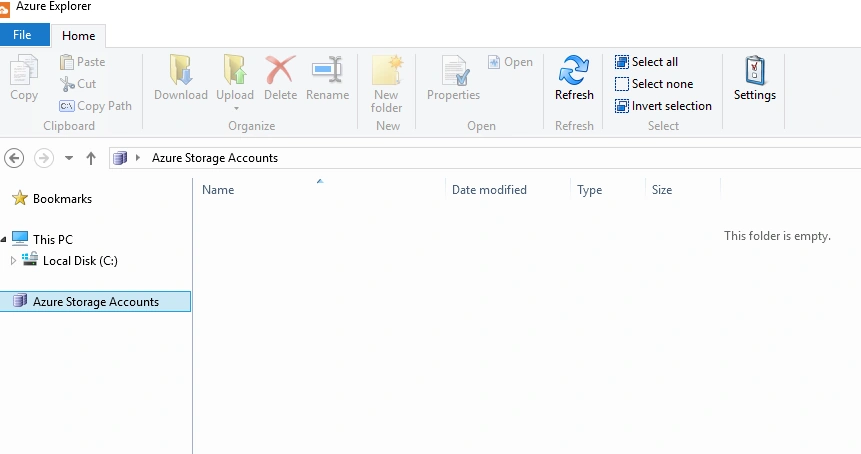
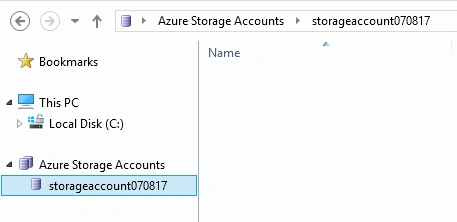
- Once we open the Azure Explorer, go to Azure storage accounts, which is empty currently.
Implementation – Create a storage account in Azure
Steps to be followed
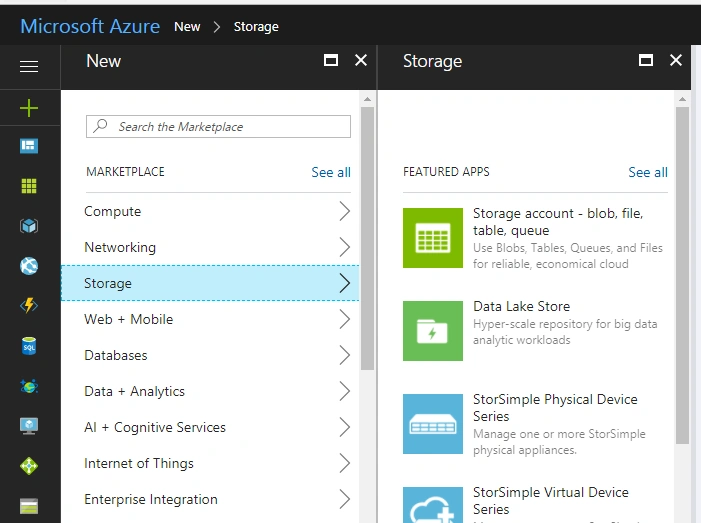
- Go to Azure portal and click on Add >> Storage.
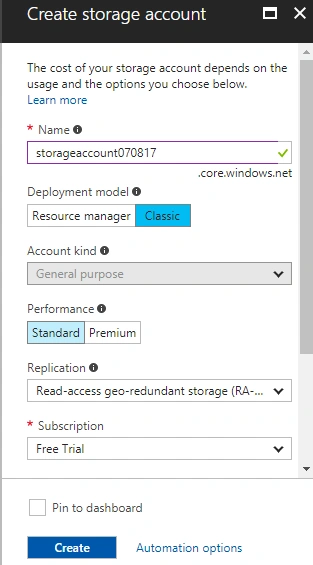
- Fill in all the details and give the storage name. Use the existing resource group and then click on “Create”.
- Go to the Storage Account section and see the newly created storage account.
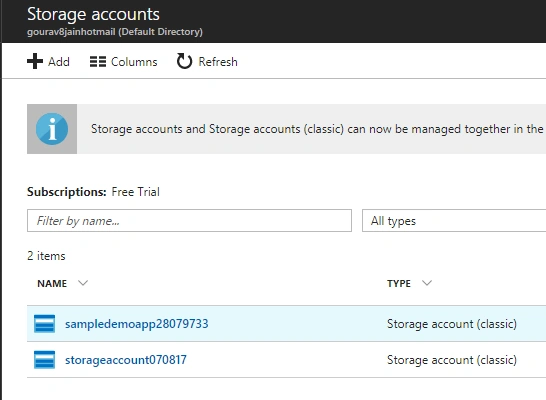
Implementation – Use Azure Explorer to add and view blobs in the storage account
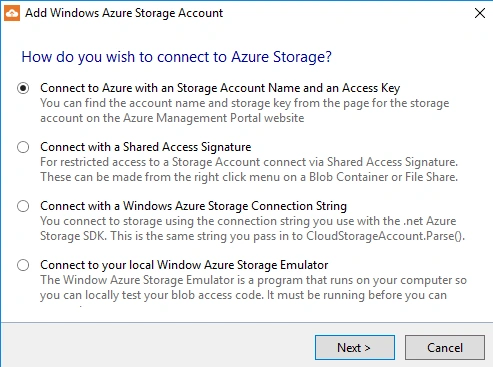
- Go the Azure Explorer; Right click on that and add new connection; Select “Connect to Azure with an Storage Name and an Access Key”.
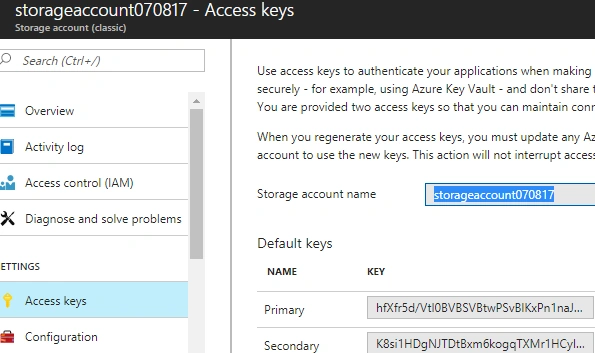
- Go to the storage account in Azure to get the storage name and key from there.
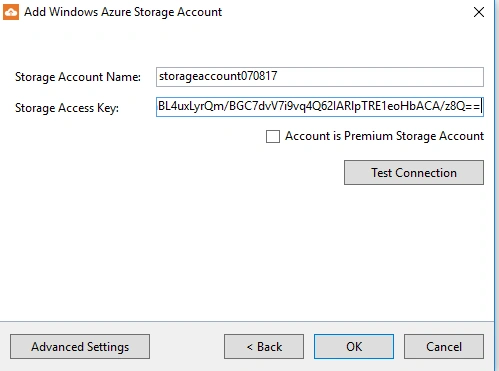
- Then, put these values in the connection and press OK.
- Then, you will see the new storage account, shown there in Azure Explorer.
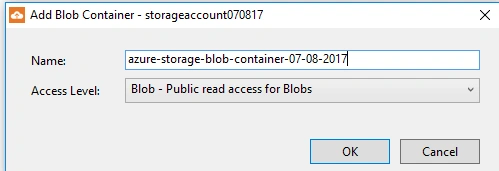
- Then, add a new blob container and select access level to public.
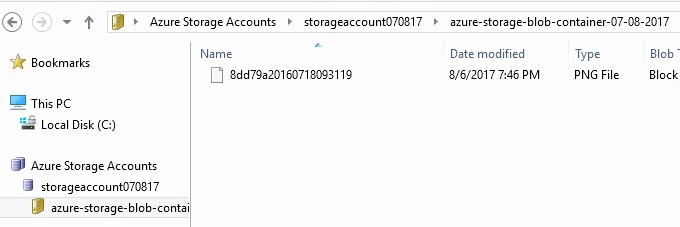
- Copy the image from the file system and paste it in the blob container.
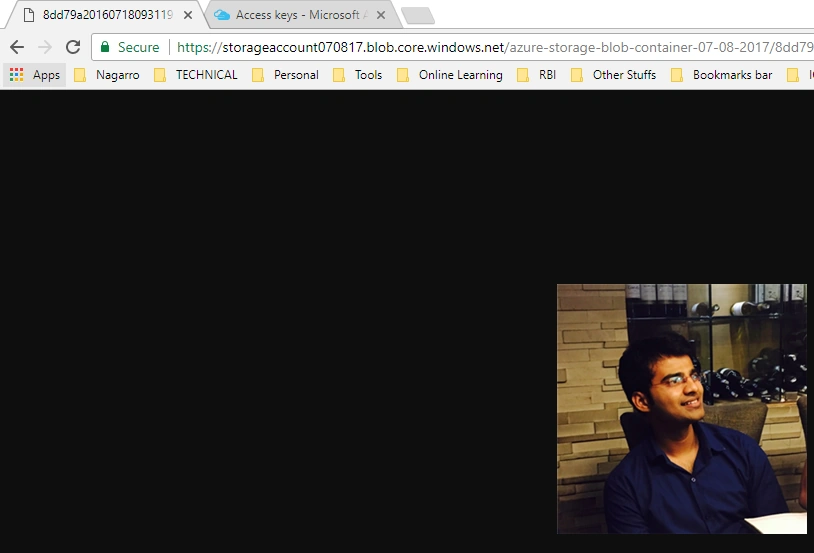
- Now, copy the path of the image and paste it into the browser. When we see the image, we see that the URL is a storage account URL.
Happy learning!
Join the conversation! Your thoughts help the community grow.