

Objective
In this article, I will show you the below important steps:
- Create GIT repository
- Create branch to your Git Repository
- Sync Your local project to your GIT repository
- Commit your project
- Push your project file changes
Let's first create an account in GIT if you don’t have one.
Let's install the GIT bash for windows for working on GIT command in your local cm prompt
Git - Downloading Package (git-scm.com)
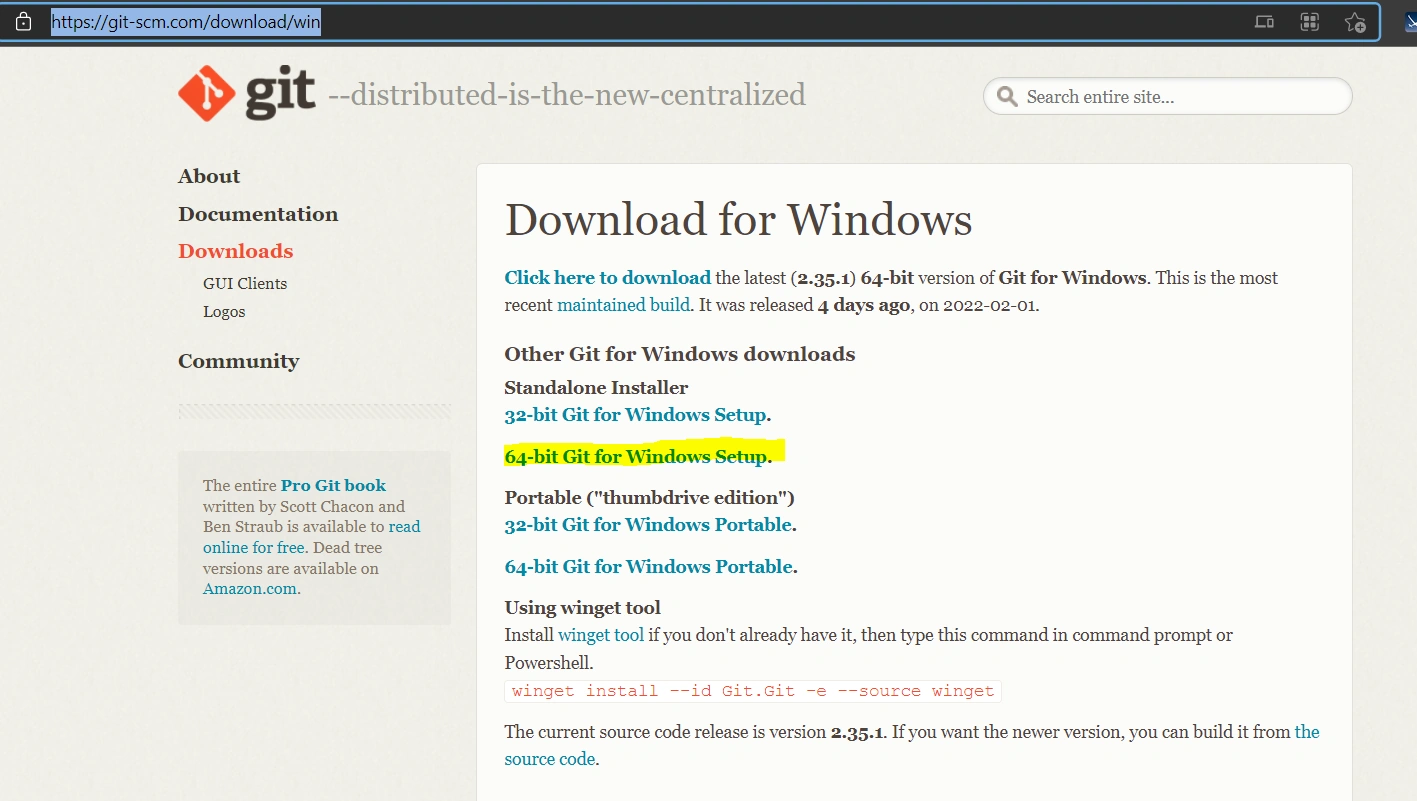
Create GIT repository
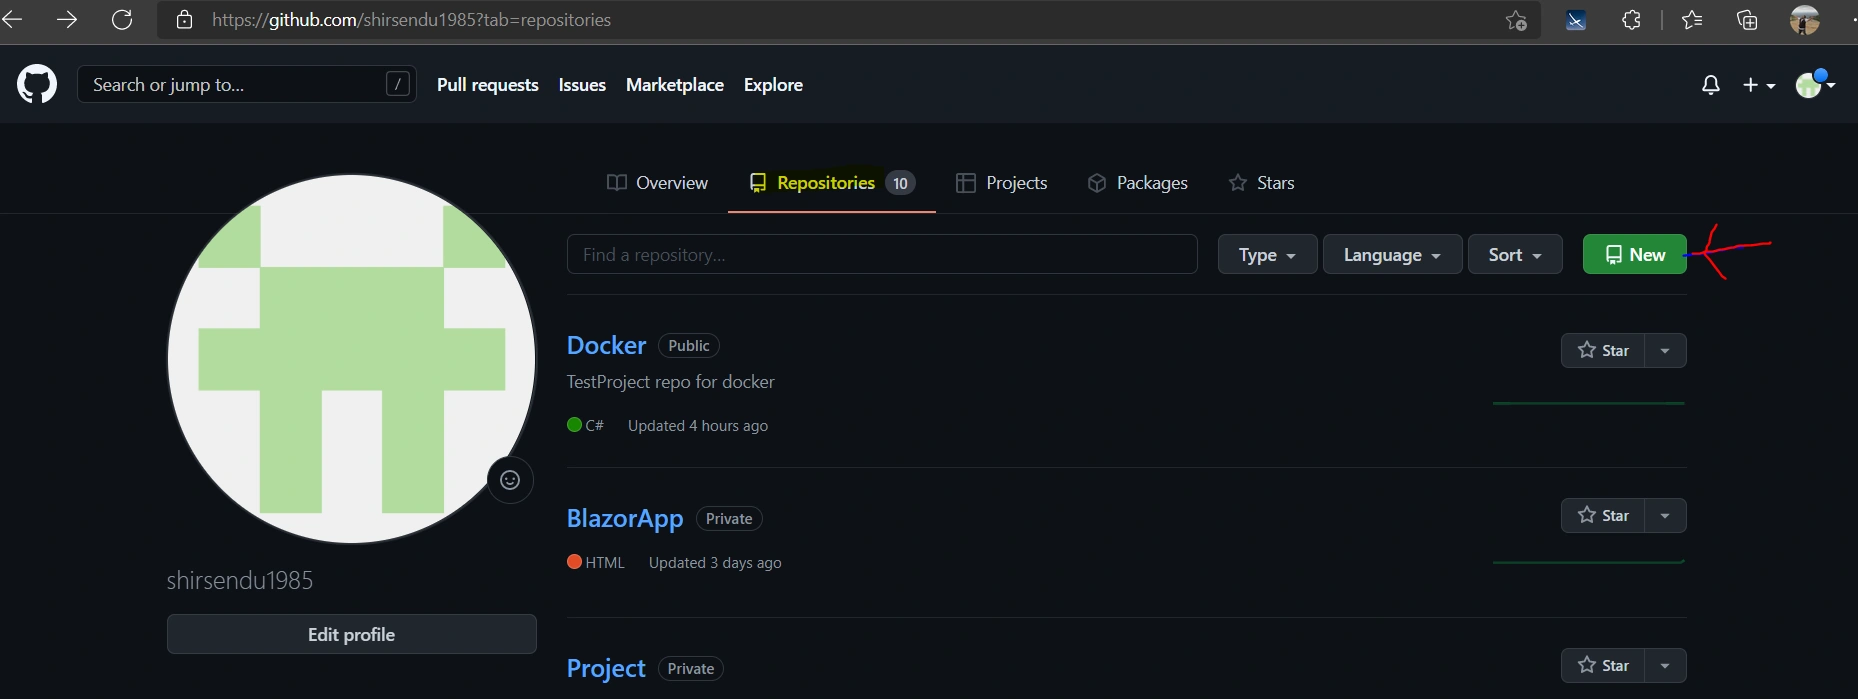
After loggin in to your git go to your profile ,Click “NEW” under the “Repository”
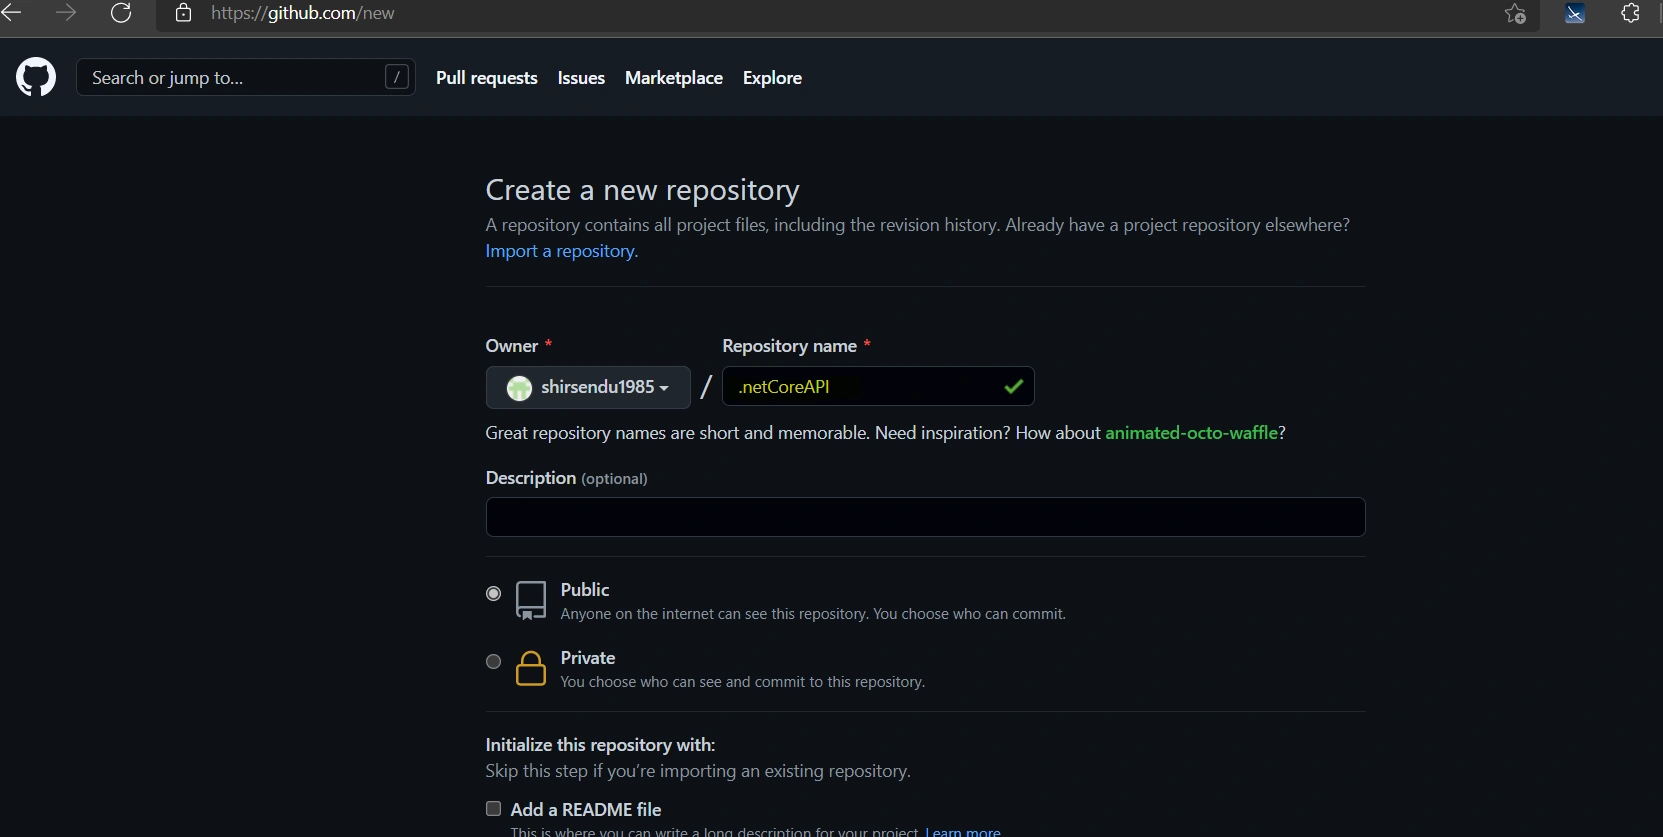
Give the Repository Name like for me “.NEtCoreAPI”. Choose public or Private and also give some input in the Description Field and Create the “Repository” button
Now you will have all the git code created for your newly Repository
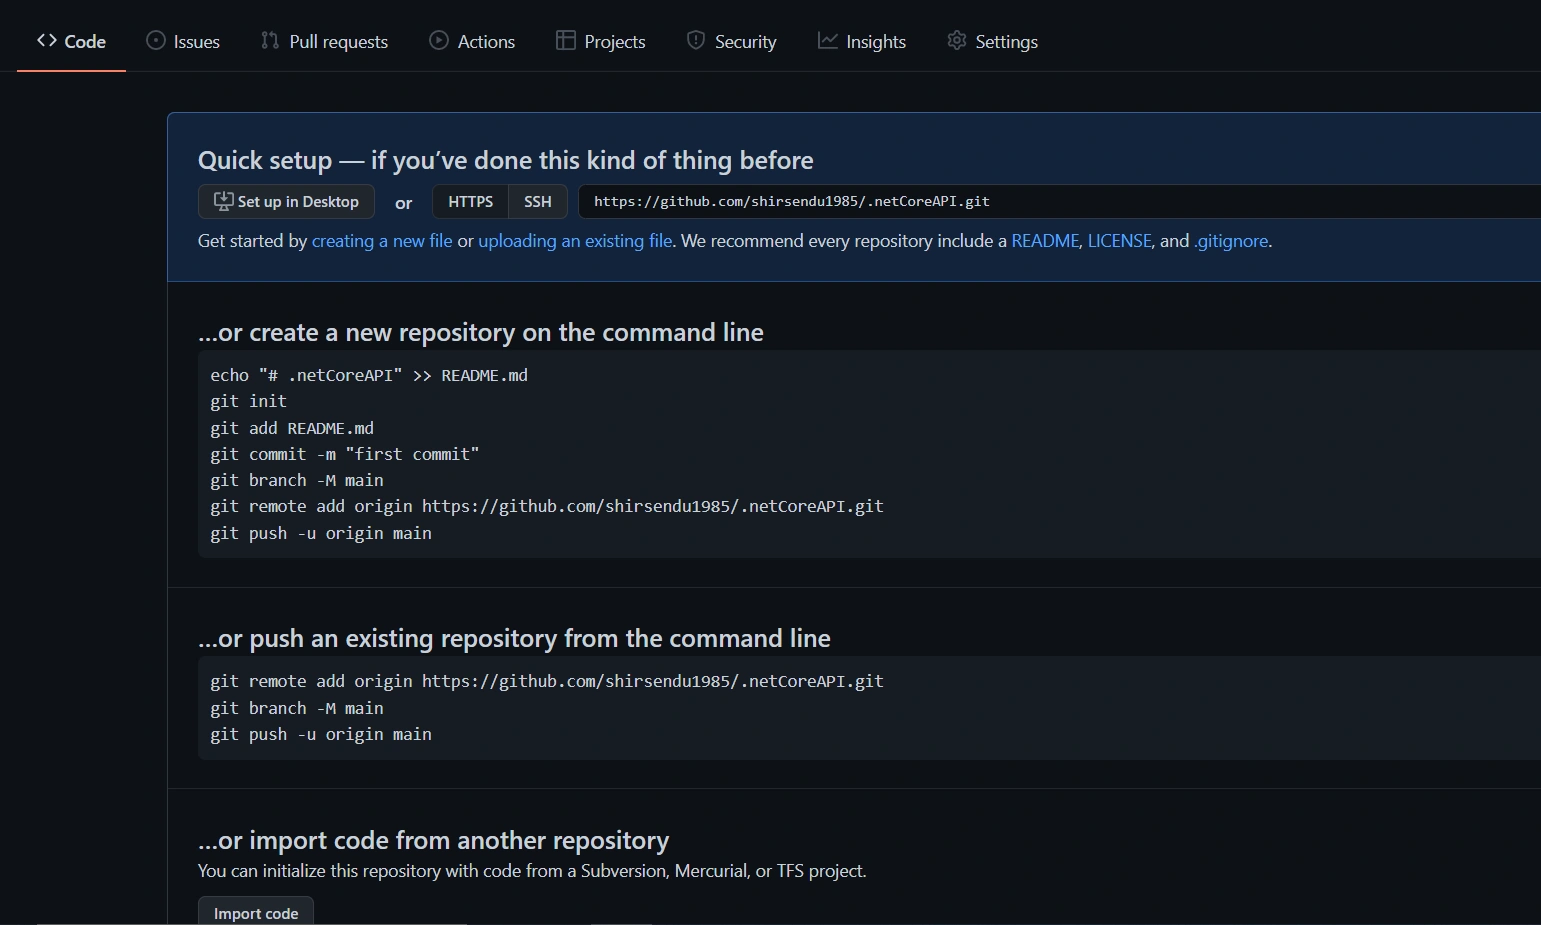
Sync your local project to your GIT repository
Go to your Project location
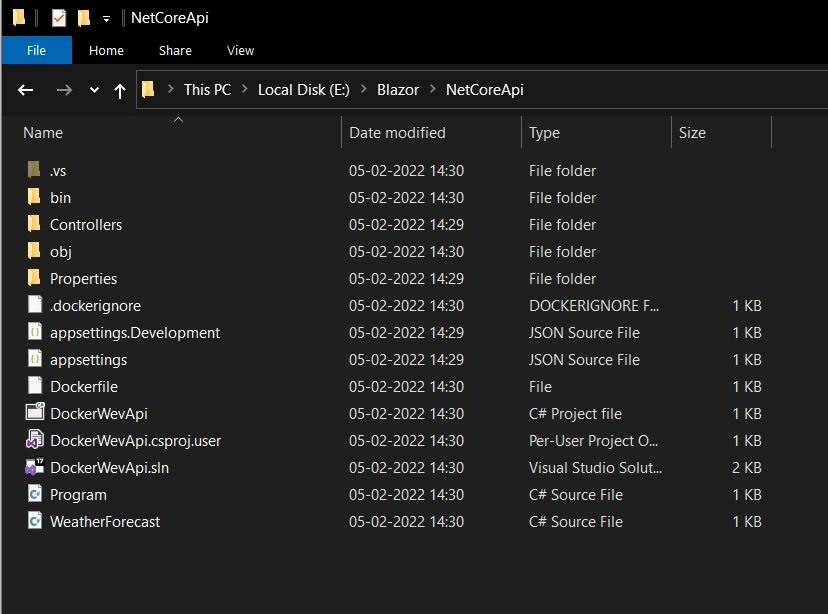
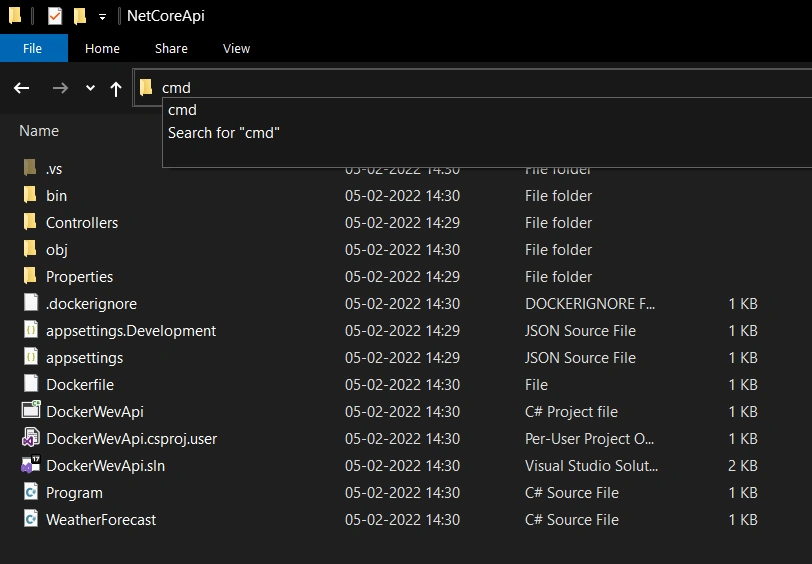
Type “CMD” at the taskbar and click enter
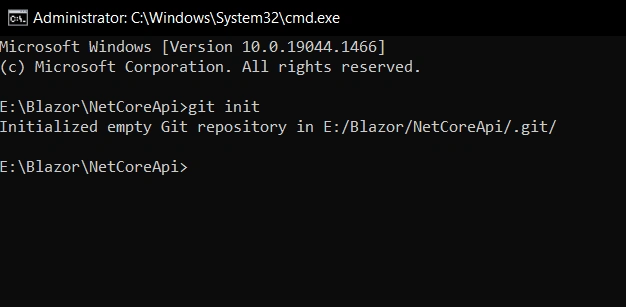
Type git init and press enter. It will Initialize empty Git repository at your project location
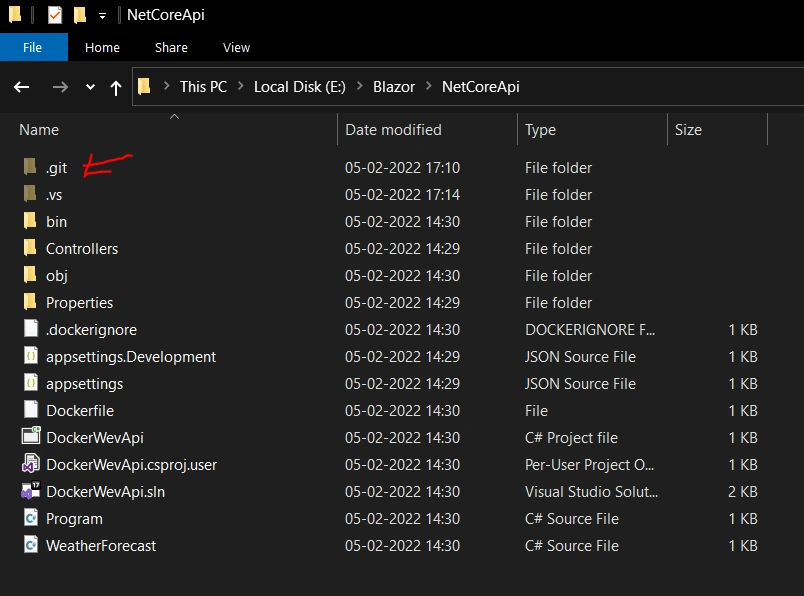
This will create a “.git” folder in your project location as you have mapped with git
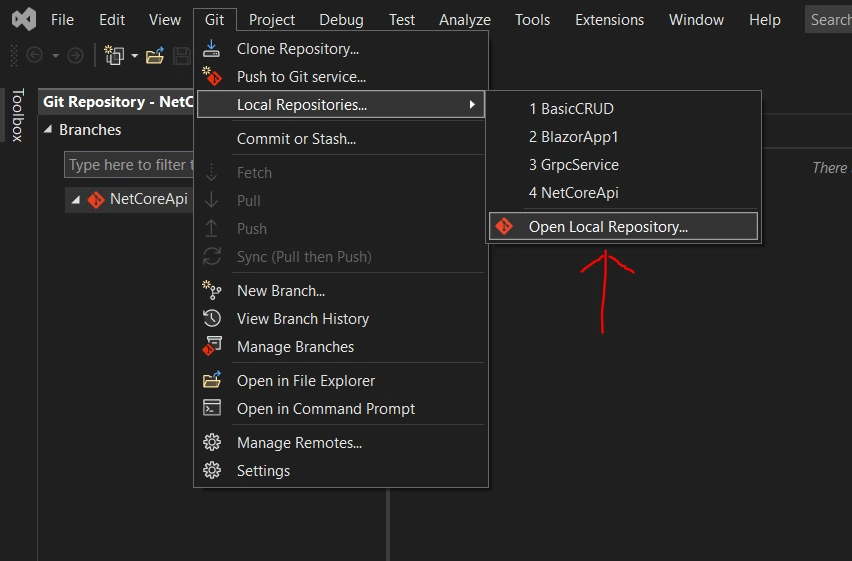
Now like below image “open local Repository” and select your local project location
Create branch to your Git Repository
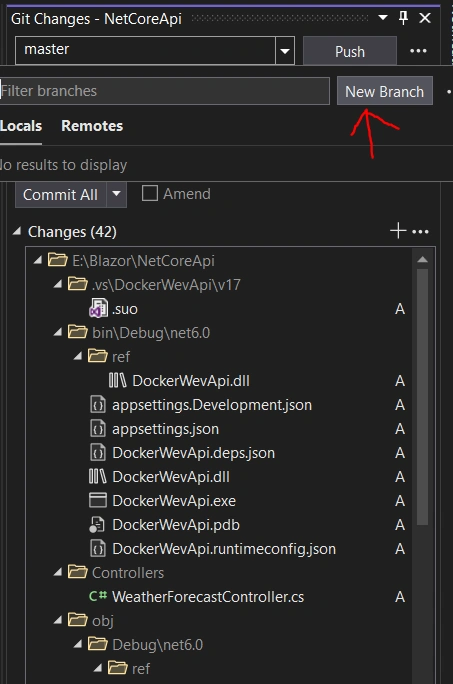
Go to the GitChanges tab

By default, it will be “Master” branch. Click New Branch button
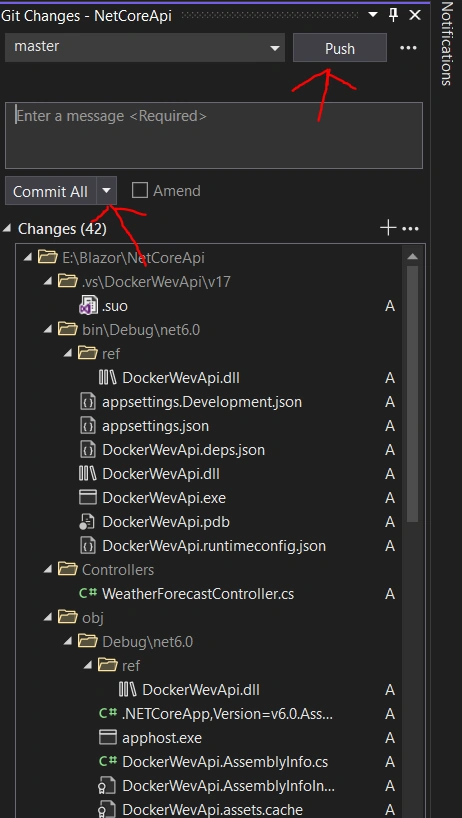
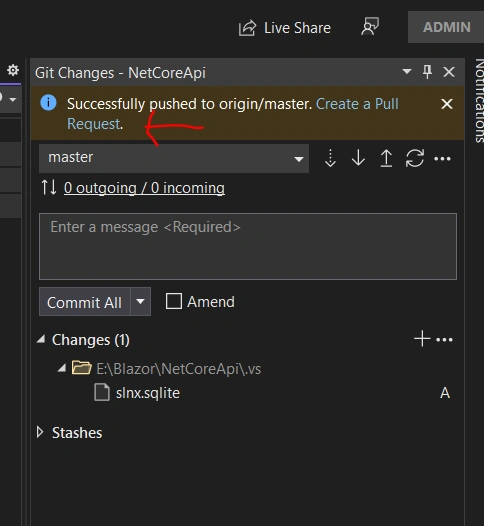
Now Enter message for commit . Press Commit all and then presh push button
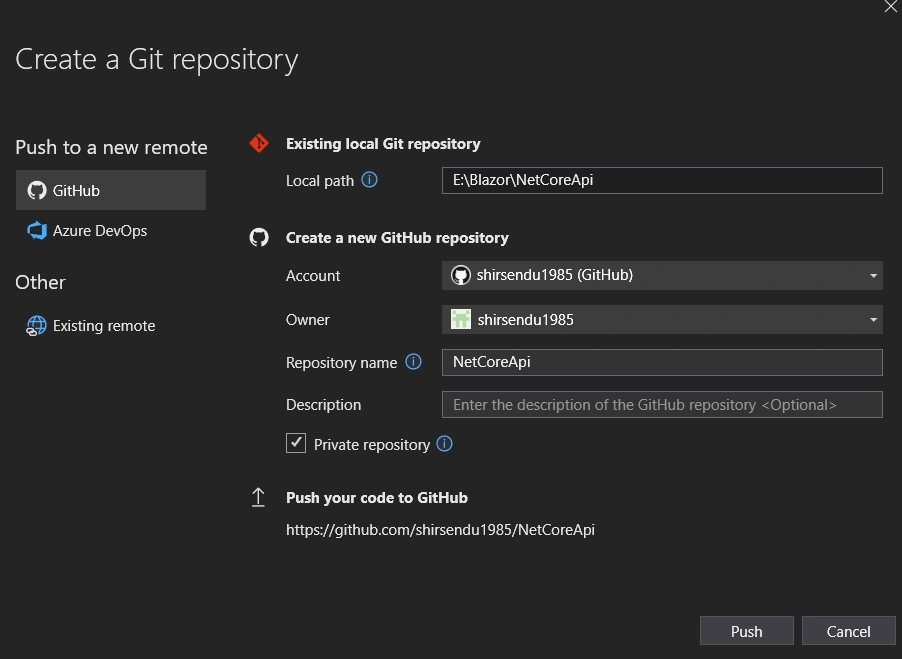
Push Operation done. You will get the below message
Now go to your git repo (NetCoreApi) and you will see your local code has been pushed into the repository
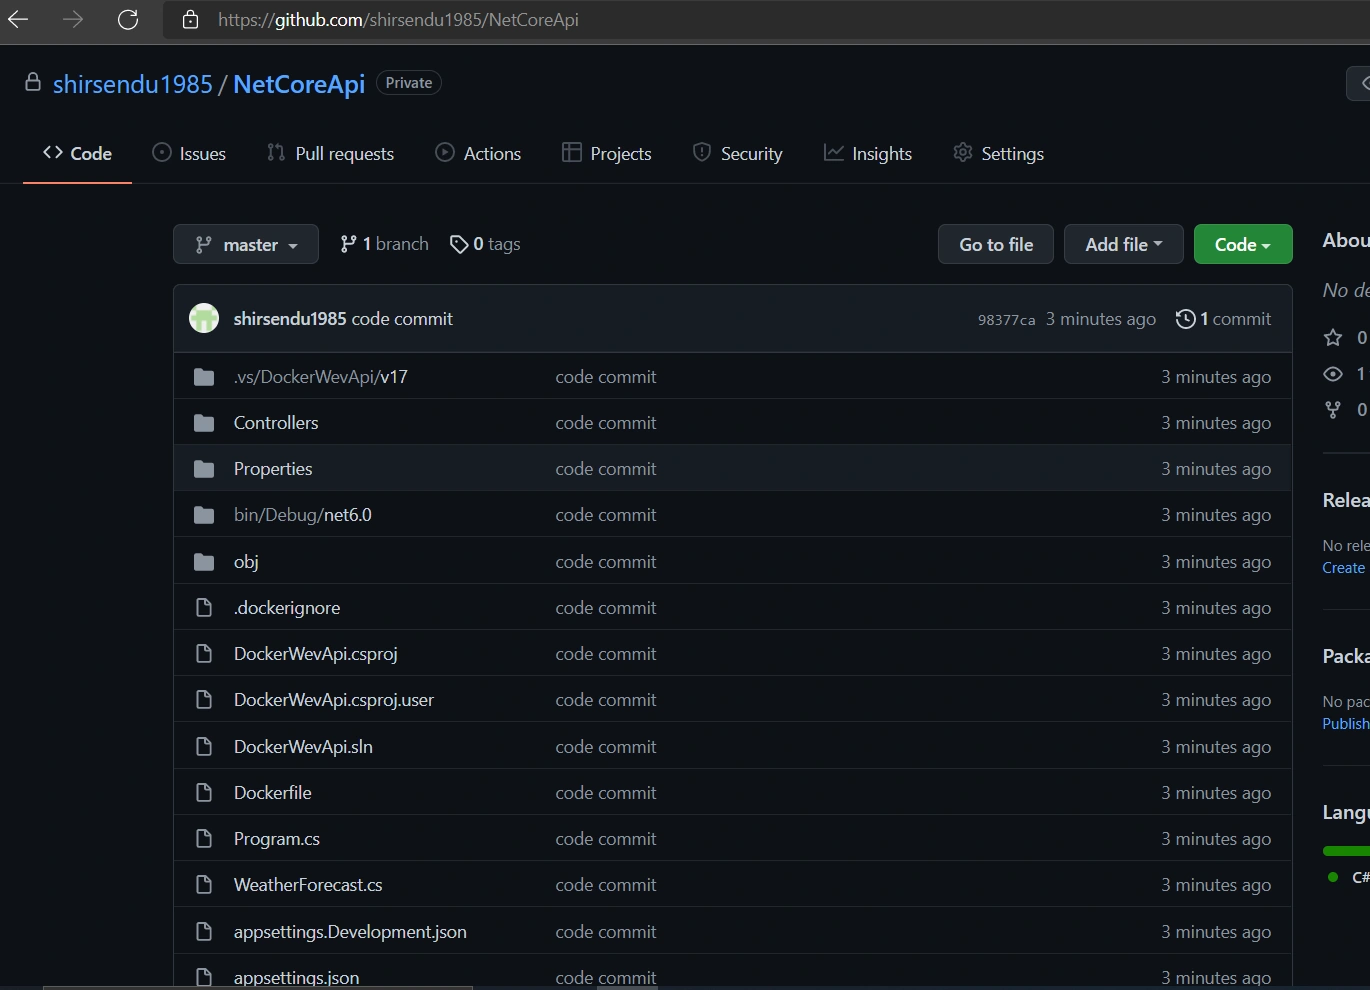
So in this article, we have seen how to push your local vs code at the git repo for the code versioning.
In my next article, I will show you how to create the Azure DevOps pipeline using your existing git repository.
Join the conversation! Your thoughts help the community grow.