

Introduction
In this article, we are going to see how to obtain a rating bar in Android using Android Studio. Rating Bar is a famous library used widely all over the world. There are several types of rating bars but we will use the Star rating bar.
Step 1
Create a new project in Android Studio.
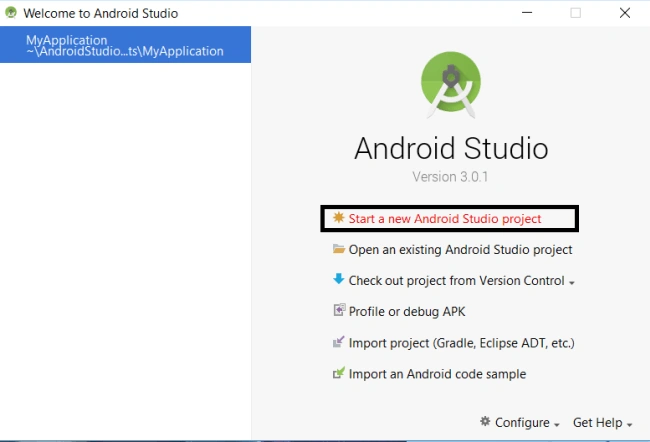
Give a name to the project and click "Next".
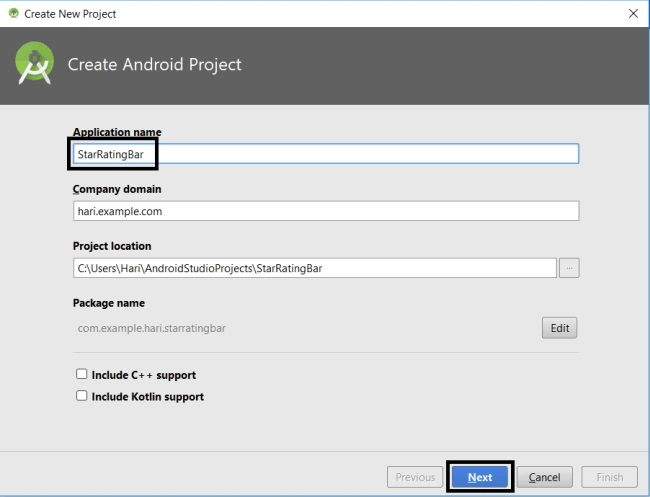
Select the "Phone and Tablet" and click "Next".
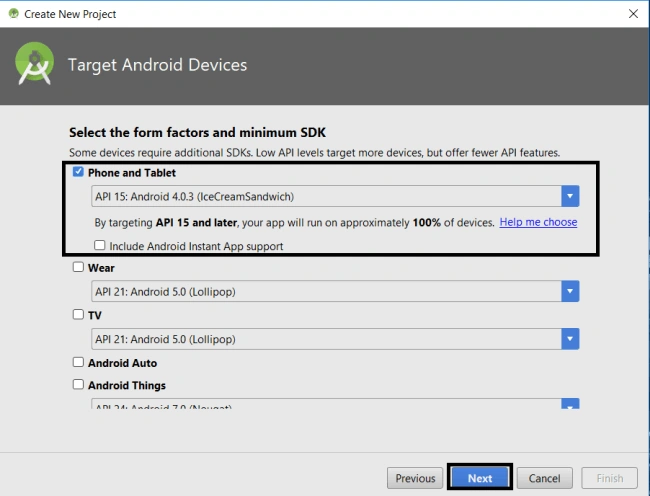
Select an empty activity and click "Next".
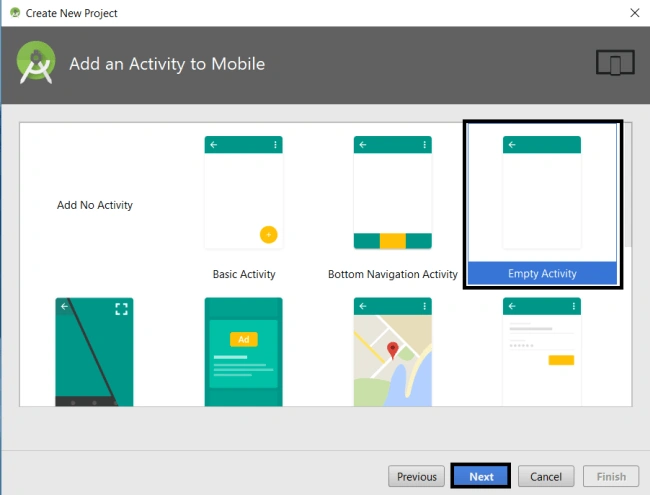
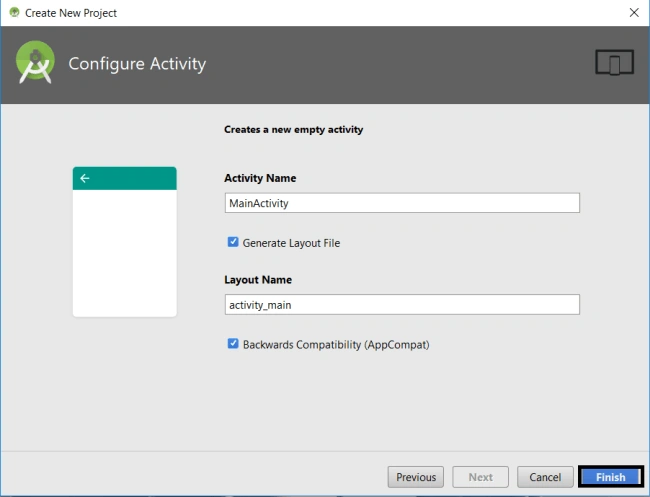
At last, give the activity name and click on "Finish".
Step 2
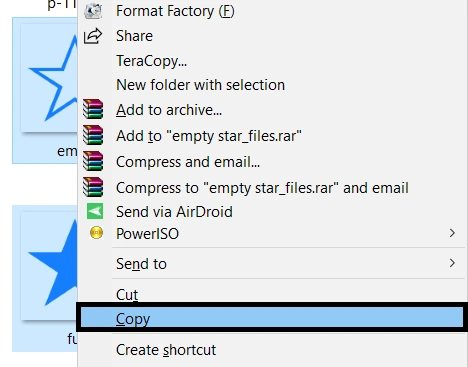
Next, copy the star image in .png format
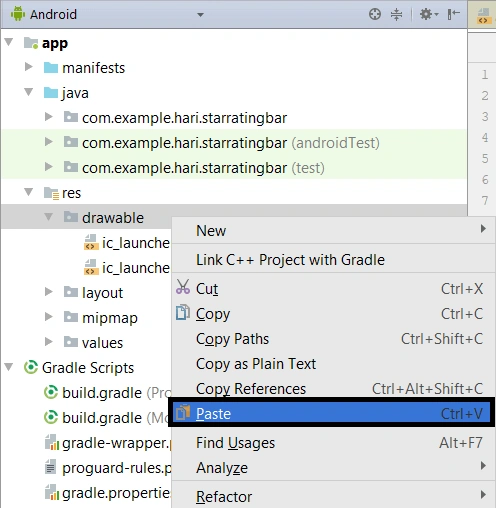
Locate app>>res>>drawable folder and paste the copied image into the drawable folder.
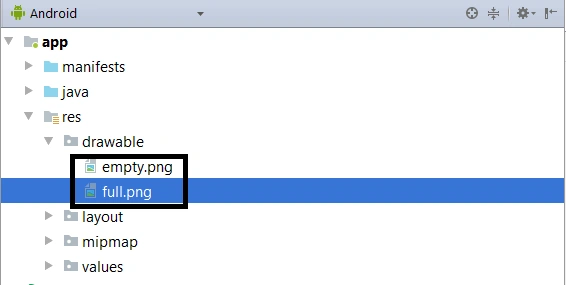
Check whether it is pasted correctly.
Step 3
Locate the Gradle Scripts>>Build.Gradle 1
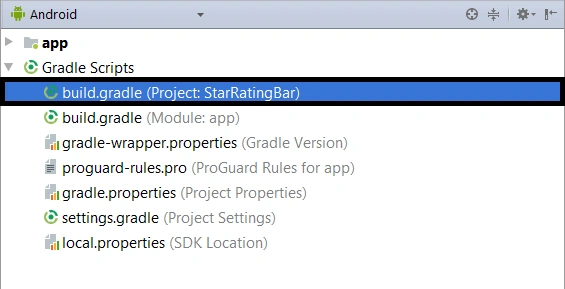
And type the following dependency in your app's build.gradle.
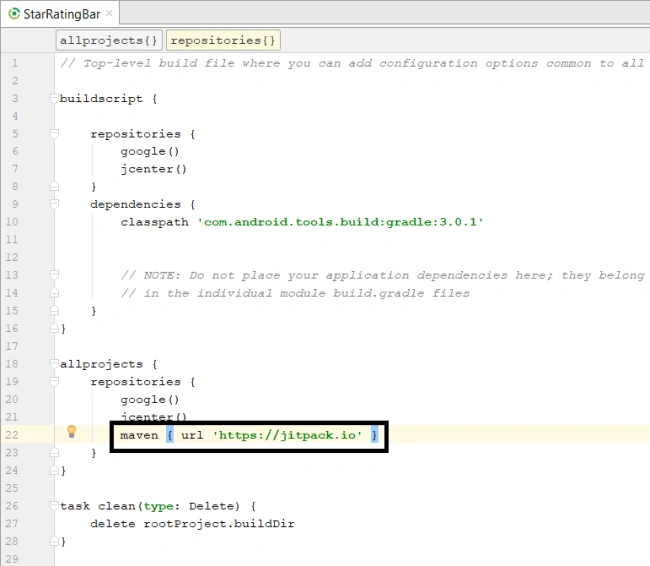
Code copy is here:
- maven { url 'https://jitpack.io' }
Step 4
Locate the Gradle Scripts>>Build.Gradle 2
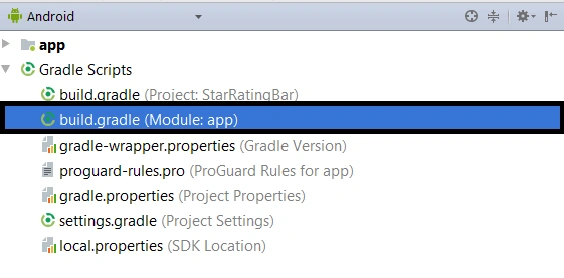
And type the following dependency in your app's build.gradle.
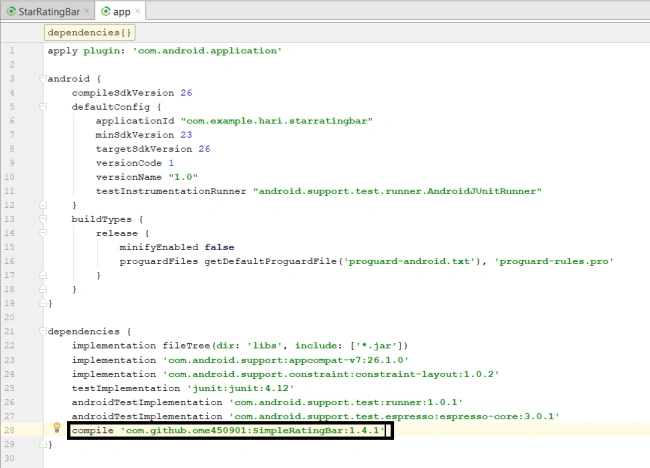
Code copy is here
- compile 'com.github.ome450901:SimpleRatingBar:1.4.1'
Step 5
Next, go to app >> res >> layout >> activity_main.xml. Select activity page.
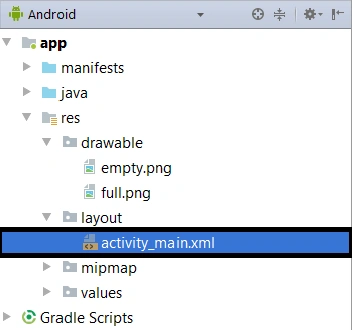
And just type the code as follows.
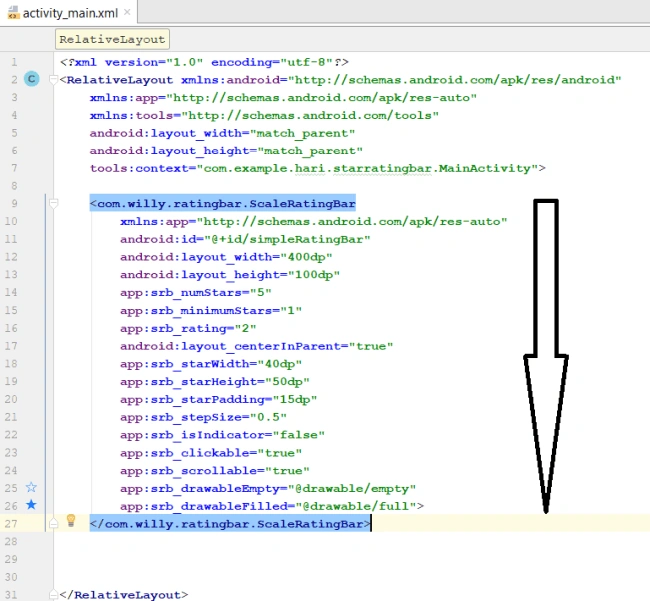
Code copy is here:
- <com.willy.ratingbar.ScaleRatingBar
- xmlns:app="http://schemas.android.com/apk/res-auto"
- android:id="@+id/simpleRatingBar"
- android:layout_width="400dp"
- android:layout_height="100dp"
- app:srb_numStars="5"
- app:srb_minimumStars="1"
- app:srb_rating="2"
- android:layout_centerInParent="true"
- app:srb_starWidth="40dp"
- app:srb_starHeight="50dp"
- app:srb_starPadding="15dp"
- app:srb_stepSize="0.5"
- app:srb_isIndicator="false"
- app:srb_clickable="true"
- app:srb_scrollable="true"
- app:srb_drawableEmpty="@drawable/empty"
- app:srb_drawableFilled="@drawable/full">
- </com.willy.ratingbar.ScaleRatingBar>
Step 6
Next, go to app >> java>>Mainactivity.java. Select Mainactivity page.
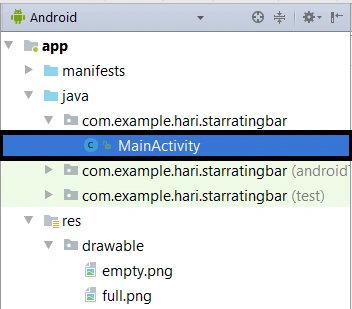
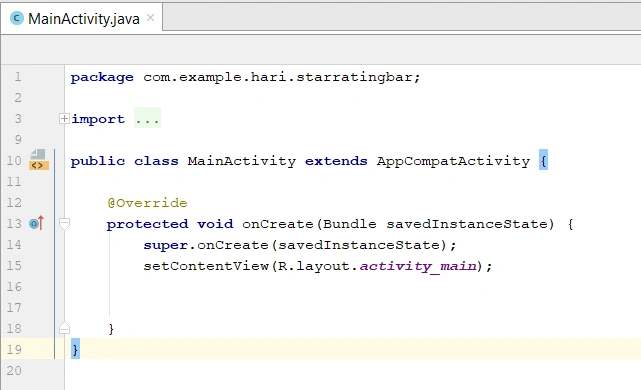
And check whether it is default or else make it default.
Step 7
Verify the preview.
->After the code is applied, the preview will appear like this.
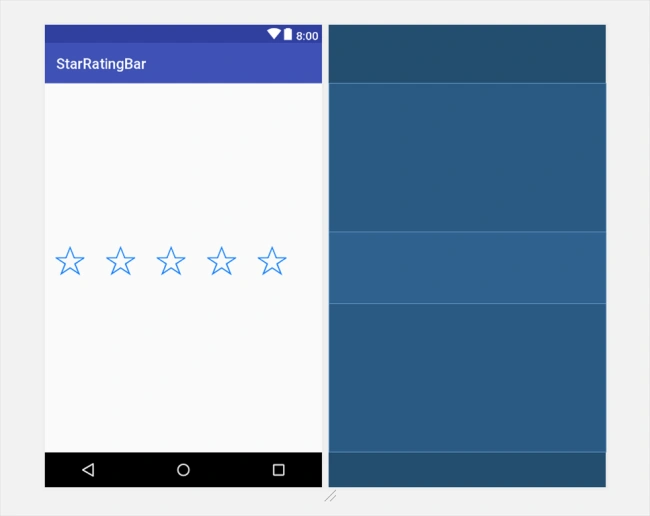
Step 8
Next, go to Android Studio and deploy the application. Select an Emulator or your Android mobile with USB debugging enabled. Give it a few seconds to make installations and set permissions.
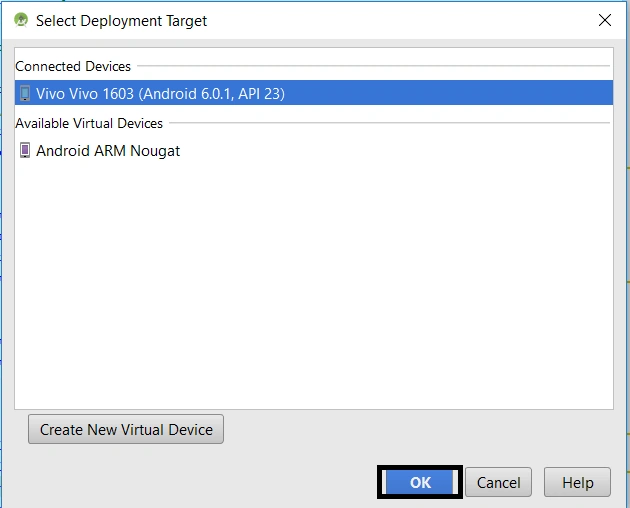
Run the application in your desired emulator (Shift + F10).

Explanation of source code
The code used in the activity_main.xml is used to insert the rating bar in our app and it is also used to define its width, height, and gravity of the rating bar.
Summary
We created a new app named rating bar and placed the rating icons in a drawable folder. After that, we have inserted the Gradle dependencies to build Gradle and verified the deployed output.
*Support and Share, Thank You*
Logesh PalaniPosted Mar 27, 2018, 11:08 AM
Nice Share dude :)