

In this article, we will learn how to perform operations like add, copy, move, and delete folders using the PnP library in the SPFx web part. PnPJs is an awesome library that providers wrappers around SharePoint REST API so that we as the developer do not have to write repetitive code and also worry about details on how to pass headers, data, etc. It is not only limited to SharePoint but we can also use it to call graph and office 365 API. As this library comes as an npm package, it can be used for any node js and javascript-based projects. Today we will use it in the context of the SharePoint Framework.
Let's start by creating an SPFx web part. Go to the command prompt and directory where you want to create your SPFx solution.
md pnpfolderoperations
cd pnpfolderoperations
yo @microsoft/sharepoint
Use the below options to create a new SPFx solution. (we will be using React framework, just because it is really cool).
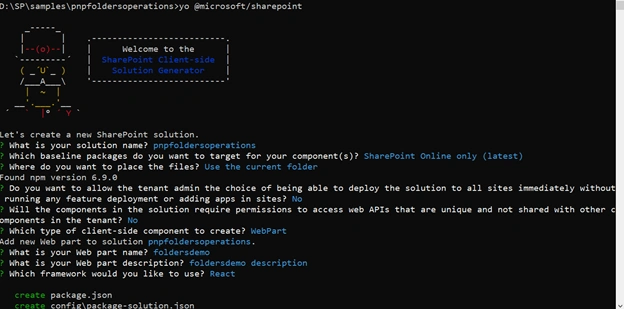
Once the solution is created you can open the project in your favorite editor(mine is VS code).
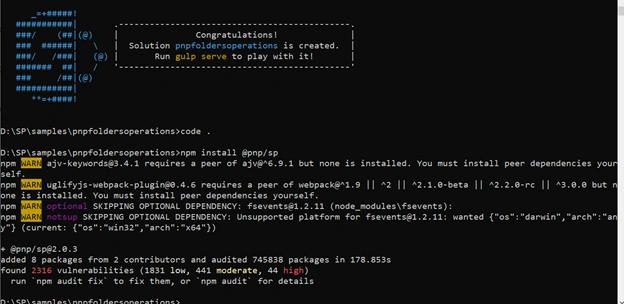
Now let's install pnp library, use the below command in the node js command prompt.
npm install @pnp/sp
For the sake of simplicity, we won't be using any fancy UI ..we will just create buttons and perform different operations on click of the buttons.
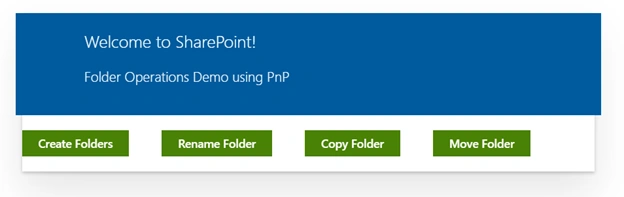
Let's start making code changes, go-to editor.
Pass SharePoint Context to React component
1. Open src\webparts\foldersdemo\components\IFoldersdemoProps.ts
Create context properties to hold SharePoint context.
import { WebPartContext } from "@microsoft/sp-webpart-base";

export interface IFoldersdemoProps {
  description: string;
  context:WebPartContext
}
2. Go to src\webparts\foldersdemo\FoldersdemoWebPart.ts
public render(): void {
   const element: React.ReactElement<IFoldersdemoProps> = React.createElement(
     Foldersdemo,
     {
       description: this.properties.description,
       context:this.context
     }
   );
   ReactDom.render(element, this.domElement);
 }
Setup PnP in React Component
1. Go to src\webparts\foldersdemo\components\Foldersdemo.tsx
Import library, you can do selective import but for this demo, we will be loading all presets.
import { sp, IFolders, Folders } from "@pnp/sp/presets/all";
2. In the same file, let's initialize the PnP SP object with context. Add a constructor in your react class.
constructor (props:IFoldersdemoProps,state:{}) {
   super(props);
   sp.setup({
     spfxContext: this.context
   });
 }
Add required logic in React component
1. Go to src\webparts\foldersdemo\components\Foldersdemo.tsx
Replace render method with below code,
public render(): React.ReactElement<IFoldersdemoProps> {
   return (
     <React.Fragment>
     <div className={ styles.foldersdemo }>
       <div className={ styles.container }>
         <div className={ styles.row }>
           <div className={ styles.column }>
             <span className={ styles.title }>Welcome to SharePoint!</span>
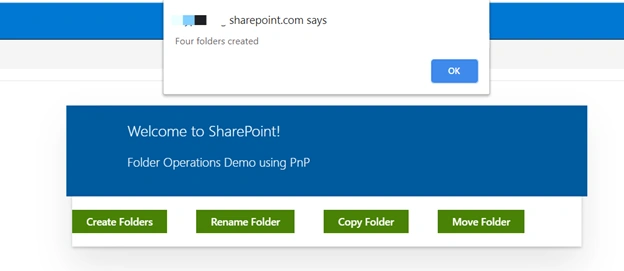
             <p className={ styles.subTitle }>Folder Operations Demo using PnP</p>
           </div>
         </div>
         <br/>
         <Stack horizontal tokens={{childrenGap:40}}>
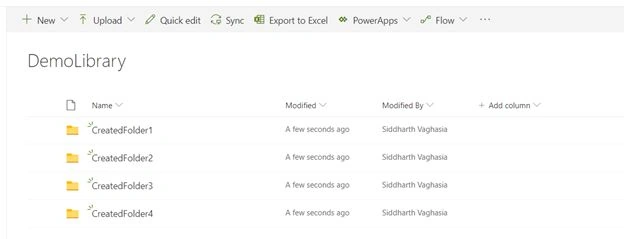
           <PrimaryButton text="Create Folders" onClick={()=>this.createFolder()}  />
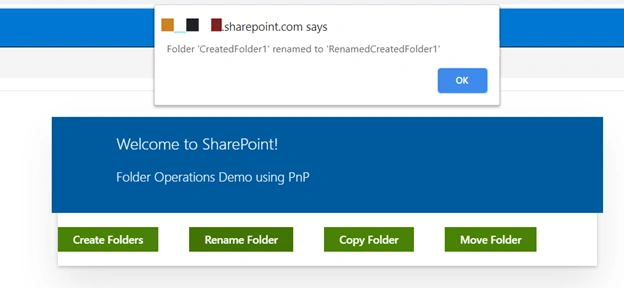
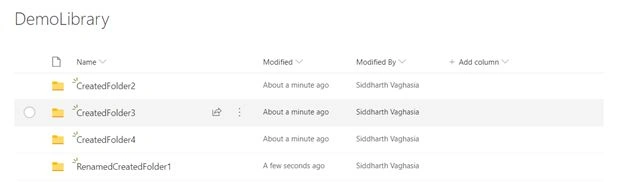
           <PrimaryButton text="Rename Folder" onClick={()=>this.RenameFolder()} />
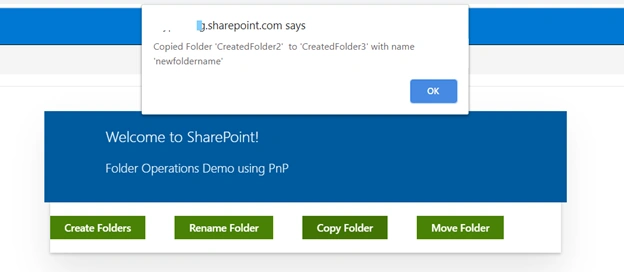
           <PrimaryButton text="Copy Folder" onClick={()=>this.CopyFolder()} />
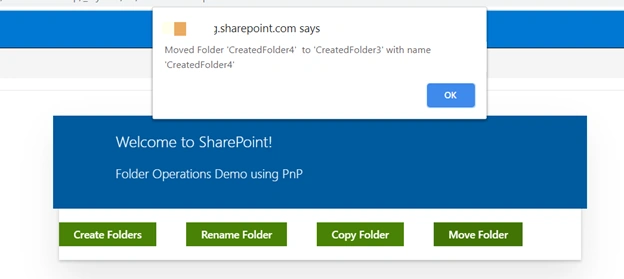
           <PrimaryButton text="Move Folder" onClick={()=>this.MoveFolder()} />
         </Stack>
        <br/>
       </div>
     </div>
     </React.Fragment>
   );
} 
Join the conversation! Your thoughts help the community grow.