

Introduction
In most cases, an application has a login screen for authenticating apps or accessing an application for further processing i.e. accessing data. There is another optionas well; i.e., Remember Me on the login screen of the applicaition itself.
If you checked the checkbox of Remember Me at the time of login, when user opens an Application next time, then it directly navigates into app’s main screen, which is default screen after login without navigating to login screen.
Where we can use Shared Preference (Use Case)
- When we want to achieve Remember Me functionality in our Application in Xamarin Android app, then we can use this feature by using Shared Preference.
- Suppose, as a use case, if the user wants to use SQLite only for login because an app has crashed but the user wants to go to the same page where an app crashed. Then instead of using SQLite for this, you can use Shared Preference also in this scenario.
How to achieve this?
Let’s understand it step by step.
Solution
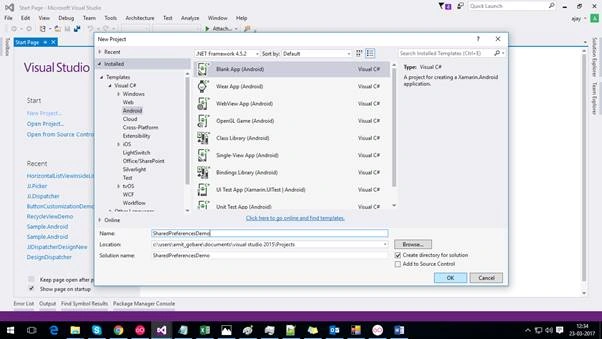
- Create a new project, choose Android => Blank App(Android), as shown in the screenshot given below and give it some meaningful name.
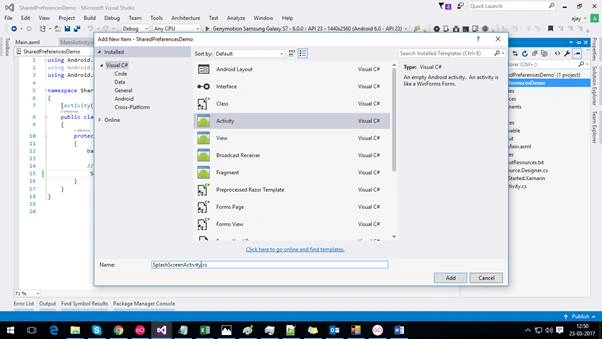
- Create SplashScreenAcitvity.cs class, as shown below.
- Set MainLauncher=true and Theme for cs as well, as shown in the screenshot given below.
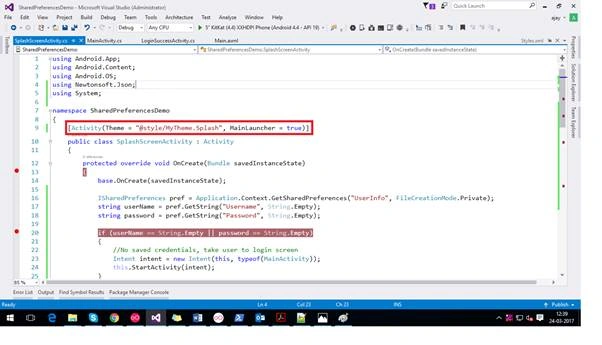
- The code for SplashScreenActivity.cs is given below.
- using Android.App;
- using Android.Content;
- using Android.OS;
- using Newtonsoft.Json;
- using System;
- namespace SharedPreferencesDemo
- {
- [Activity(Theme = "@style/MyTheme.Splash", MainLauncher = true)]
- public class SplashScreenActivity : Activity
- {
- protected override void OnCreate(Bundle savedInstanceState)
- {
- base.OnCreate(savedInstanceState);
- ISharedPreferences pref = Application.Context.GetSharedPreferences("UserInfo", FileCreationMode.Private);
- string userName = pref.GetString("Username", String.Empty);
- string password = pref.GetString("Password", String.Empty);
- if (userName == String.Empty || password == String.Empty)
- {
- //No saved credentials, take user to login screen
- Intent intent = new Intent(this, typeof(MainActivity));
- this.StartActivity(intent);
- }
- else
- {
- //There are saved credentials
- if (userName == "amit" && password == "amit")
- {
- //Successful take the user to application
- Intent intent = new Intent(this, typeof(LoginSuccessActivity));
- User user = new User()
- {
- UserID = 1,
- UserName = "amit",
- Password = "amit"
- };
- intent.PutExtra("User", JsonConvert.SerializeObject(user));
- this.StartActivity(intent);
- }
- else
- {
- //Unsuccesful, take user to login screen
- Intent intent = new Intent(this, typeof(MainActivity));
- this.StartActivity(intent);
- this.Finish();
- }
- }
- }
- }
- }
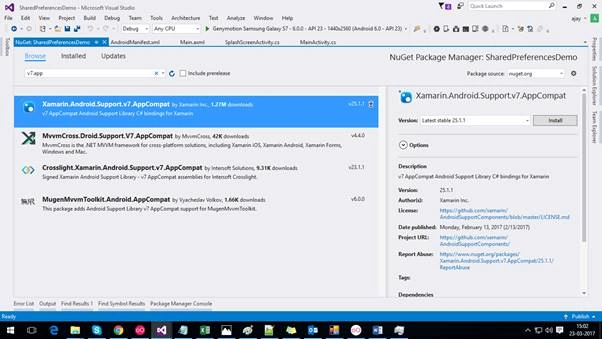
- Go to reference by using NuGet Package Manager and download v7.AppCompat package in your project, as shown below.
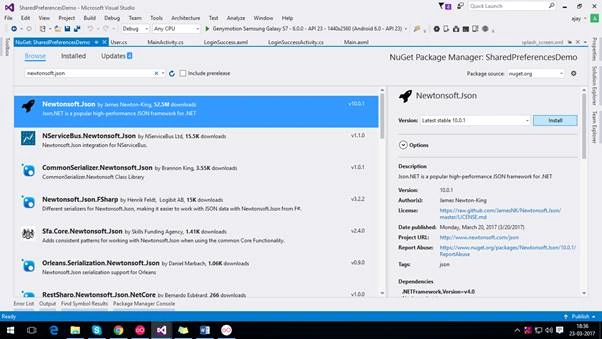
- Go to reference by using NuGet Package Manager and download Newtonsoft.json package in your project, as shown below.
- Add Styles.xml in Resources=>values folder. The code is shown below.
- <?xml version="1.0" encoding="utf-8" ?>
- <resources>
- <style name="MyTheme.Base" parent="Theme.AppCompat.Light">
- </style>
- <style name="MyTheme" parent="MyTheme.Base">
- </style>
- <style name="MyTheme.Splash" parent ="Theme.AppCompat.Light.NoActionBar">
- <item name="android:windowBackground">@drawable/splash_screen</item>
- <item name="android:windowNoTitle">true</item>
- <item name="android:windowFullscreen">true</item>
- <item name="android:windowContentOverlay">@null</item>
- <item name="android:windowActionBar">true</item>
- </style>
- </resources>
- Add splash_screen.xml in Resources=>drawable folder. The code is given below,
- <?xml version="1.0" encoding="utf-8"?>
- <layer-list xmlns:android="http://schemas.android.com/apk/res/android">
- <item>
- <color android:color="@color/splash_background"/>
- </item>
- <item>
- <bitmap
- android:src="@drawable/logo"
- android:tileMode="disabled"
- android:gravity="center"/>
- </item>
- </layer-list>
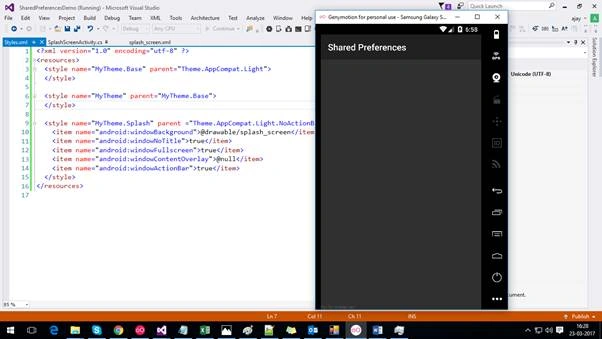
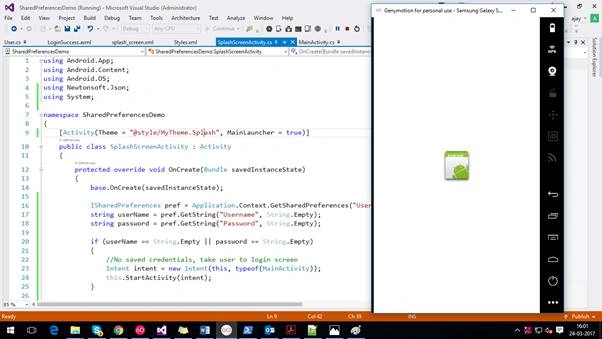
- Slash screen looks, as shown below, when we run the Application.
- After splash screen, we automatically navigate to MainActivity.cs. In MainActivity.cs is the default activity at the time of project creation but now SplashScreenActivity.cs is our starting activity. Hence, MainLauncher is not assigned in MainActivity.cs. The code for MainActivity.cs is given below.
- using Android.App;
- using Android.Widget;
- using Android.OS;
- using Android.Content;
- using Newtonsoft.Json;
- namespace SharedPreferencesDemo
- {
- [Activity(Label = "Shared Preferences")]
- public class MainActivity : Activity
- {
- Button btnLogin;
- EditText userName, password;
- CheckBox mCbxRemMe;
- protected override void OnCreate(Bundle bundle)
- {
- base.OnCreate(bundle);
- // Set our view from the "main" layout resource
- SetContentView (Resource.Layout.Main);
- userName = FindViewById<EditText>(Resource.Id.userNameEditText);
- password = FindViewById<EditText>(Resource.Id.passwordEditText);
- btnLogin = FindViewById<Button>(Resource.Id.btnLogin);
- mCbxRemMe = FindViewById<CheckBox>(Resource.Id.cbxRememberMe);
- btnLogin.Click += BtnLogin_Click;
- }
- private void BtnLogin_Click(object sender, System.EventArgs e)
- {
- Intent intent = new Intent(this, typeof(LoginSuccessActivity));
- User user = new User()
- {
- UserID = 1,
- UserName = userName.Text,
- Password = "amit"
- };
- intent.PutExtra("User", JsonConvert.SerializeObject(user));
- if (mCbxRemMe.Checked)
- {
- ISharedPreferences pref = Application.Context.GetSharedPreferences("UserInfo", FileCreationMode.Private);
- ISharedPreferencesEditor edit = pref.Edit();
- edit.PutString("Username", userName.Text.Trim());
- edit.PutString("Password", password.Text.Trim());
- edit.Apply();
- }
- this.StartActivity(intent);
- }
- }
- }
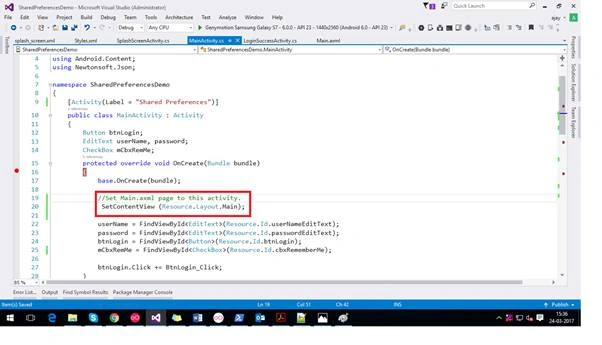
- Set Main.axml page to MainActivity.cs, as shown below.
- Create design for Main.axml page and the code is given below.
- <?xml version="1.0" encoding="utf-8"?>
- <RelativeLayout xmlns:android="http://schemas.android.com/apk/res/android"
- android:layout_width="match_parent"
- android:layout_height="match_parent"
- android:gravity="center_horizontal"
- android:background="@android:color/holo_purple">
- <TextView
- android:layout_width="wrap_content"
- android:layout_height="wrap_content"
- android:text="Login"
- android:gravity="top"
- android:textSize="30dp"
- android:id="@+id/loginTitleText"
- android:layout_marginTop="50dp"
- android:layout_marginLeft="100dp" />
- <LinearLayout
- android:layout_width="wrap_content"
- android:layout_height="wrap_content"
- android:orientation="vertical"
- android:gravity="center"
- android:layout_gravity="center_vertical"
- android:background="@android:color/holo_purple"
- android:layout_below="@id/loginTitleText"
- android:layout_marginTop="30dp">
- <LinearLayout
- android:layout_width="match_parent"
- android:layout_height="wrap_content"
- android:orientation="horizontal"
- android:id="@+id/usernameLinearLayout">
- <EditText
- android:layout_width="300dp"
- android:layout_height="wrap_content"
- android:id="@+id/userNameEditText"
- android:layout_marginLeft="10dp"
- android:hint="User Name"
- android:backgroundTint="#fffaebd7" />
- </LinearLayout>
- <LinearLayout
- android:layout_width="match_parent"
- android:layout_height="wrap_content"
- android:orientation="horizontal"
- android:id="@+id/passwordLinearLayout">
- <EditText
- android:layout_width="300dp"
- android:layout_height="wrap_content"
- android:id="@+id/passwordEditText"
- android:password="true"
- android:gravity="top"
- android:layout_marginLeft="10dp"
- android:hint="Password"
- android:backgroundTint="#fffaebd7" />
- </LinearLayout>
- <Button
- android:layout_width="match_parent"
- android:layout_height="wrap_content"
- android:text="Login"
- android:background="@android:color/holo_blue_dark"
- android:layout_marginTop="20dp"
- android:backgroundTint="#ff4682b4"
- android:id="@+id/btnLogin"/>
- <CheckBox
- android:text="Remember Me"
- android:layout_width="match_parent"
- android:layout_height="wrap_content"
- android:id="@+id/cbxRememberMe"
- android:layout_marginTop="15dp"
- android:textStyle="bold"
- android:textColor="@android:color/white"
- android:button="@drawable/checkbox_ischecked"/>
- </LinearLayout>
- </RelativeLayout>
- Added checkbox_ischecked.xml.
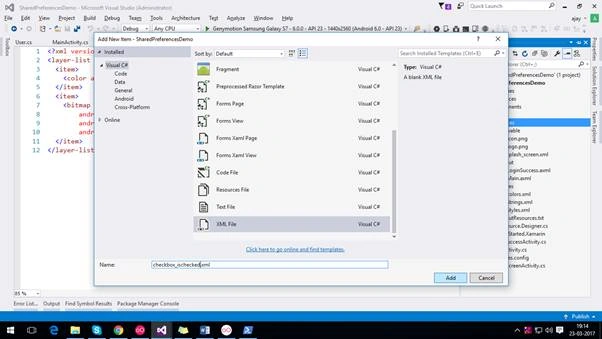
- The code for ischecked.xml is given below.
- <?xml version="1.0" encoding="utf-8" ?>
- <selector xmlns:android="http://schemas.android.com/apk/res/android">
- <item android:state_checked="true"
- android:drawable="@android:drawable/checkbox_on_background"/>
- <item android:state_checked="false"
- android:drawable="@android:drawable/checkbox_off_background"/>
- </selector>
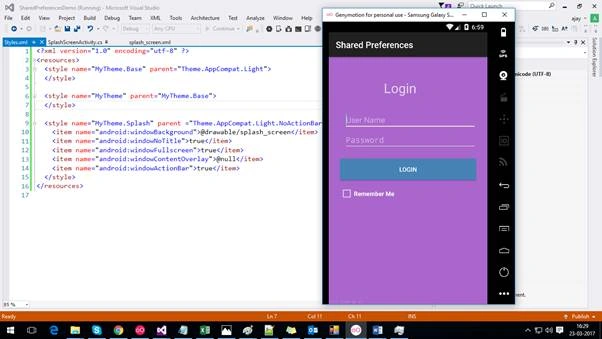
- The design, which looks like Main.axml is given below.
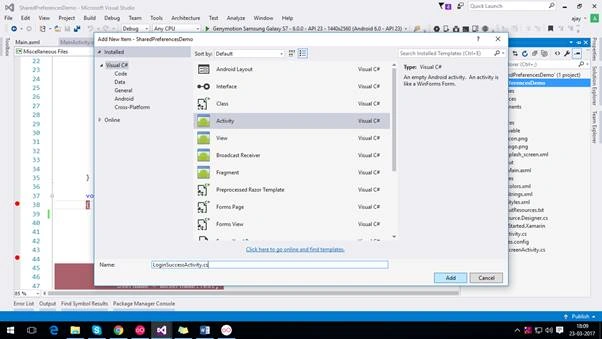
- Create LoginSuccessActivity.cs is given below.
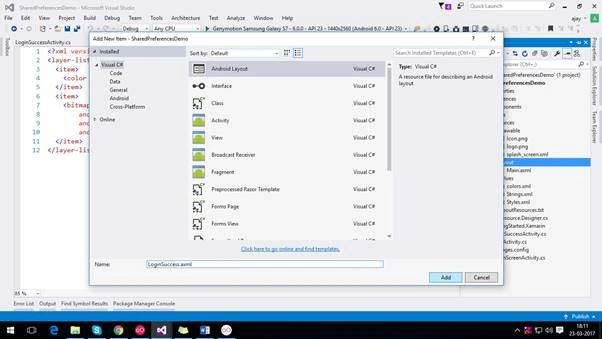
- Create LoginSuccess.axml page and the code for this page is given below.
- <?xml version="1.0" encoding="utf-8"?>
- <RelativeLayout xmlns:android="http://schemas.android.com/apk/res/android"
- android:layout_width="match_parent"
- android:layout_height="match_parent">
- <TextView
- android:layout_width="wrap_content"
- android:layout_height="wrap_content"
- android:text="Login Successful"
- android:gravity="center"
- android:layout_gravity="fill_vertical"
- android:layout_centerInParent="true"
- android:textSize="20dp"
- android:textStyle="bold" />
- </RelativeLayout>
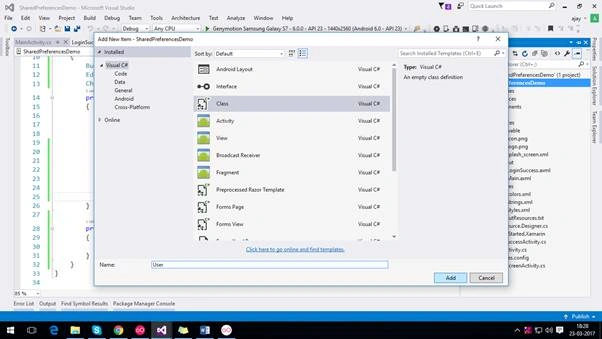
- Create User.cs class, which is used to store the details of the users and the code is given below.
- Using system;
- namespace SharedPreferencesDemo
- {
- class User
- {
- public int UserID { get; set; }
- public string UserName { get; set; }
- public string Password { get; set; }
- }
- }
Output Windows for Shared Preferences demo project is given below.
- Splash screen
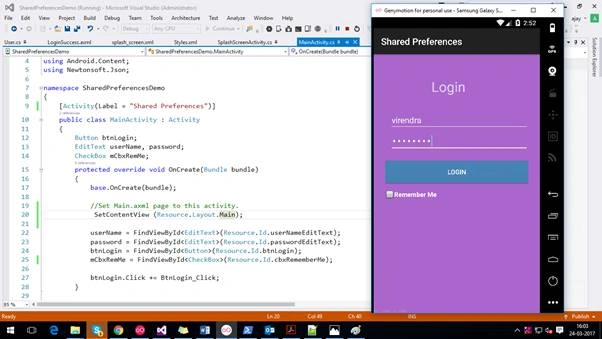
- Login screen for username is virendra and password is virendra but won’t check the checkbox.
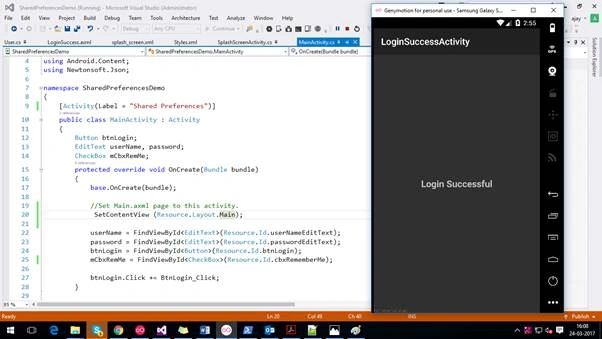
- After clicking Login button, it navigates to the Login Successful screen.
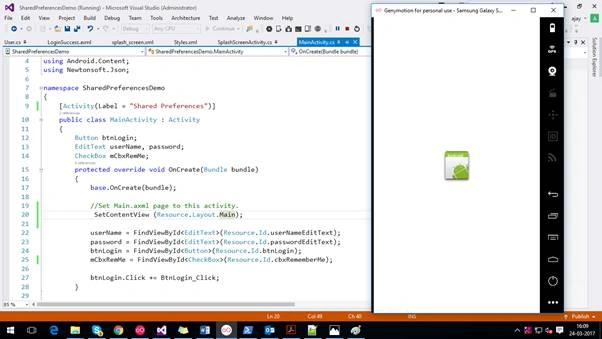
- When you run the app a second time, it will be, as shown below.
- Enter username as virendra and password as virendra.
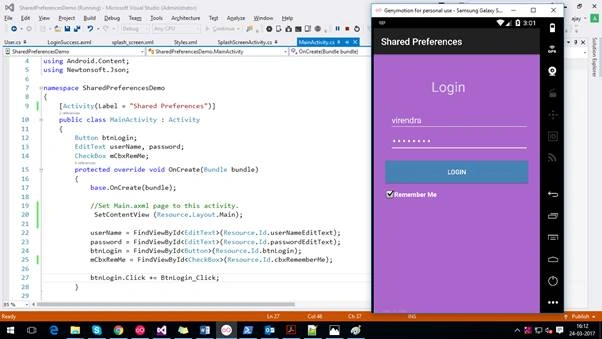
- After clicking Login button, it successfully navigates to Login Successful screen.
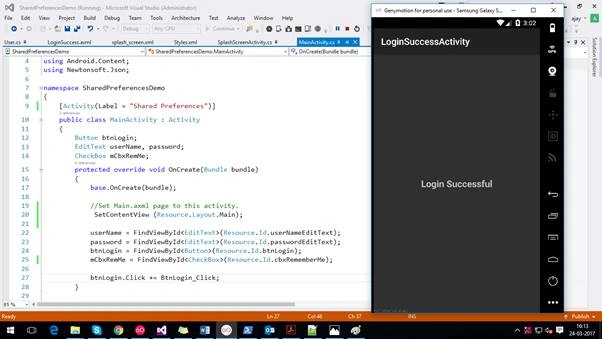
- When the app is run a third time, the splash screen is given below.
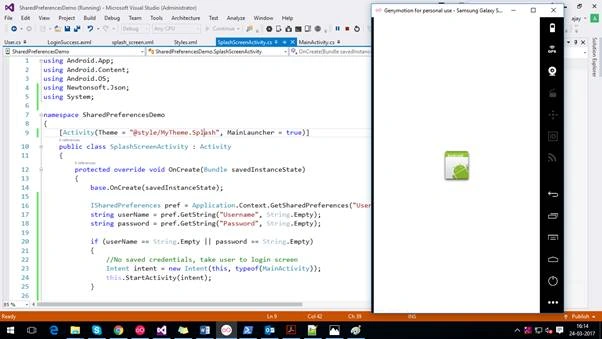
- Enter username as amit and password as amit as well
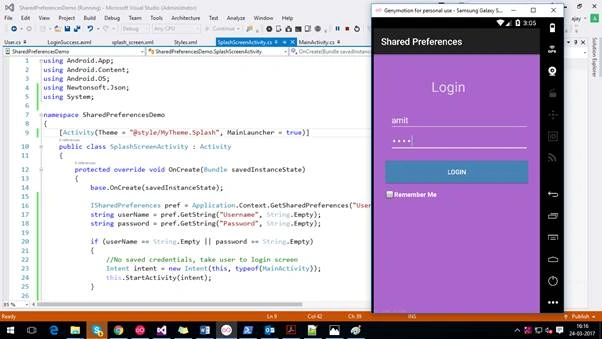
- After clicking on Login button, it successfully navigates to Login Successful screen.
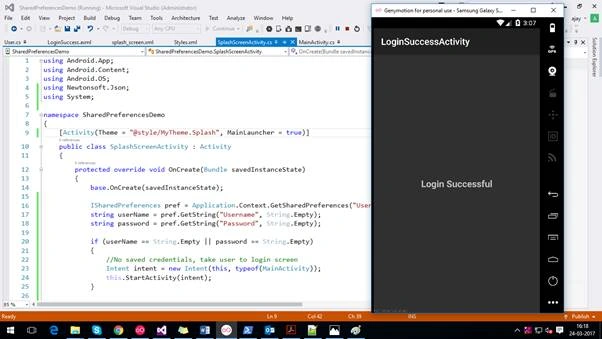
- If you run the application a fourth time, the slash screen looks, as shown below.
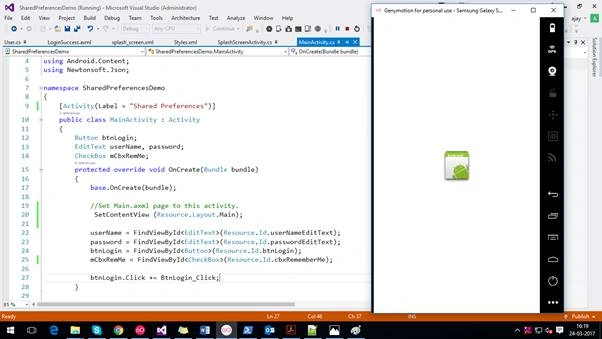
- Enter username as amit and password as amit.
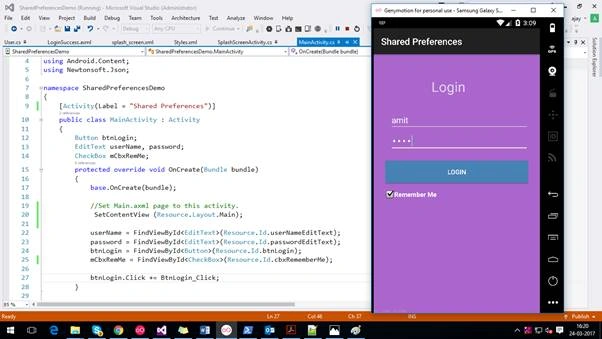
- After clicking on Login button, it successfully navigates to Login Successful screen.
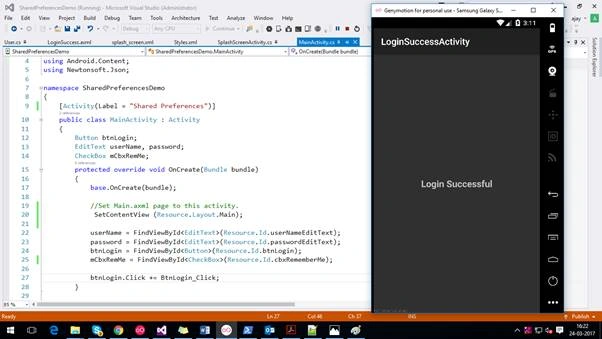
- IF you run the Application a fifth time, it shows a splash screen, as shown below.
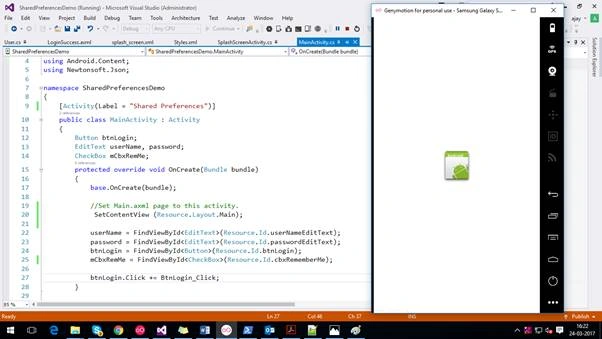
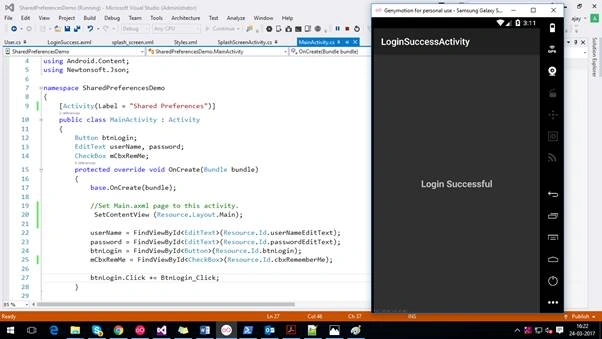
- Now, our Application directly navigates to loginSuccess screen from splash screen because of Shared Preference as record found username as amit and password as amit.
Summary
We learned how to use Shared Preferences and its usage in Xamarin Android as well.
Join the conversation! Your thoughts help the community grow.