

What is Cloud Formation
CloudFormation is one of the services provided by the AWS, which helps setup a Web Services resources. Which means less time is needed to setup a resource and concentrating on other Applications/services which runs across AWS.
Since I am using Windows platform, we need to install AWSCLI and I have explained in my previous article, Setup Your First S3 Bucket using CloudFormation.
To create an EC2 instance, we will be logging into UI of AWS, Select the availability zone, OS flavor we need and then we start our process which takes max of 5-10 mins
So Instead of that, just we can have a template pre-defined one where we only need to modify the few parameters like Image Flavors, Zone selection, KeyPairs and few more. And with a single command we could see our server is hosted ready.
So now, lets start with the creation of EC2 instance.
Creation of EC2 Instance
So, to create a EC2 instance using CloudFormation service, we have many number of parameter needs to configured right from Zone, ImageFlavour, Security group and many more.
In This Article, I will be covering all the important and Frequently used parameters only.
To know more about on kindly check out Link.
So, let’s start in detail,
Sample Template looks like,
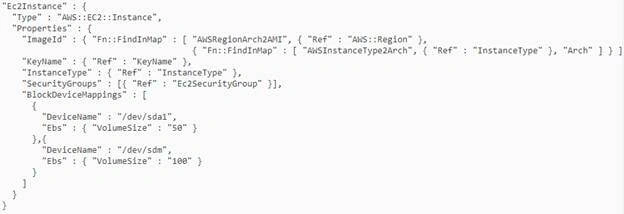
Now, we will step into Template Creation of simple EC2 instance and then will see how to execute it using AWS CLI.
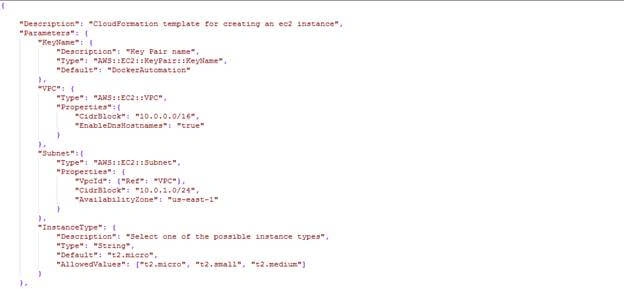
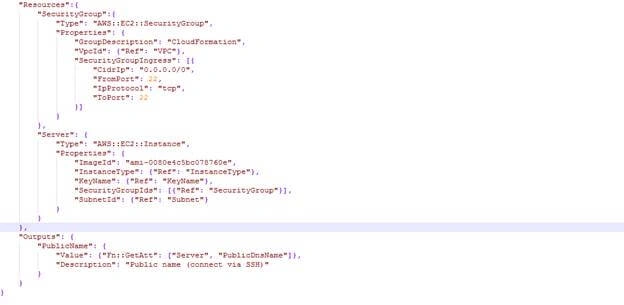
Above is the simple code to create a EC2 instance. So now lets see the break of each parameter used:
- "KeyName": {
- "Description": "Key Pair name",
- "Type": "AWS::EC2::KeyPair::KeyName",
- "Default": "DockerAutomation"
- },
Description
KeyName
- "VPC": {
- "Type": "AWS::EC2::VPC",
- "Properties":{
- "CidrBlock": "10.0.0.0/16",
- "EnableDnsHostnames": "true"
- }
- "Subnet":{
- "Type": "AWS::EC2::Subnet",
- "Properties": {
- "VpcId": {"Ref": "VPC"},
- "CidrBlock": "10.0.1.0/24",
- "AvailabilityZone": "us-east-1"
- }
VPC
Availability Zone
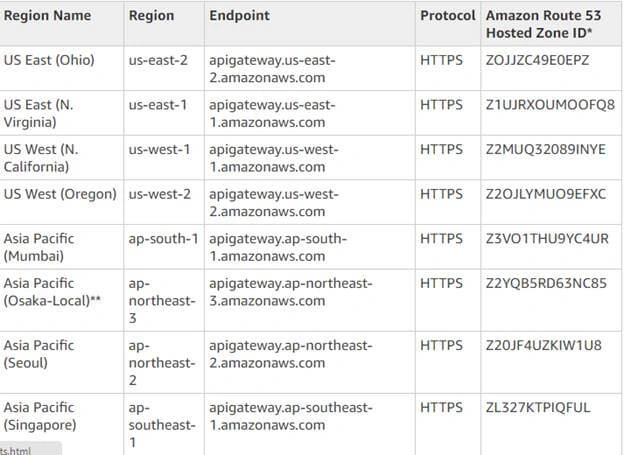
- "InstanceType": {
- "Description": "Select one of the possible instance types",
- "Type": "String",
- "Default": "t2.micro",
- "AllowedValues": ["t2.micro", "t2.small", "t2.medium"]
- }
InstanceType
- "Resources":{
- "SecurityGroup":{
- "Type": "AWS::EC2::SecurityGroup",
- "Properties": {
- "GroupDescription": "CloudFormation",
- "VpcId": {"Ref": "VPC"},
- "SecurityGroupIngress": [{
- "CidrIp": "0.0.0.0/0",
- "FromPort": 22,
- "IpProtocol": "tcp",
- "ToPort": 22
- }]
- }
Resources
- "Server": {
- "Type": "AWS::EC2::Instance",
- "Properties": {
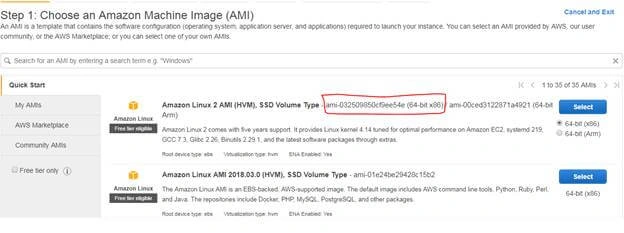
- "ImageId": "ami-0080e4c5bc078760e",
- "InstanceType": {"Ref": "InstanceType"},
- "KeyName": {"Ref": "KeyName"},
- "SecurityGroupIds": [{"Ref": "SecurityGroup"}],
- "SubnetId": {"Ref": "Subnet"}
- }
- }
Server
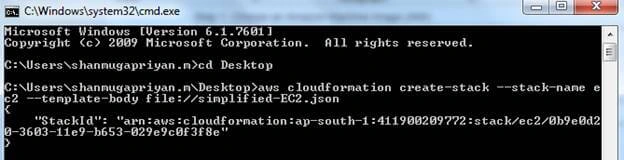
Once the command is success, we could see logs as ‘Stack created’ and From CloudFormation service we could confirm that the Instance creation process is initiated.

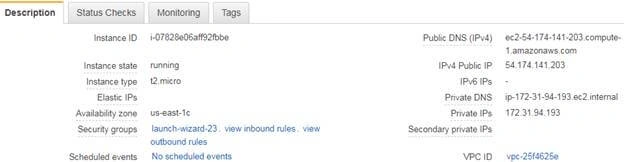
Once the above command is success, you can able to check a EC2 Machine is created,
Also, even if we execute a change set of errors in it, CloudFormation has Rollback Triggers that allows to monitor the stack created or updating process and rollback the environment to make to previous state.
What Next ….
Will be covering on Creating of VPC using CloudFormation.
Join the conversation! Your thoughts help the community grow.