

Introduction
Detecting the real-time emotion of the person with a camera input is one of the advanced features in the machine learning process. The detection of emotion of a person using a camera is useful for various research and analytics purposes. The detection of emotion is made by using the machine learning concept. You can use the trained dataset to detect the emotion of the human being. For detecting the different emotions, first, you need to train those different emotions, or you can use a dataset already available on the internet. In this article, we will discuss creating a Python program to detect the real-time emotion of a human being using the camera.
Installing Dependencies
For using this machine learning concept, you need to install a lot of dependencies into your system using the command prompt. The machine learning algorithm used by me was a tensor flow algorithm, which was designed by Google for machine learning functions. For analyzing faces. you need to detect the faces, to know more about detecting faces using python, you can refer to my article by clicking here. You need a cascade file for this process, you can download it from my git-hub page or in the download section.
You can install the dependencies by using the commands given below:
- pip install opencv-python
- pip install tensorflow
- pip install numpy
- pip install pandas
- pip install keras
- pip install adam
- pip install kwargs
- pip install cinit
Training the Dataset
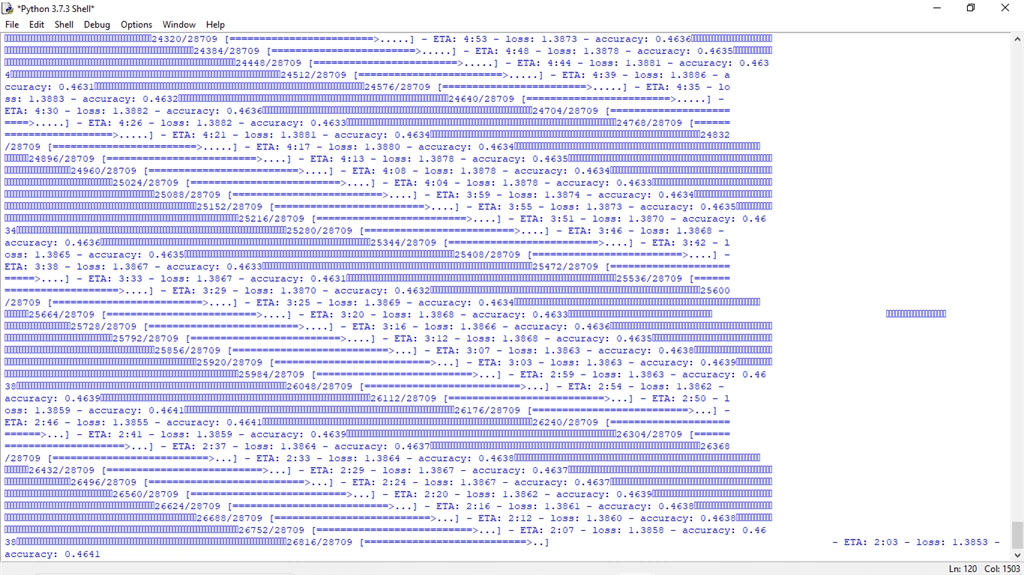
For training purposes, I use the predefined un trained dataset CSV file as my main input for my input for training the machine. You can use the code given below for training the machine using the dataset. Before that, you need to ensure that all required files in the same repository where the program presents otherwise it will through some error. You can download the data set by clicking here.
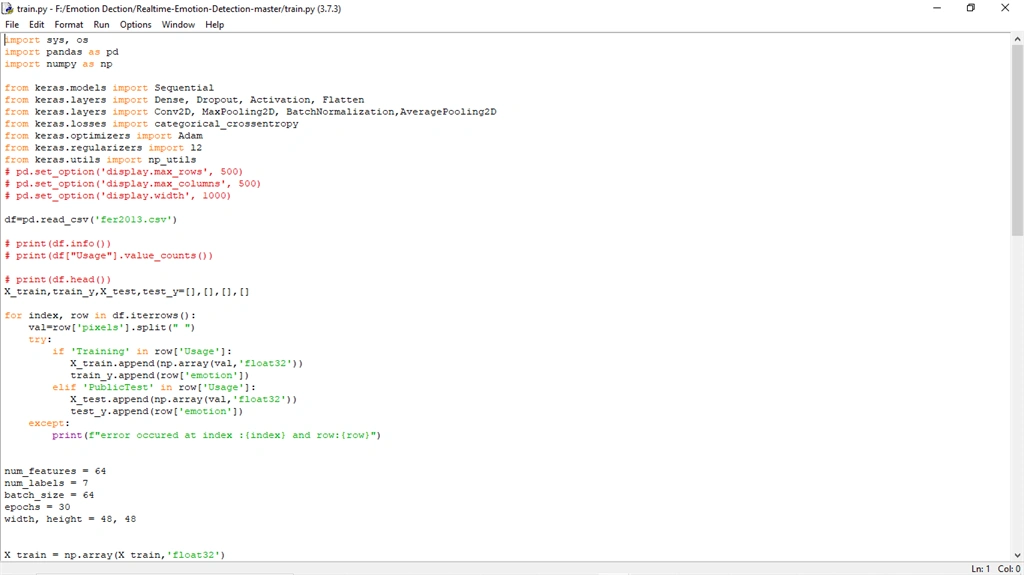
- import sys, os
- import pandas as pd
- import numpy as np
- from keras.models import Sequential
- from keras.layers import Dense, Dropout, Activation, Flatten
- from keras.layers import Conv2D, MaxPooling2D, BatchNormalization,AveragePooling2D
- from keras.losses import categorical_crossentropy
- from keras.optimizers import Adam
- from keras.regularizers import l2
- from keras.utils import np_utils
- # pd.set_option('display.max_rows', 500)
- # pd.set_option('display.max_columns', 500)
- # pd.set_option('display.width', 1000)
- df=pd.read_csv('fer2013.csv')
- # print(df.info())
- # print(df["Usage"].value_counts())
- # print(df.head())
- X_train,train_y,X_test,test_y=[],[],[],[]
- for index, row in df.iterrows():
- val=row['pixels'].split(" ")
- try:
- if 'Training' in row['Usage']:
- X_train.append(np.array(val,'float32'))
- train_y.append(row['emotion'])
- elif 'PublicTest' in row['Usage']:
- X_test.append(np.array(val,'float32'))
- test_y.append(row['emotion'])
- except:
- print(f"error occured at index :{index} and row:{row}")
- num_features = 64
- num_labels = 7
- batch_size = 64
- epochs = 30
- width, height = 48, 48
- X_train = np.array(X_train,'float32')
- train_y = np.array(train_y,'float32')
- X_test = np.array(X_test,'float32')
- test_y = np.array(test_y,'float32')
- train_y=np_utils.to_categorical(train_y, num_classes=num_labels)
- test_y=np_utils.to_categorical(test_y, num_classes=num_labels)
- #cannot produce
- #normalizing data between oand 1
- X_train -= np.mean(X_train, axis=0)
- X_train /= np.std(X_train, axis=0)
- X_test -= np.mean(X_test, axis=0)
- X_test /= np.std(X_test, axis=0)
- X_train = X_train.reshape(X_train.shape[0], 48, 48, 1)
- X_test = X_test.reshape(X_test.shape[0], 48, 48, 1)
- # print(f"shape:{X_train.shape}")
- ##designing the cnn
- #1st convolution layer
- model = Sequential()
- model.add(Conv2D(64, kernel_size=(3, 3), activation='relu', input_shape=(X_train.shape[1:])))
- model.add(Conv2D(64,kernel_size= (3, 3), activation='relu'))
- # model.add(BatchNormalization())
- model.add(MaxPooling2D(pool_size=(2,2), strides=(2, 2)))
- model.add(Dropout(0.5))
- #2nd convolution layer
- model.add(Conv2D(64, (3, 3), activation='relu'))
- model.add(Conv2D(64, (3, 3), activation='relu'))
- # model.add(BatchNormalization())
- model.add(MaxPooling2D(pool_size=(2,2), strides=(2, 2)))
- model.add(Dropout(0.5))
- #3rd convolution layer
- model.add(Conv2D(128, (3, 3), activation='relu'))
- model.add(Conv2D(128, (3, 3), activation='relu'))
- # model.add(BatchNormalization())
- model.add(MaxPooling2D(pool_size=(2,2), strides=(2, 2)))
- model.add(Flatten())
- #fully connected neural networks
- model.add(Dense(1024, activation='relu'))
- model.add(Dropout(0.2))
- model.add(Dense(1024, activation='relu'))
- model.add(Dropout(0.2))
- model.add(Dense(num_labels, activation='softmax'))
- # model.summary()
- #Compliling the model
- model.compile(loss=categorical_crossentropy,
- optimizer=Adam(),
- metrics=['accuracy'])
- #Training the model
- model.fit(X_train, train_y,
- batch_size=batch_size,
- epochs=epochs,
- verbose=1,
- validation_data=(X_test, test_y),
- shuffle=True)
- #Saving the model to use it later on
- fer_json = model.to_json()
- with open("fer.json", "w") as json_file:
- json_file.write(fer_json)
- model.save_weights("fer.h5")
Detecting Real-Time Emotion
For detecting the emotion, first, you need to run the train.py program to train the data. Then you can use the code given below:
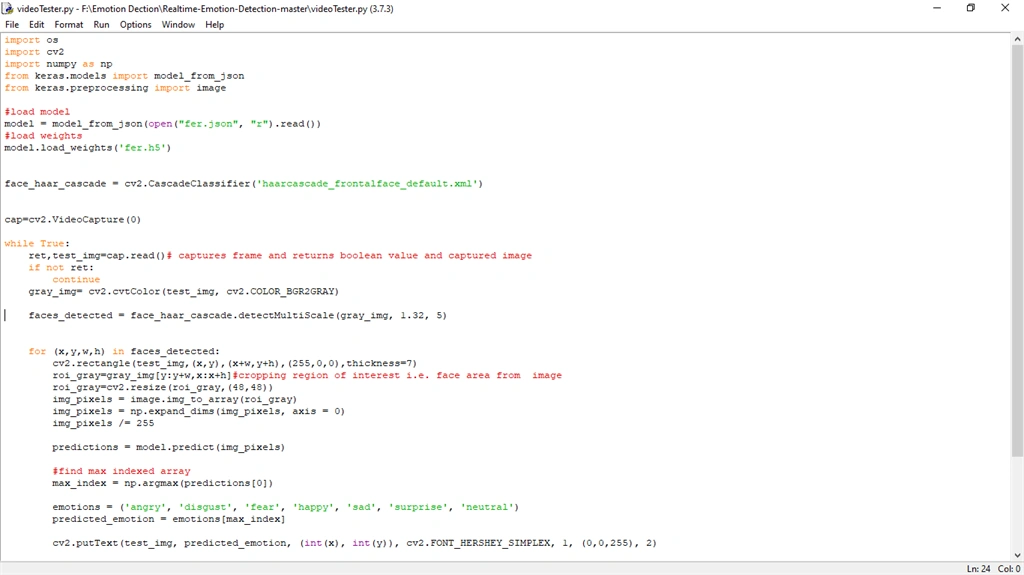
- import os
- import cv2
- import numpy as np
- from keras.models import model_from_json
- from keras.preprocessing import image
- #load model
- model = model_from_json(open("fer.json", "r").read())
- #load weights
- model.load_weights('fer.h5')
- face_haar_cascade = cv2.CascadeClassifier('haarcascade_frontalface_default.xml')
- cap=cv2.VideoCapture(0)
- while True:
- ret,test_img=cap.read()# captures frame and returns boolean value and captured image
- if not ret:
- continue
- gray_img= cv2.cvtColor(test_img, cv2.COLOR_BGR2GRAY)
- faces_detected = face_haar_cascade.detectMultiScale(gray_img, 1.32, 5)
- for (x,y,w,h) in faces_detected:
- cv2.rectangle(test_img,(x,y),(x+w,y+h),(255,0,0),thickness=7)
- roi_gray=gray_img[y:y+w,x:x+h]#cropping region of interest i.e. face area from image
- roi_gray=cv2.resize(roi_gray,(48,48))
- img_pixels = image.img_to_array(roi_gray)
- img_pixels = np.expand_dims(img_pixels, axis = 0)
- img_pixels /= 255
- predictions = model.predict(img_pixels)
- #find max indexed array
- max_index = np.argmax(predictions[0])
- emotions = ('angry', 'disgust', 'fear', 'happy', 'sad', 'surprise', 'neutral')
- predicted_emotion = emotions[max_index]
- cv2.putText(test_img, predicted_emotion, (int(x), int(y)), cv2.FONT_HERSHEY_SIMPLEX, 1, (0,0,255), 2)
- resized_img = cv2.resize(test_img, (1000, 700))
- cv2.imshow('Facial emotion analysis ',resized_img)
- if cv2.waitKey(10) == ord('q'):#wait until 'q' key is pressed
- break
- cap.release()
- cv2.destroyAllWindows
Output Verification
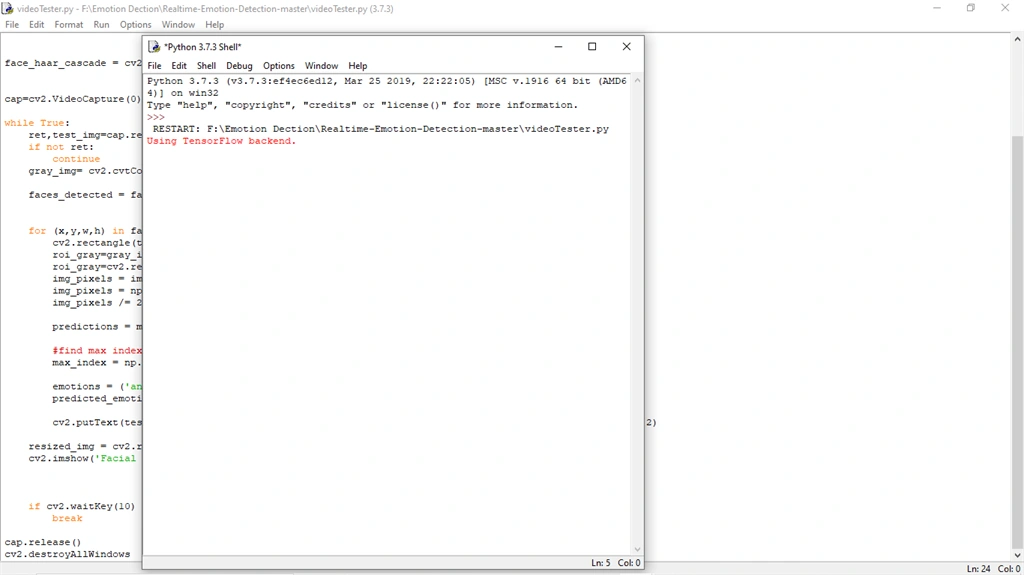
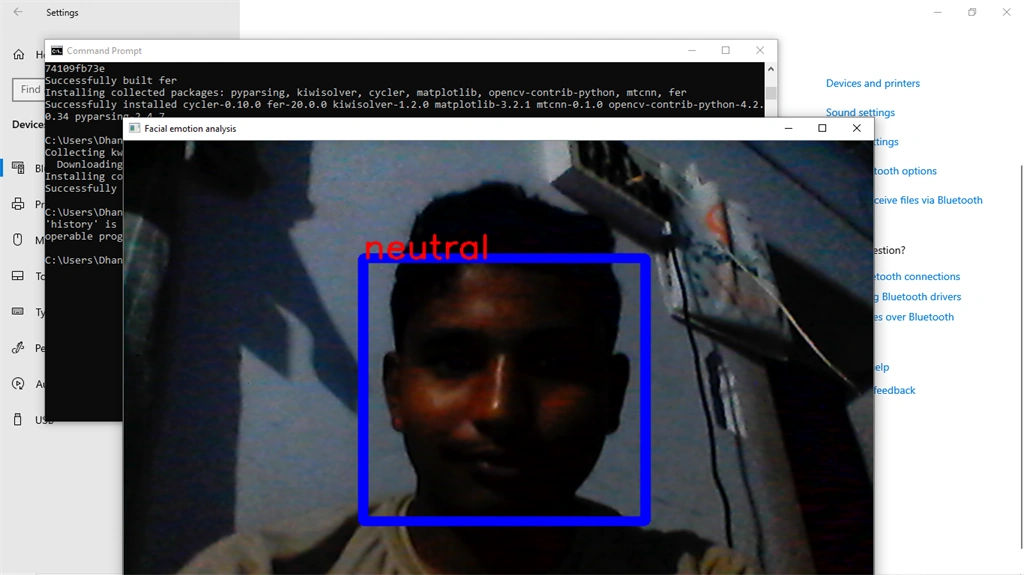
Now you can run the videoTester.py program. Your camera automatically turns on and detects the emotion of your face.
Conclusion
This is just a beginning step in face detection. You can download the program files from my git-hub link by clicking here. Feel free to use this for future enhancements.
Alejandro EyharchetPosted Feb 17, 2022, 4:04 AM
I have an interest in learning about python, I'm a beginner, so in advance sorry if my question is too basic. Looking into your code I noted that the dataset is mentioning df=pd.read_csv('fer2013.csv') but what is this file, what contains and how can I create one? Amazing post!
lily rayPosted May 29, 2021, 1:13 AM
Can I get your email please
saraswan SinhaPosted Jan 18, 2021, 5:08 PM
Could you please also mention the validation accuracy of your model??
selinPosted Jan 2, 2021, 12:29 AM
Hi, i'm working on face emotion detection in python. I saw your project on the c-sharpcorner site. When I tried to run it I saw that the emotions did not perceive all. Do you have a solution for this?
Rohit GuptaPosted Apr 23, 2020, 10:44 PM
Nice article, by I really don't think pip install tensor flow will work, it should be pip install tensoflow <2.0 if you want to install tensoflow 1 and pip install tensoflow if you want to install tensoflow 2