

In my previous article, I demonstrated How to build a Bot. In this article, you will learn how to publish your Bot to Microsoft Azure.
Once you are done creating a bot then you need to publish that on Microsoft Azure. First you need Microsoft Azure subscription.
You can get a free trial from here: https://azure.microsoft.com/en-us/
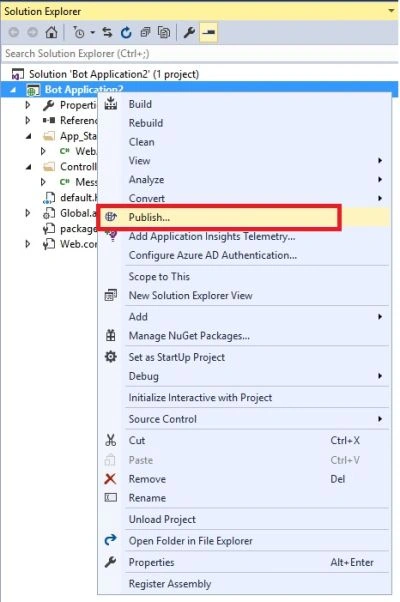
Right click on solution and click Publish.
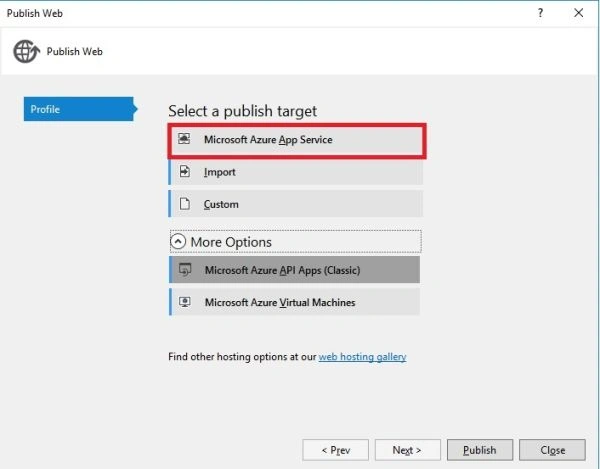
Click Microsoft Azure App Service.
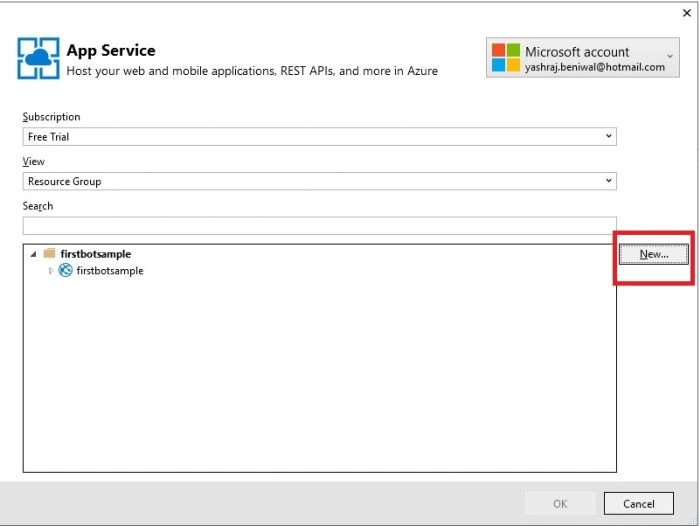
Click on New and enter credentials.
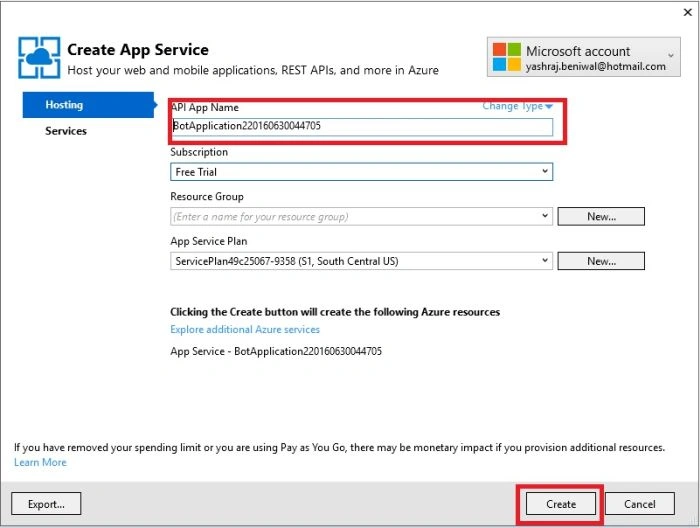
Enter API name and keep that by default and select subscription type and click create.
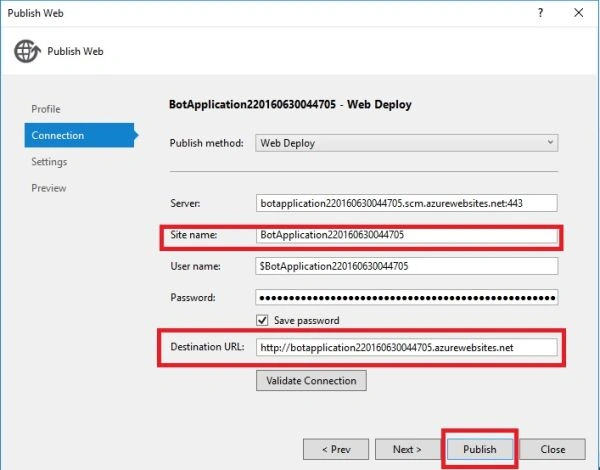
On publish web window you can see site name and destination URL and click Publish.
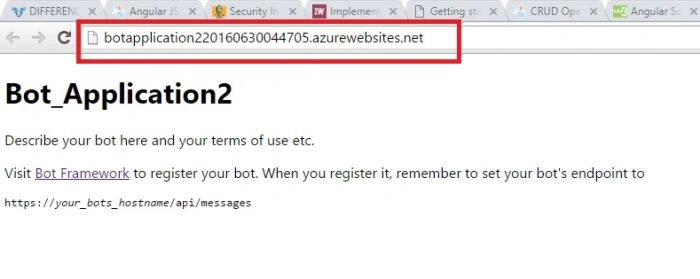
Finally, you can see your published application. You can see your BOT application published on Microsoft Azure.
Conclusion
In this article, you have learnt how to publish your bot to Microsoft Azure. If you have any question or comments, post a comment in C# Corner comments section.
Next article: How to register your bot with Microsoft Bot Framework
Luis LinietskyPosted Mar 19, 2018, 1:03 PM
Great tutorial, I was loosing my mind trying to deploy a bot of my own following the steps from oficial microsoft documentation, which didn't work at all: https://docs.microsoft.com/en-us/bot-framework/bot-service-build-download-source-code
Amit MukherjeePosted Mar 12, 2018, 7:57 AM
Is there any way to automate the above process using a powershell script so that no human intervention is required ?
Asad AliPosted Jul 1, 2016, 3:21 AM
Good one
RajaPosted Jun 30, 2016, 11:59 PM
Good One...
kalu singh raoPosted Jun 30, 2016, 10:40 PM
Nice...
Vignesh ManiPosted Jun 30, 2016, 5:37 PM
Nice