

Introduction
While working in Microsoft Power Apps, I noticed one small but annoying thing - Text Input boxes don’t adjust their height automatically.
If the user types more text, they have to scroll inside the box. And if the box is too big, it just looks odd when there’s only a little text.
So instead of keeping it fixed, we can make the height automatically based on the text. Power Apps doesn’t give this feature directly, but there’s a simple trick to achieve it.
How This Works
The idea is very simple.
Text Input doesn’t support auto height, but Label control does. So we will use a label in the background to calculate the height and apply that height to the Text Input.
Steps
Step 1: Add a Text Input Control
Add a Text Input control to your screen
Set the Width as per your requirement
For this example, set: Width = 350
Step 2: Add a Label Control
Add a Label control
Make sure Auto Height = true
Set the Width same as Text Input (350)
Step 3: Bind Label with Text Input
Set the Label Text Property: TextInput1.Text
Replace TextInput1 with your actual Text Input control name
TextInput1.TextStep 4: Set Text Input Height
Select your Text Input
Set Height property: Label1.Height
Replace Label1 with your actual label control name
Label1.HeightMost Important Thing to Consider
Make sure Text Input width is exactly same as Label width
Also keep Font size, Font type, and Padding same for both Label and Text Input
Result
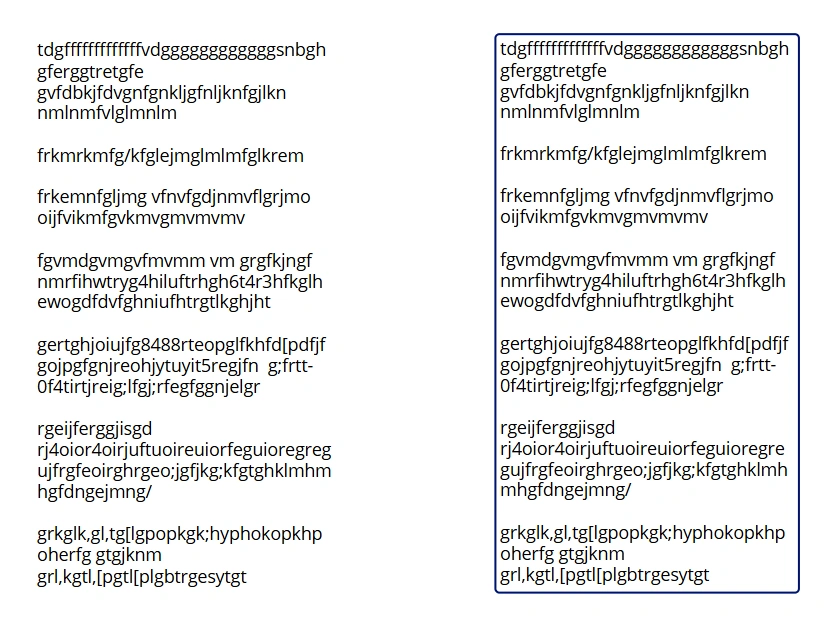
Make sure after your testing, set Label Property Visible = false
Conclusion
This is a simple trick, but it makes a huge difference in your app. Your Text Input will adjust automatically as users type, so they don’t have to scroll inside the box.
Join the conversation! Your thoughts help the community grow.