

 a
aIn this tutorial, we will see how to capture screenshots on cross-platforms using .Net MAUI. The name "Screenshots" indicates, the image that is on the screen of our device allows us to capture the exact situation we want in the application when we use it.
Quick Links
- Project Setup
- Implementation
- Demo
- Full Code
- Download Code
Project Setup
- To create .NET MAUI apps, we need the latest Visual Studio 2022 installed with .NET Multi-platform App UI development workload with its default optional installation options in our PC or mac machine.
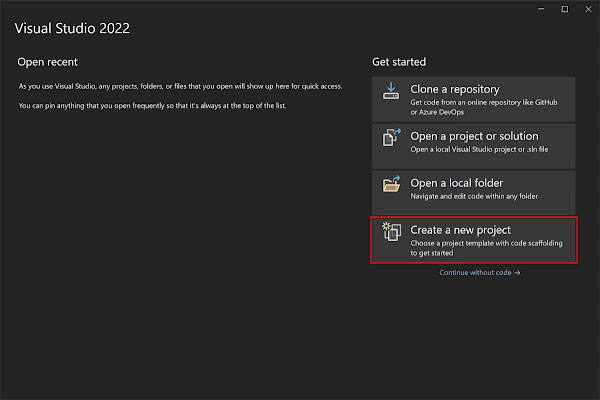
- Launch Visual Studio 2022, and in the start window click "Create a new project".
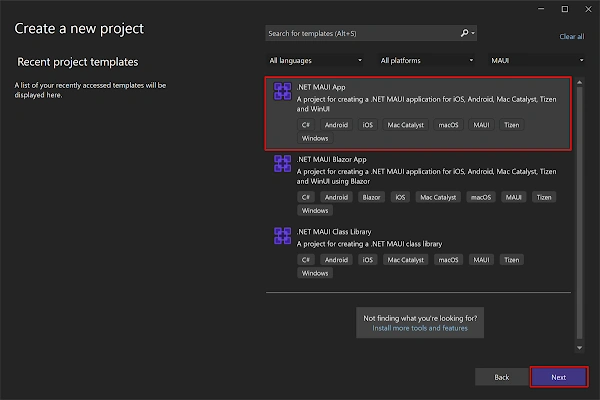
- In the Create a new project window, select MAUI in the All project types drop-down, select the .NET MAUI App template, and click the Next button.
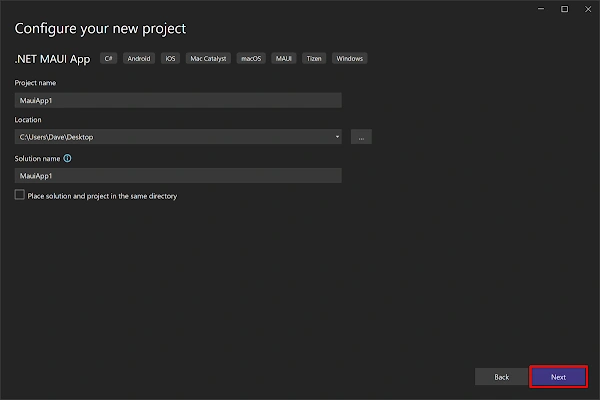
- In the Configure your new project window, name your project, choose a suitable location for it, and click the Next button.
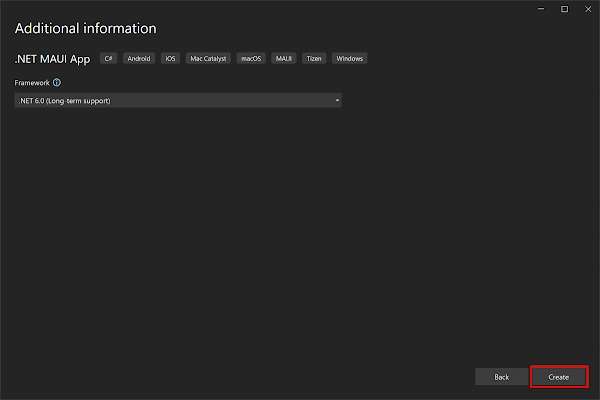
- In the Additional information window, click the Create button.
- Once the project is created, we can able to see the Android, iOS, Windows and other running options in the toolbar. Press the emulator or run button to build and run the app.

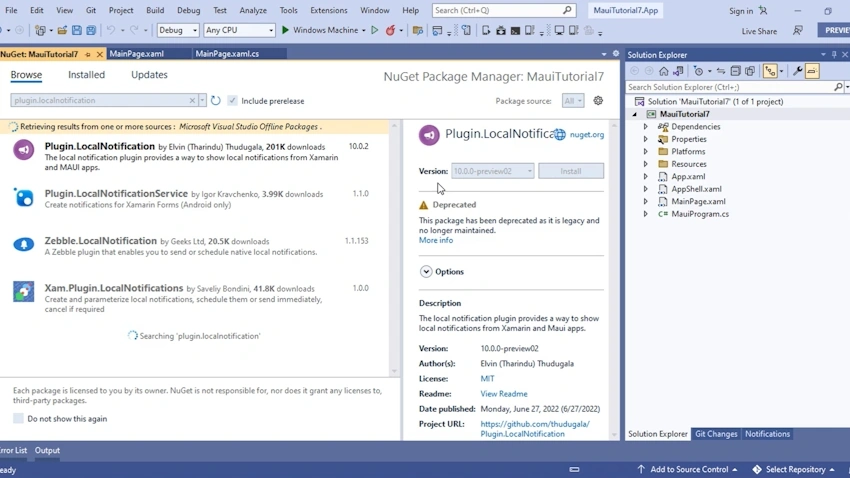
Step 1. Open Nuget Manager, search "Plugin.LocalNotification" and install the plugin
.
Step 2. To show the notification, open your MainPage.xaml.cs file and add namespace "Plugin.LocalNotification" by including "using Plugin.LocalNotifications;"
Step 3. In Solution Explorer, click MainPage.xaml and replace the page content with what is shown below.
<?xml version="1.0" encoding="utf-8" ?>
<ContentPage xmlns="http://schemas.microsoft.com/dotnet/2021/maui"
             xmlns:x="http://schemas.microsoft.com/winfx/2009/xaml"
             x:Class="MauiTutorial6.MainPage">

    <ScrollView>
        <VerticalStackLayout
            Spacing="25"
            Padding="30,0"
            VerticalOptions="Center">

            <Image
                SemanticProperties.Description="Cute dot net bot waving hi to you!"
                HeightRequest="200"
                HorizontalOptions="Center"
                Source="dotnet_bot.svg"
                x:Name="img"/>

            <Button
                x:Name="CounterBtn"
                Text="Capture"
                SemanticProperties.Hint="Counts the number of times you click"
                Clicked="OnCounterClicked"
                HorizontalOptions="Center" />

        </VerticalStackLayout>
    </ScrollView>

</ContentPage>
Step 4. Open the MainPage.xaml.cs file and the page content as shown below:
namespace MauiTutorial6;

public partial class MainPage : ContentPage
{
	public MainPage()
	{
		InitializeComponent();
	}

	private async void OnCounterClicked(object sender, EventArgs e)
	{
        if (Screenshot.Default.IsCaptureSupported)
        {
            IScreenshotResult screen = await Screenshot.Default.CaptureAsync();
            Stream stream = await screen.OpenReadAsync();
            img.Source = ImageSource.FromStream(() => stream);
        }

        SemanticScreenReader.Announce("Image Captured");
	}
}
Step 5. Here
- Title: Notification Title
- Description: Notification Description
- Subtitle: Notification Subtitle for collapsed view
- Schedule: DateTime value to show the notification after the mentioned schedule
- Repeat: DateTime value to repeat the notification after the mentioned frequency
Step 6. IsCaptureSupported: Returns a bool value – Gets a value indicating whether the capturing screenshots are supported.
Step 7. CaptureAsync: Returns an ISscreenshotResult. – It is responsible for taking screenshots of the current application. Therefore, we can get various information about it, such as width and height.
Step 8. Stream: IScreenshotResult also has a Stream property that is used to convert the screenshot to an image object.
Step 9. Assign the derived stream value to the image control as ImageSource.
Demo
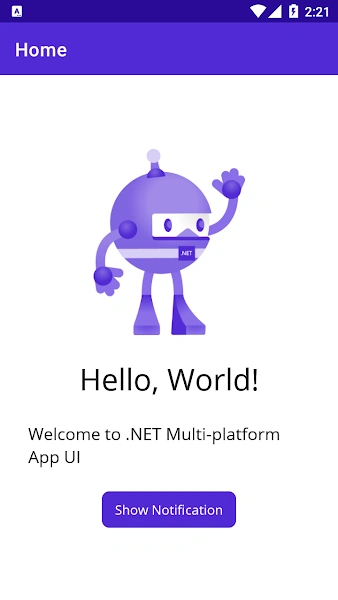
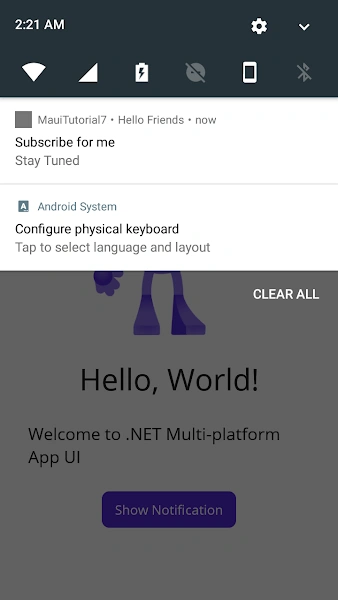
Full Code
<?xml version="1.0" encoding="utf-8" ?>
<ContentPage xmlns="http://schemas.microsoft.com/dotnet/2021/maui"
             xmlns:x="http://schemas.microsoft.com/winfx/2009/xaml"
             x:Class="MauiTutorial6.MainPage">

    <ScrollView>
        <VerticalStackLayout
            Spacing="25"
            Padding="30,0"
            VerticalOptions="Center">

            <Image
                SemanticProperties.Description="Cute dot net bot waving hi to you!"
                HeightRequest="200"
                HorizontalOptions="Center"
                Source="dotnet_bot.svg"
                x:Name="img"/>

            <Button
                x:Name="CounterBtn"
                Text="Capture"
                SemanticProperties.Hint="Counts the number of times you click"
                Clicked="OnCounterClicked"
                HorizontalOptions="Center" />

        </VerticalStackLayout>
    </ScrollView>

</ContentPage>
namespace MauiTutorial6;
public partial class MainPage: ContentPage {
    public MainPage() {
        InitializeComponent();
    }
    private async void OnCounterClicked(object sender, EventArgs e) {
        if (Screenshot.Default.IsCaptureSupported) {
            IScreenshotResult screen = await Screenshot.Default.CaptureAsync();
            Stream stream = await screen.OpenReadAsync();
            img.Source = ImageSource.FromStream(() => stream);
        }
        SemanticScreenReader.Announce("Image Captured");
    }
}
Download Code
FrankPosted Feb 20, 2025, 3:30 PM
The code IScreenshotResult screen = await Screenshot.Default.CaptureAsync(); worked fine in .Net 8, but generates an exception in .NET 9. it's a shame.