

In my previous article I described how to create a table and establish relationships among the tables (see http://www.c-sharpcorner.com/UploadFile/18ddf7/nested-autocomplete-box-in-lightswitch-2012-part-1/).
There I added a new screen.
Now here we are going to add an AutoCompleteBox.
In my previous article I added the screen on the basis of the customer table.
Step 1
In the Menu bar click on the "Add Data Item" button.
Step 2
The "Add Data Item" dialog box will appear on screen. Select the query radio button and add the "Countries - Countries(All)" query and provide a name and click the "OK" button.
As we click OK the Screen Designer will look as in the following:
Step 3
Once again we will click on the "Add Data Item" button and select the "Local Property" radio button and provide a name to the local property and click "OK". Under the Type select "Country(entity)".
Step 4
The Screen designer will appear as in the following: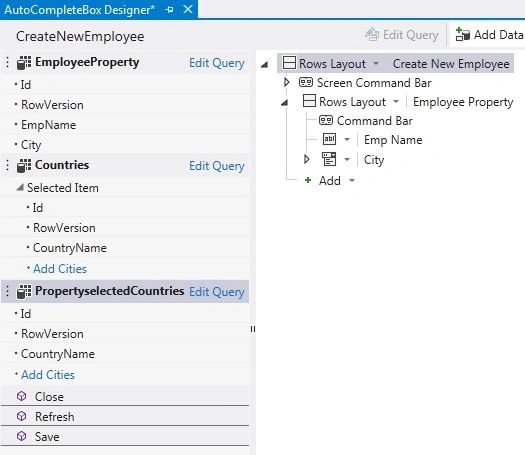
Drag the propertySelectedCountry node onto the screen designer above the City node from the left side and put it onto the screen to create an AutoCompleteBox.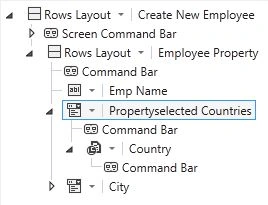
Step 5
Go to the PropertySelectedCountry property window and set the "Choices" property to "Countries".
Step 6
Once again click on "Add Data Item" and select the "Query" radio button and add the CityByCountry query and provide a name and click the "OK" button.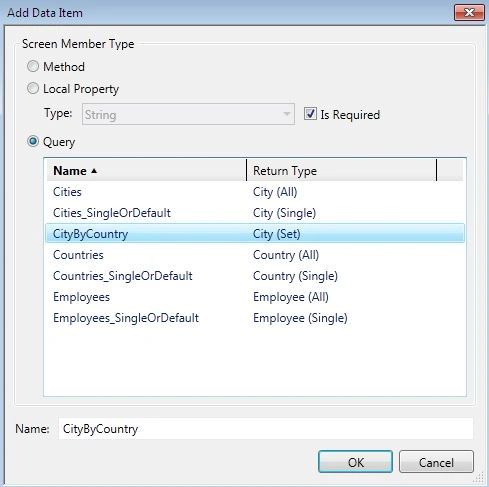
The screen designer will appear as in the following: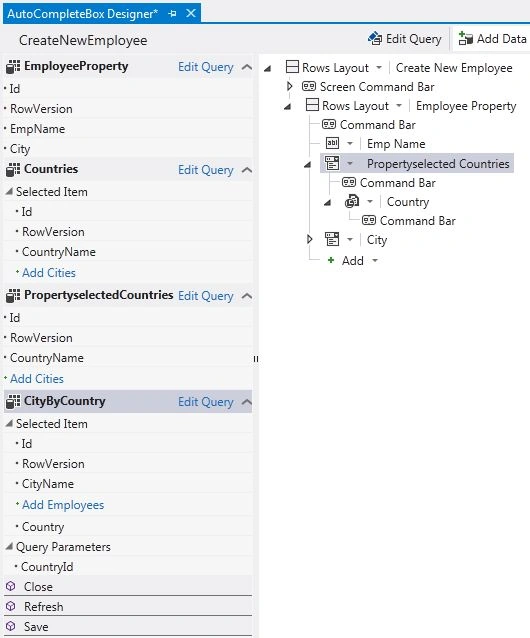
Click on the City field in the Screen Designer and go to the property window and set the Choices property to "CityByCountry".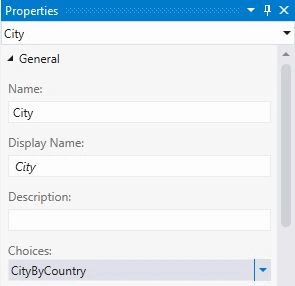
Step 7
Now click on the "CountryId" parameter of the "CityByCountry" query. 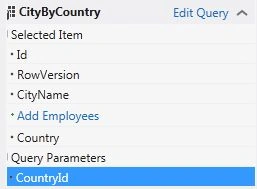
Go to the property window and enter "propertySelectedCounty.ID" for the "Parameter Binding".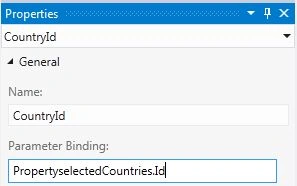
Step 8
Press F5 to run the application.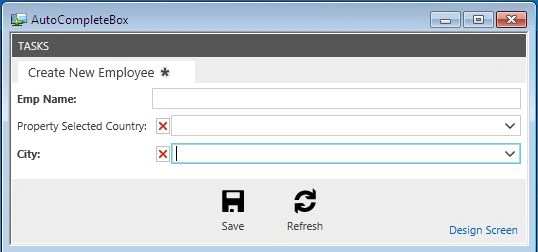
Here I have not provided any kind of data so it will be empty.
Join the conversation! Your thoughts help the community grow.