

Introduction
In a previous article, we started with the Ionic framework and discussed the Visual Studio Code where we are going to implement our applications. Now we are going to implement a small application where we will make some menus in the form of the grid using ionic.
Step 1: Open Visual Studio Code,
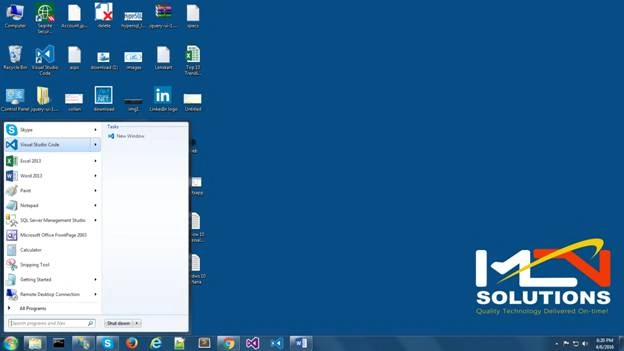 Step 2: Now after starting Visual studio Code, open a folder where you want to put your application,
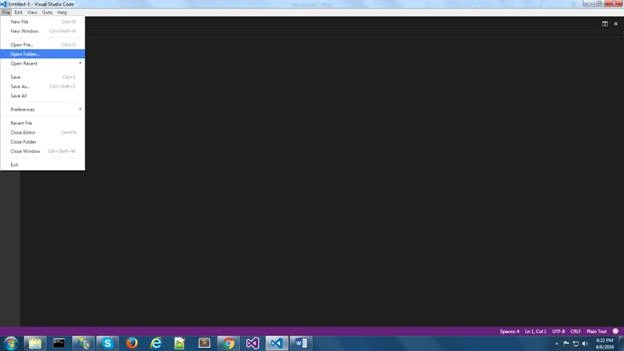 Step 3: Create a new folder and name it Ionic_Grid_Menu,
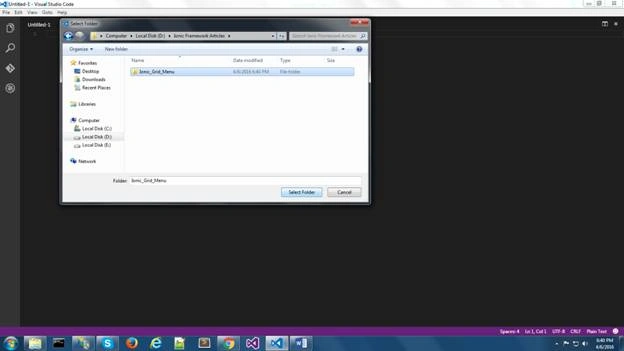 And select that folder,
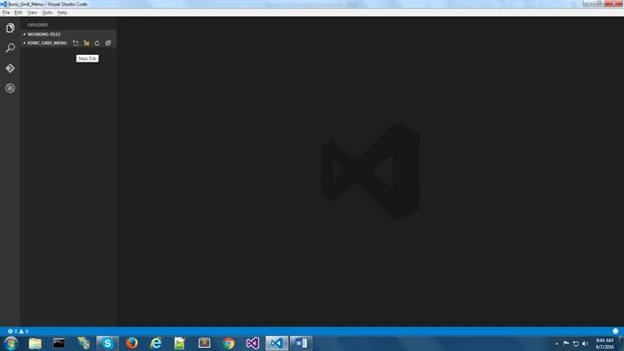
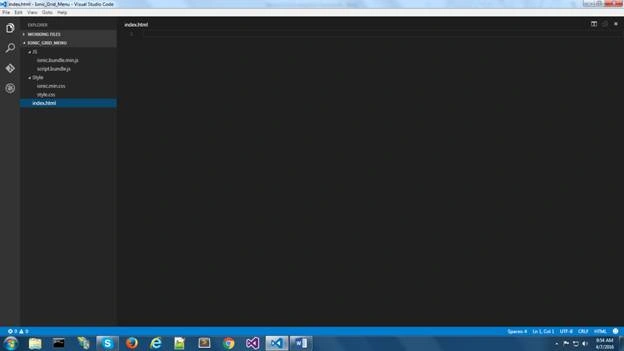
After we created the folder we can see an Explorer opened with two tabs,
And select that folder,
After we created the folder we can see an Explorer opened with two tabs,
- Working Files: shows the present files are in work.
- IONIC_GRID_MENU: shows all the files in the folder.
Step 4: Create the files,
- index.html
- ionic.min.css
- style.css
- ionic.bundle.min.js
- script.min.js
- <html ng-app="ionicApp">
- <head>
- <meta charset="utf-8">
- <meta name="viewport" content="width=device-width, initial-scale=1, maximum-scale=1, user-scalable=no">
- <title> Menu Buttons</title>
- <link href="Style\ionic.min.css" rel="stylesheet">
- <link href="Style\style.css" rel="stylesheet">
- <script src="JS\ionic.bundle.min.js"></script>
- <script src="JS\Script.bundle.js"></script>
- </head>
- <body ng-controller="MyCtrl">
- <ion-header-bar class="bar-positive">
- <div class="buttons">
- <h1 class="title">Menu buttons</h1>
- </div>
- </ion-header-bar>
- <ion-content id="fhm_page">
- <div class="fhm_container">
- <div class="fhm_row">
- <div class="fhm_item fhm_item1">
- <span>Article</span>
- </div>
- <div class="fhm_item fhm_item2">
- <span> Blog</span>
- </div>
- </div>
- <div class="fhm_row">
- <div class="fhm_item fhm_item3">
- <span> News</span>
- </div>
- <div class="fhm_item fhm_item4">
- <span>Video</span>
- </div>
- </div>
- <div class="fhm_row">
- <div class="fhm_item fhm_item5">
- <span>Job</span>
- </div>
- <div class="fhm_item fhm_item6">
- <span>Book</span>
- </div>
- </div>
- </div>
- </ion-content>
- </body>
- </html>
- body {
- cursor: url('http://ionicframework.com/img/finger.png'),
- auto;
- }
- #fhm_page.scroll,
- .fhm_container
- {
- position: absolute;
- top: 0;
- right: 0;
- left: 0;
- bottom: 0;
- }
- .fhm_row
- {
- /* position: absolute; */
- height: 33.3 % ;
- left: 0;
- right: 0;
- background - color: #FF0000;
- clear: both;
- }
- .fhm_item
- {
- height: 100 % ;
- width: 49.95 % ;
- font - family: Arial,
- Helvetica,
- sans - serif;
- font - size: 50 px;
- color: white;
- text - align: center;
- border: 1 px solid# FFFFFF;
- float: left;
- position: relative;
- }
- .fhm_item1
- {
- background - color: #1d8a77;
- }
- .fhm_item2
- {
- background-color: # ff6600;
- }
- .fhm_item3
- {
- background - color: #dd5151;
- }
- .fhm_item4
- {
- background - color: #6bc042;
- }
- .fhm_item5
- {
- background-color: # ffca2a;
- }
- .fhm_item6
- {
- background - color: #0086dc;
- }
- span{
- position: absolute;
- top:0;
- right:0;
- left:0;
- bottom:0;
- margin: auto;
- width:100%;
- height: 10%;
- }
- angular.module('ionicApp', ['ionic'])
- .controller('MyCtrl', function($scope)
- {
- });
- ionic.bundle.min.js
- Press Ctrl+Shift+P.
- >ext install chrome (Debugger for Chrome)
Note:Don’t write ext install chrome at once it will not give any output, so first write ext install & press enter and wait for its output and after u will get a list, then write chrome preceding to ext install.
- After complete installation, press Ctrl+Shift+D (Debug).
- Press F5 or click on the Run symbol.
- After pressing, we will ask to select the environment for debug by VS Code, select chrome in that list.
- You will get a new file created by default and named launch.json.
- Press F5 or click on the Run symbol, Again.
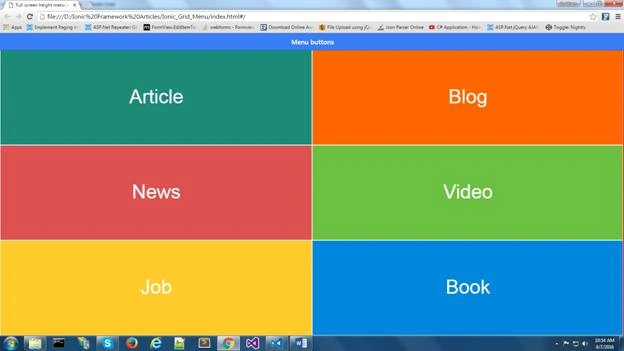
The output of our application will be,
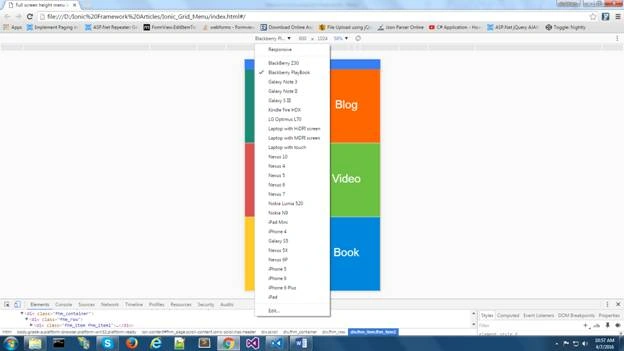
 Check this for different platforms,
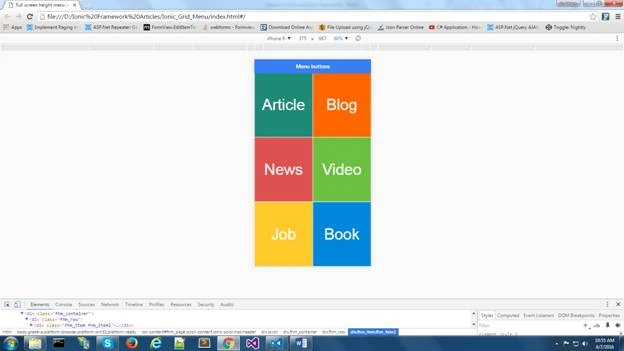
For iPhone 6,
Check this for different platforms,
For iPhone 6,
 For IPad,
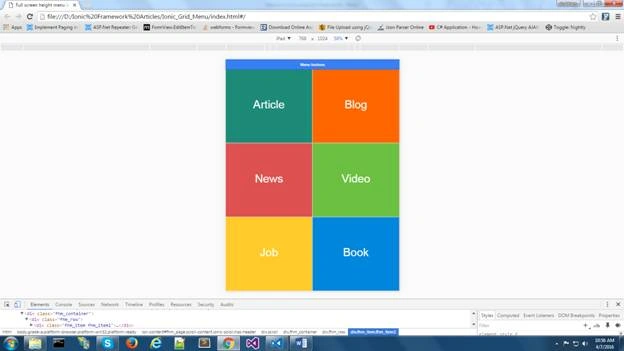 We can use that on any platform and it will work similarly for each platform,
Read more articles on the Ionic framework:
Shubham KumarPosted Apr 11, 2016, 1:07 AM
Thank you all...
Humayun Kabir MamunPosted Apr 10, 2016, 11:41 PM
Nice...
NitinPosted Apr 10, 2016, 1:17 AM
nice
Rahul Kumar SaxenaPosted Apr 9, 2016, 12:27 PM
Good Show
Vignesh ManiPosted Apr 9, 2016, 11:22 AM
Nice
Kuppurasu NagarajPosted Apr 9, 2016, 10:19 AM
Nice article..
Gowtham RajamanickamPosted Apr 9, 2016, 5:17 AM
Very Good one..