

Introduction
In this article, we will see a Universal Windows platform - Map control using Visual Studio development tool.
Requirement
- Visual Studio 2015 update 1 or later required.
- Bing Developer Center.
- Mobile Emulator, if deploying an Application in mobile devices.
Working on Map control
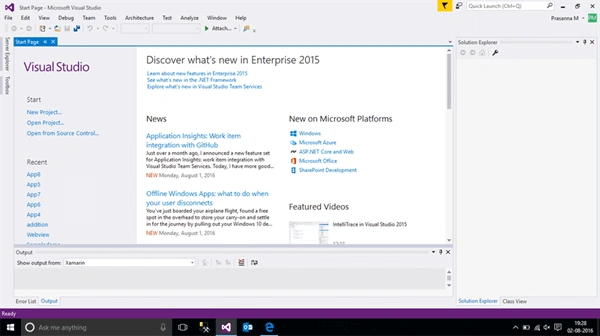
Step 1: Open Visual Studio 2015.
Step 2: In the Visual Studio's start page, click New project, as shown below:
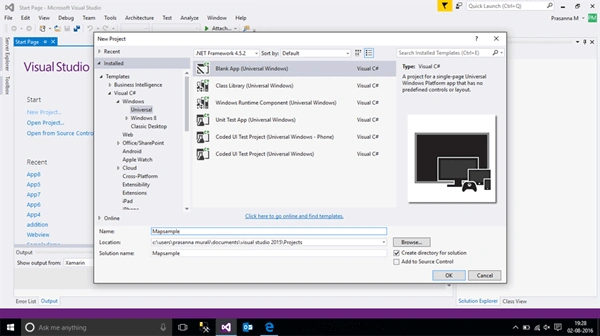
Step 3: In the new project creation wizard, select C# language, Blank Universal Application and give the project name as "MapSamples" , as shown below:
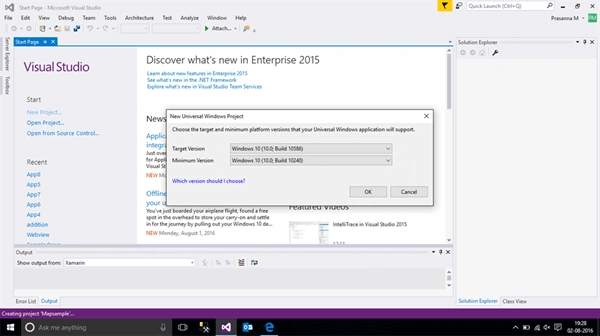
Step 4: Now, select the target version of universal Windows project as "Windows 10 Build 10240" and click OK.
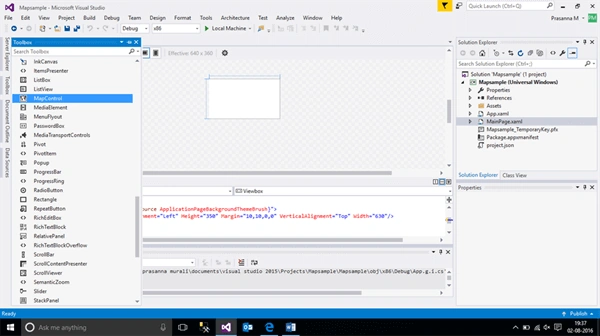
Step 5:Open MainPage.Xaml designer page and select Map Control from the toolbox, as shown below:
Step 6: Add the code, given below, in your project in MainPage.Xaml:
- <Maps:MapControl x:Name="Mapsample" MapServiceToken="(Map Service token from Bing Developer centre)" Margin="0,10"/>
- using Windows.Devices.Geolocation;
- using Windows.UI.Xaml.Controls.Maps;
- this.InitializeComponent();
- Mapsample.Loaded += Mapsample_Loaded;
Add the code, given above, in the public Mainpage() function.
Step 8: Add the code, given below, in the MainPage.Xaml.cs under Main function:
- private async void Mapsample_Loaded(object sender, RoutedEventArgs e)
- {
- var center =
- new Geopoint(new BasicGeoposition()
- {
- Latitude = 11.66509,
- Longitude = 78.154587
- });
- await Mapsample.TrySetSceneAsync(MapScene.CreateFromLocationAndRadius(center, 3000));
- }
- using System;
- using System.Collections.Generic;
- using System.IO;
- using System.Linq;
- using System.Runtime.InteropServices.WindowsRuntime;
- using Windows.Devices.Geolocation;
- using Windows.Foundation;
- using Windows.Foundation.Collections;
- using Windows.UI.Xaml;
- using Windows.UI.Xaml.Controls;
- using Windows.UI.Xaml.Controls.Maps;
- using Windows.UI.Xaml.Controls.Primitives;
- using Windows.UI.Xaml.Data;
- using Windows.UI.Xaml.Input;
- using Windows.UI.Xaml.Media;
- using Windows.UI.Xaml.Navigation;
- // The Blank Page item template is documented at http://go.microsoft.com/fwlink/?LinkId=402352&clcid=0x409
- namespace Mapsample
- {
- /// <summary>
- /// An empty page that can be used on its own or navigated to within a Frame.
- /// </summary>
- public sealed partial class MainPage : Page
- {
- public MainPage()
- {
- this.InitializeComponent();
- Mapsample.Loaded += Mapsample_Loaded;
- }
- private async void Mapsample_Loaded(object sender, RoutedEventArgs e)
- {
- var center =
- new Geopoint(new BasicGeoposition()
- {
- Latitude = 11.66509,
- Longitude = 78.154587
- });
- await Mapsample.TrySetSceneAsync(MapScene.CreateFromLocationAndRadius(center, 3000));
- }
- }
- }
Step 9: Deploy the Application in the local machine.
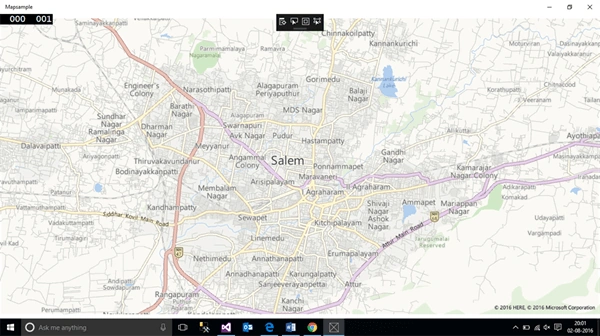
Step 10: Finally the output is displayed, which is given below.
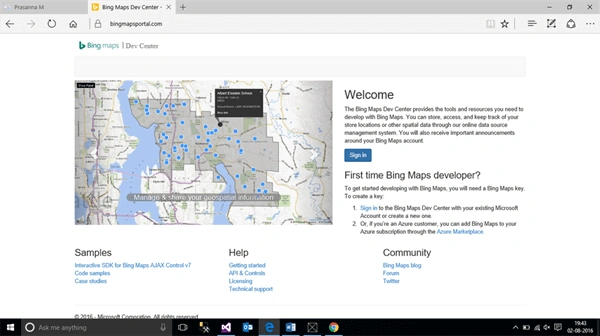
In Bing Developer Center
These Bing Maps developer center provides various tools and resources for displaying the Maps for doing the following operations, as given below:
- Storing Location
- Accessing Location
- Tracking location
For adding Map control, we need to get Map Token from the Developer center. For login, click the Link. It requires your Microsoft account, which can be either Hotmail or Outlook.
Step 1: Once your login is completed you will navigat to the following page that is shown below,
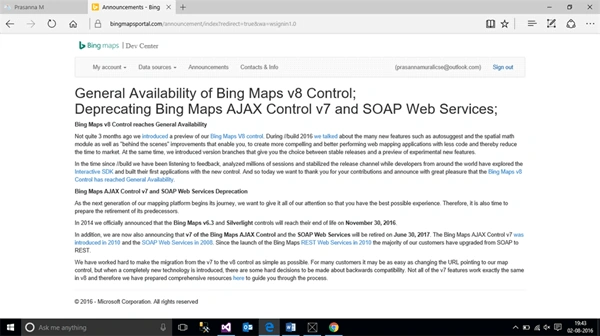
Step 2: Click My Account option and a dropdown menu appears in it. Select My Keys and the page given below appears:
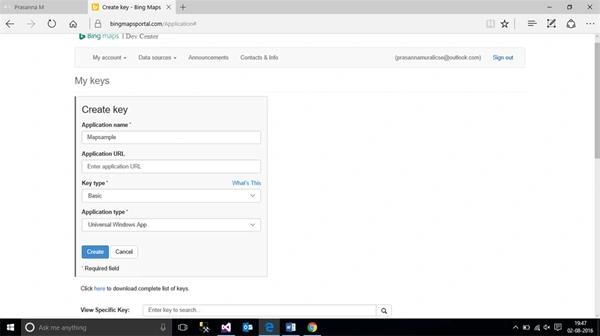
Step 3:In the My Key dashboard, click an option "Click here to create a Key" and the Window, shown below appears:
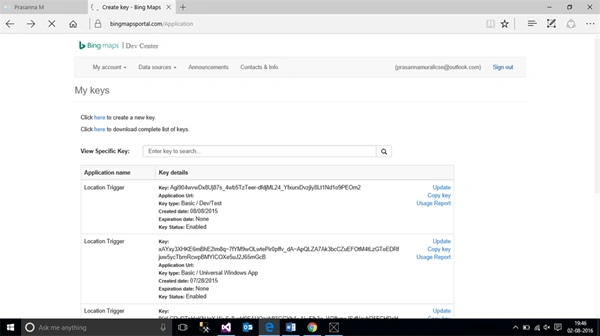
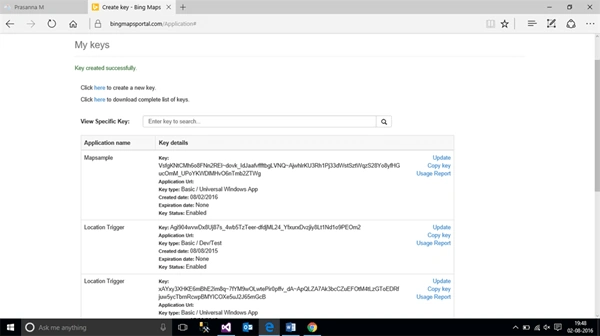
Step 4: In the Key creation wizard, type the needed fields such as Application Name, key type, Application type and click create. Finally , Map Key is created successfully.
luis mediavillaPosted Aug 16, 2016, 11:11 AM
I wonder why do we need a developer key, what if I create a really used app and three million users uses it. Should I pay for that?
Vignesh ManiPosted Aug 4, 2016, 7:28 AM
Good one