


Introduction
In the world of Power Apps, managing and interacting with data efficiently is essential to building powerful applications. One of the most useful functions in Power Apps is the LookUp function. The LookUp function allows you to find a single record in a table or collection based on specific criteria, making it ideal for scenarios where you need to retrieve only one matching record rather than the entire dataset.
When I first started working with Power Apps, I encountered a situation where I needed to pull data from a SharePoint list but only wanted to display specific information—like retrieving the employee's details based on their Employee ID. I quickly realized that using the LookUp function would make this task far easier. It helps narrow down data and makes your app more efficient by retrieving only the required record.
In this article, we will dive into how to use the LookUp function, when to use it, its features, advantages, disadvantages, and how to apply it to various scenarios within Power Apps.
Features of the LookUp Function in Power Apps
The LookUp function is designed to retrieve a single record from a data source based on a condition. Here's a breakdown of the key features of the LookUp function:
Syntax
LookUp(Source, Condition, [ColumnName])
- Source: The table or collection in which you want to search for the record (e.g., a SharePoint list or a local collection).
- Condition: The condition used to identify the record you want to retrieve. For example, you can search based on a specific column value like "Employee ID" or "Status".
- ColumnName (Optional): The specific column you want to return from the matching record. If you don't specify a column name, LookUp will return the entire record.
Key Features
- Single Record Retrieval: The LookUp function returns only the first record that matches the condition. If multiple records meet the condition, it returns the first match.
- Customizable Columns: You can specify which column value you want to return, making it very flexible for different scenarios.
- Efficient Data Access: By narrowing down your query to a single record, you can improve app performance when dealing with large datasets.
Advantages and Disadvantages of the LookUp Function
Advantages
- Improved Performance: Instead of returning an entire dataset, LookUp only retrieves the relevant record, making your app more efficient and reducing the amount of data loaded.
- Easy to Use: The syntax is simple, and it only requires a few parameters to retrieve data, making it easy for both beginners and advanced users.
- Customizable: You can specify the exact column to return, making it versatile and allowing you to retrieve only the information you need.
- Great for User Interactions: Ideal for use in situations where you need to display specific data based on user input, such as searching for a customer or an employee by their ID.
Disadvantages
- Limited to One Record: LookUp only returns the first record that matches the condition, which can be limiting if you need to retrieve multiple records that meet the criteria.
- Performance with Large Datasets: When used with large datasets (especially in online data sources like SharePoint), the LookUp function may cause performance issues, especially if it’s frequently called.
- Not Ideal for Complex Queries: While LookUp is great for simple searches, it may not be ideal for more complex queries that require multiple conditions or relational data.
Steps to Use the LookUp Function in Power Apps
Let’s go step-by-step through how to create an app that uses the LookUp function to retrieve specific records from a SharePoint list.
Step 1. Login to Power Apps.
- Open your web browser and go to Power Apps.
- Log in using your Microsoft account credentials to access your Power Apps environment.
Step 2. Create a New App.
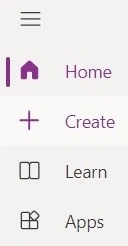
- On the Power Apps Home page, click on the Create option in the left sidebar.

- Select Blank App from the available options.
- Choose Blank Canvas App and click Create.
Step 3. Set App Format (Tablet or Phone).
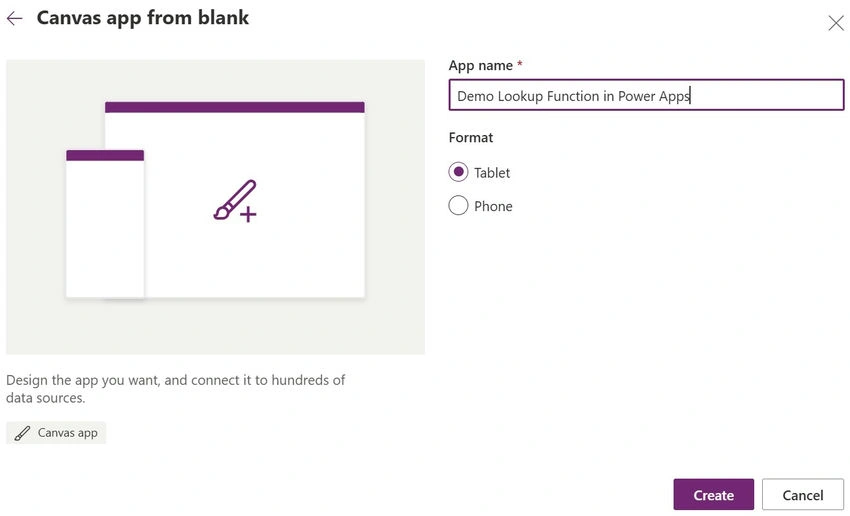
- Give your app a name (e.g., " Demo Lookup Function in Power Apps").
- Choose the appropriate format (Tablet or Phone) depending on your requirements.
- Click Create to begin building your app.
Step 4. Add Data Source (SharePoint List).
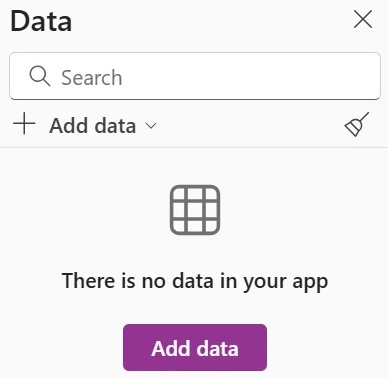
- In the left pane, click on Data to add a data source.
- Select SharePoint from the available connectors.

- Choose your SharePoint site and select the SharePoint list from which you want to retrieve data (e.g., "DemoNewList").
Step 5. Use Collect or ClearCollect in the App OnStart.
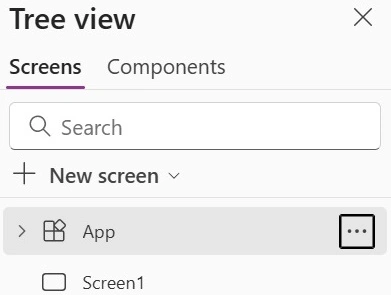
- In the App OnStart property, you can add the following formula to load the data from the SharePoint list into a collection.
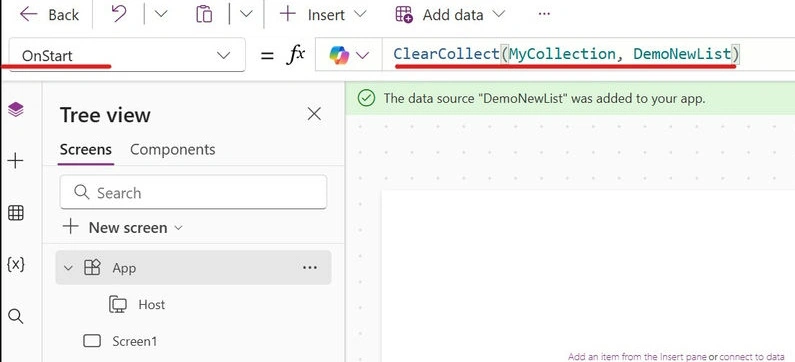
- ClearCollect(EmployeeCollection, EmployeeDetails)
- This formula will create a collection named EmployeeCollection that contains all the records from the EmployeeDetails SharePoint list.
Step 6. Add a Gallery to Display Data.
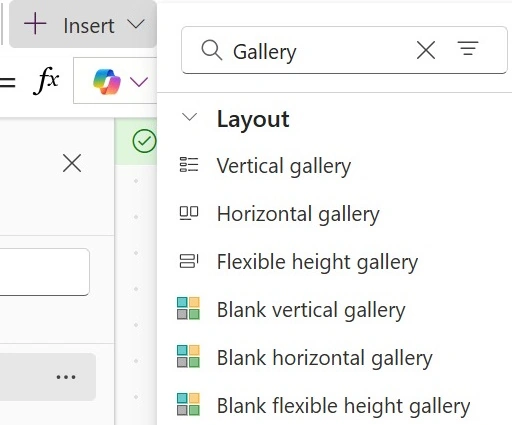
Add a Gallery control to your app (e.g., a vertical gallery).
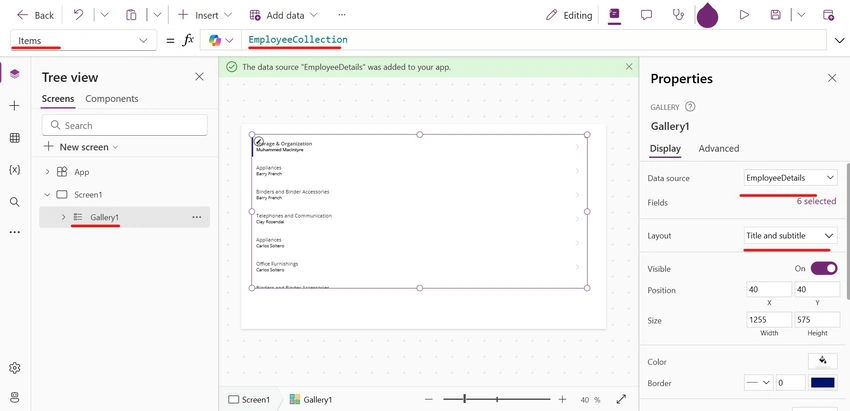
Set the Items property of the gallery to the EmployeeCollection. This will display all the data from the EmployeeDetails list in the gallery.
Step 7. Use the Lookup Function to Retrieve Specific Data.
- Add a Text Input Control to allow users to enter the Employee ID they want to search for.
- Set the Name of the text input as TextInput1.
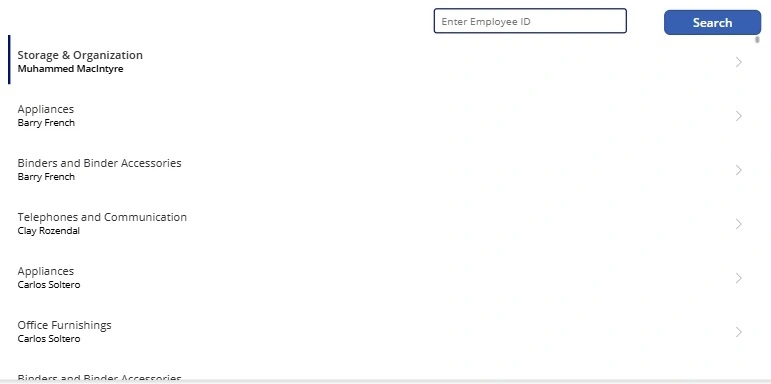
- Set the Name of the text input as TextInput1.
- Add a Button to trigger the LookUp function.
- Name the button SearchButton and set its Text to "Search".
- Define the LookUp Function in the OnSelect property of the button.
- Here’s the formula that will trigger the LookUp and store the result in a collection.
If(

    IsBlank(TextInput1.Text),
    ClearCollect(EmployeeCollection, EmployeeDetails),
    ClearCollect(EmployeeCollection, LookUp(EmployeeDetails, ID = Value(TextInput1.Text)))

)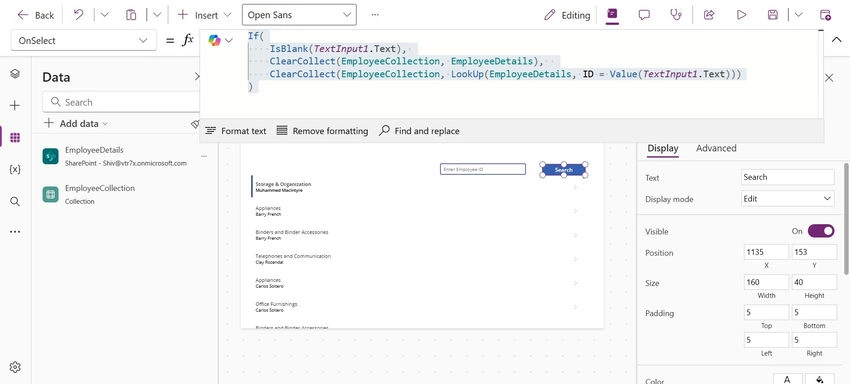
- Here’s the formula that will trigger the LookUp and store the result in a collection.
- ClearCollect(EmployeeCollection, LookUp(...)): Clears any previous data in the EmployeeCollection and collects the result of the LookUp function.
- LookUp(EmployeeCollection, ID = Value(TextInput1.Text)): Searches for the employee with an ID matching the number entered in TextInput1.Also in case there you want to see all data here is the blank function condition to get all data.
- Add a Gallery to display the search results from the collection.
- Set the Items property of the gallery to EmployeeCollection to display the data fetched by the LookUp.
Step 8. Test the App.
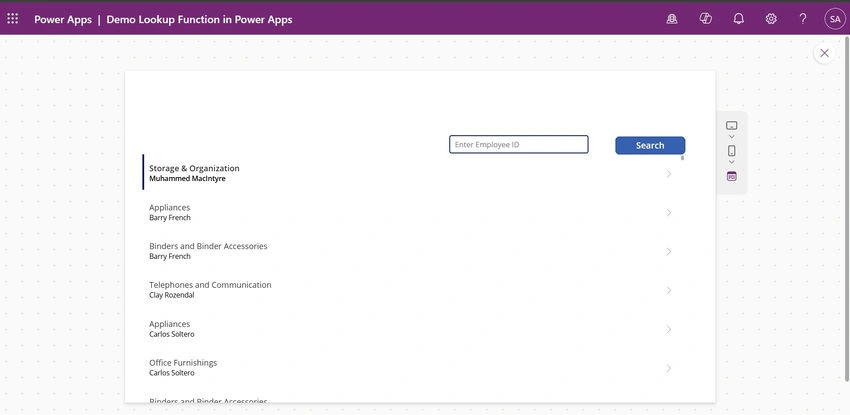
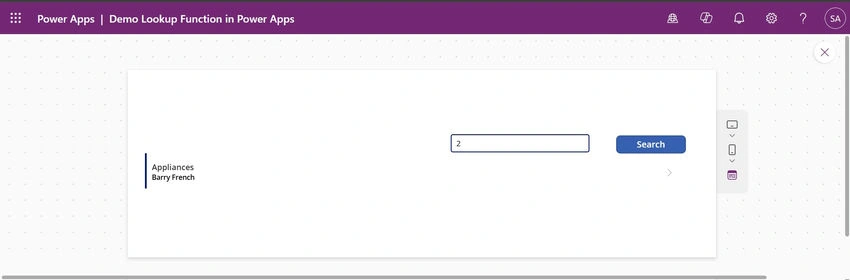
- Save your app and click Play (the preview button in the top-right).
- Enter an Employee ID into the TextInput control and watch the label update to show the details of the matching employee.
Conclusion
The LookUp function is a valuable tool in Power Apps for retrieving a single record from a data source based on specific conditions. It is especially useful when you need to retrieve detailed information for a particular item, such as an employee’s data from a SharePoint list, without displaying the entire dataset.
While the LookUp function is easy to use and highly efficient for specific tasks, it’s important to remember that it only returns the first matching record. This can be a limitation when working with larger datasets or when multiple records match the criteria. However, for most scenarios where only one result is needed, LookUp is a fantastic tool to simplify data retrieval.
By following the steps outlined in this article, you can implement the LookUp function in your Power Apps to make your applications more dynamic and efficient.
Vinay AyinapurapuPosted Jan 29, 2025, 4:12 AM
Nicely written. Also it would be helpful if you have quoted the references.