

Introduction
If we want to set up free SSL on our Azure website (using a custom domain), it's fairly easy when using Azure WebApps.
It's all done in few easy steps.
Go to Extensions:
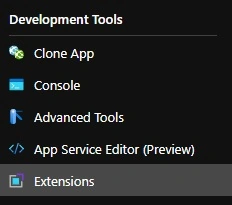
And then select 'Azure Let's Encrypt' extension from the list.
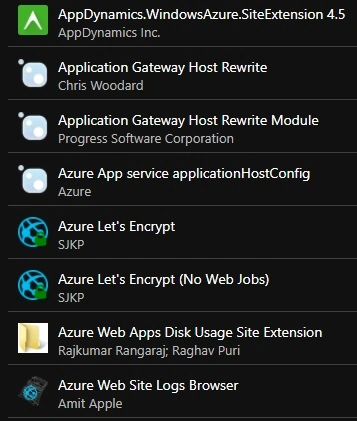
We need to run an automatic wizard, the certificate will be issued and automatically bound to your custom domain.
But what if we are using containers on Azure WebApps and extensions are not available?
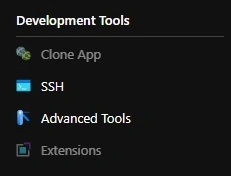
Well, it still can be done, but it requires little manual work.
First, you will need either a Linux box or you can use WSL2 on Windows 10.
The following commands need to be executed in the command line:
- apt-get update
- apt-get install certbot
- certbot certonly -d customdomain.com --manual --preferred-challenges dns
- mkdir /tmp/cert -p
- cd /tmp/cert
- SOURCE=/etc/letsencrypt/live/customdomain.com
- cp $SOURCE/{cert.pem,privkey.pem,chain.pem} .
- sudo chown user *.pem
- openssl pkcs12 -export -out cert.pfx -inkey privkey.pem -in cert.pem -certfile chain.pem
We select 'Custom domains' in our web app, click on 'Add binding' and select to upload the certificate,

Finally, select upload a certificate path and enter the password for the certificate (used when the export command was executed).
And we are good to go! SSL is set and we can access our application over HTTPS.
Join the conversation! Your thoughts help the community grow.