

In this article, we will show some tooltips on textboxes and the tooltip text will come through our SQL Database tables for each textbox. We will achieve this using the following agenda.
- Firstly, we will create a table in our database which contains tooltip text to be displayed against each control that we will use in our web page.
- We will create an auto-implemented class file that have auto implemented properties that corresponds to our database table columns.
- Now, we will create an ASP.NET web service, that retrieve data from the = database. This retrieved data will be used to display tooltip for each control in JSON format.
- At last, we will design our web page body with some sample textboxes with specific ID's and these ID's should be same as that of our database table column which contains control name.
- Now, we use jQuery code to call our web service which contains retrieved data and show it as tooltip using tooltip widget property of jQueryUI.
Thinking it to be very difficult, hold on...first read the article then you will come to know, how easy it is.
You can download the source code here.
Solution
Step 1: Create database with some sample data. You can use your own data or use the following script.
- CREATETABLEdbo.TooltipEmployees(controlNameNVARCHAR(100) NULL,
- tooltipDataNVARCHAR(100) NULL);
- INSERTINTOdbo.TooltipEmployees(controlName,
- tooltipData)
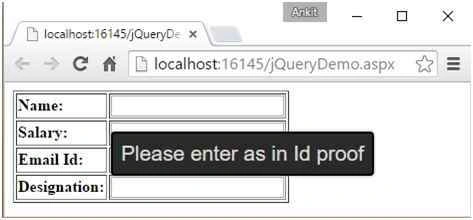
- VALUES(N 'Name', N 'PleaseenterasinIdproof');
- INSERTINTOdbo.TooltipEmployees(controlName,
- tooltipData)
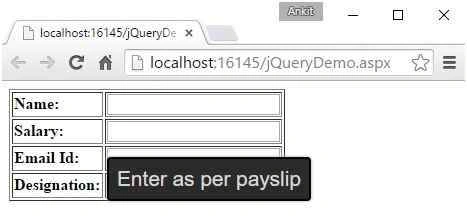
- VALUES(N 'Salary', N 'Enterasperpayslip');
- INSERTINTOdbo.TooltipEmployees(controlName,
- tooltipData)
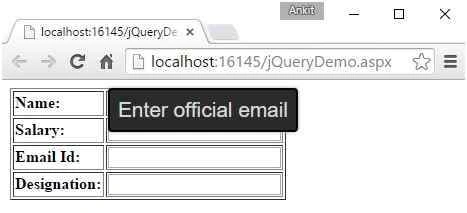
- VALUES(N 'EmailId', N 'Enterofficialemail');
- INSERTINTOdbo.TooltipEmployees(controlName,
- tooltipData)
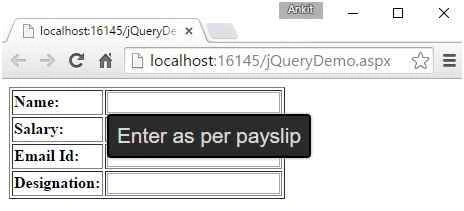
- VALUES(N 'Designation', N 'Enterasperpayslip');
- CREATEPROCspGetTooltipData@ controlNameNVARCHAR(100)
- AS
- BEGIN
- SELECTte.*
- FROMdbo.TooltipEmployeeste
- WHEREte.controlName = @controlName;
- END;

Step 2: Create an Empty ASP.NET Web application.
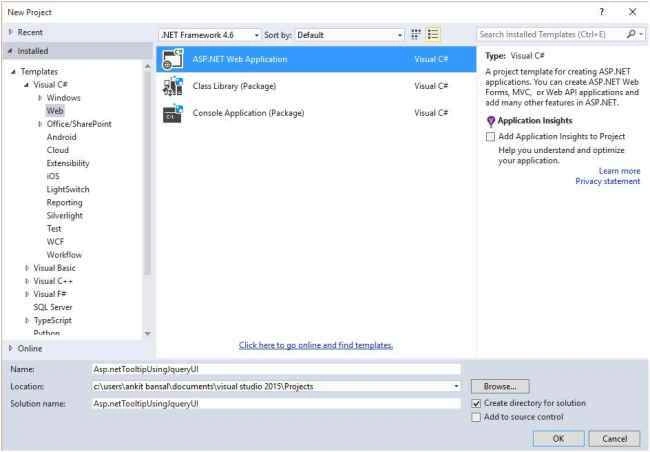
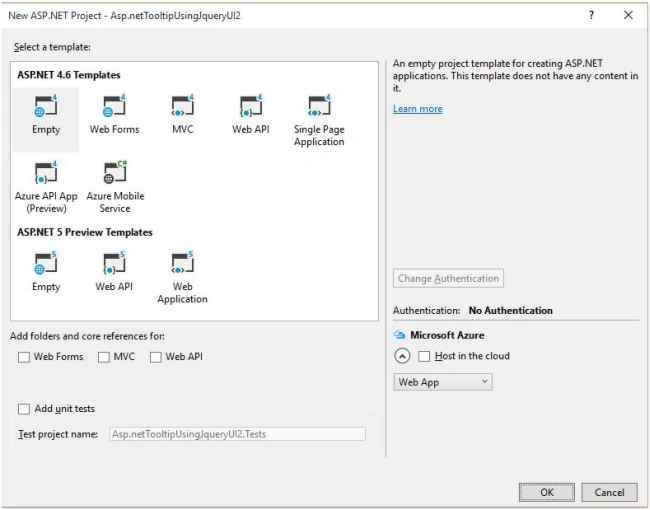
Step 3: Add a class file.
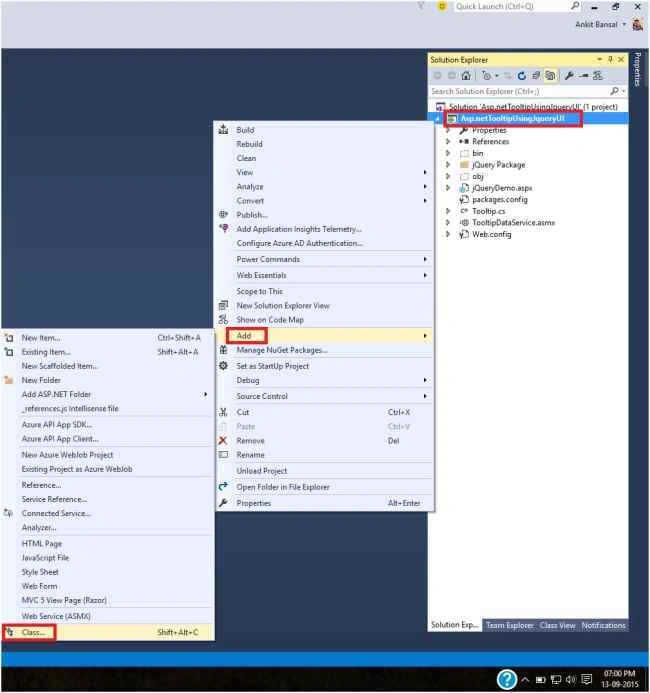
Step 4: Replace with the following code.
- namespaceAsp.netTooltipUsingJqueryUI {
- publicclassTooltip {
- publicstringcontrolName {
- get;
- set;
- }
- publicstringtooltipData {
- get;
- set;
- }
- }
- }
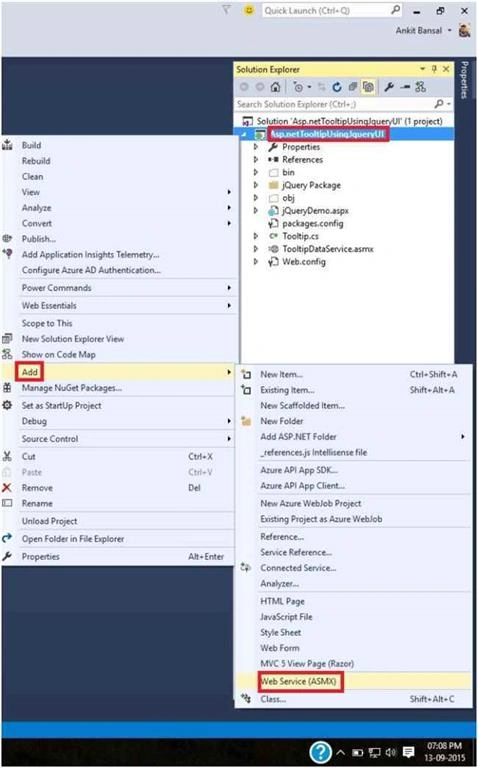
Step 6: Replace with the following code.
- usingSystem.Configuration;
- usingSystem.Data;
- usingSystem.Data.SqlClient;
- usingSystem.Web.Script.Serialization;
- usingSystem.Web.Services;
- namespaceAsp.netTooltipUsingJqueryUI {
- [WebService(Namespace = "http://tempuri.org/")]
- [WebServiceBinding(ConformsTo = WsiProfiles.BasicProfile1_1)]
- [System.ComponentModel.ToolboxItem(false)]
- [System.Web.Script.Services.ScriptService]
- publicclassTooltipDataService: System.Web.Services.WebService {
- [WebMethod]
- publicvoidGetTooltipData(stringcontrolName) {
- stringCS = ConfigurationManager.ConnectionStrings["DBCS"].ConnectionString;
- TooltiptoolTip = newTooltip();
- using(SqlConnectioncon = newSqlConnection(CS)) {
- con.Open();
- SqlCommandcmd = newSqlCommand("spGetTooltipData", con);
- cmd.CommandType = CommandType.StoredProcedure;
- cmd.Parameters.AddWithValue("@controlName", controlName);
- SqlDataReaderdr = cmd.ExecuteReader();
- while (dr.Read()) {
- toolTip.controlName = dr["controlName"].ToString();
- toolTip.tooltipData = dr["tooltipData"].ToString();
- }
- JavaScriptSerializerserializer = newJavaScriptSerializer();
- Context.Response.Write(serializer.Serialize(toolTip));
- }
- }
- }
- }
- <connectionStrings>
- <addconnectionString="DataSource=.;InitialCatalog=DemoDB;IntegratedSecurity=True"name="DBCS"providerName="System.Data.SqlClient"/>
- </connectionStrings>
- I have created a method that needs a parameter. This parameter actually is the control name which will check with the control name in our database table.
- We have created a stored procedure that returns data based on this parameter. We are just using simple ADO.NET code to retrieve data.
- The retrieved data is now assigned to auto-implemented properties of class file.
- This data is now changed to JSON format using JavaScriptSerializer class.
- The connection string is used to connect to the database. The (.) in data source refers to local connection.
Step 7: Now let's check our webservice, if it is returning correct data from database or not. Press Ctrl + F5.
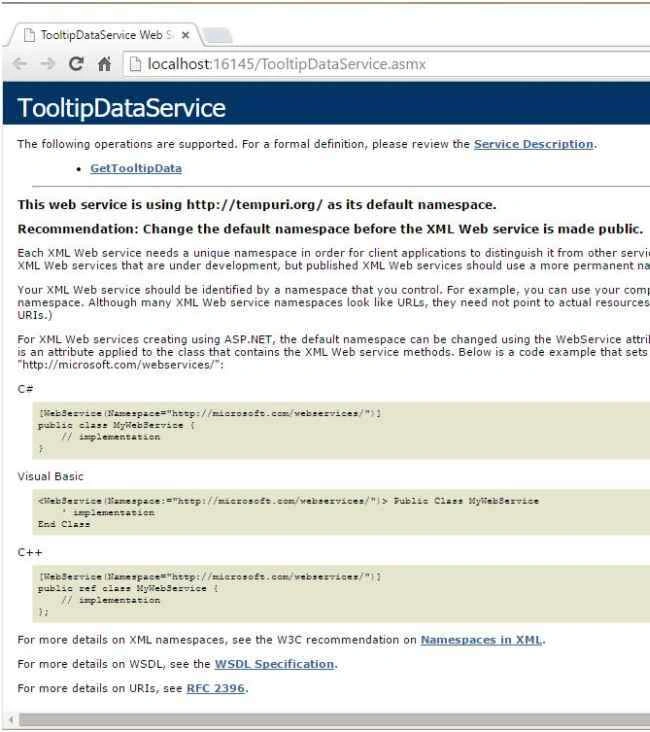
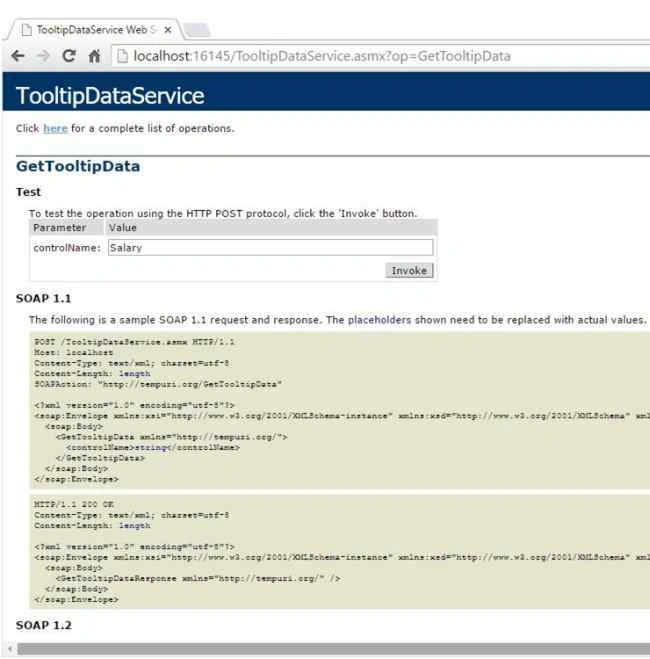
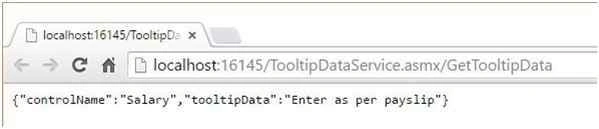
Now you can see that our web service is returning correct data in JSON format.
Step 8: Add a new Web form to implement our front end code.

Step 9: Go to source mode of Web form and add the following code in the body tag.
- <tableborder="1">
- <tr>
- <td><b>Name:</b></td>
- <td>
- <inputtype="text" title="" id="Name" class="tooltips" />
- </td>
- </tr>
- <tr>
- <td><b>Salary:</b></td>
- <td>
- <inputtype="text" title="" id="Salary" class="tooltips" />
- </td>
- </tr>
- <tr>
- <td><b>EmailId:</b></td>
- <td>
- <inputtype="text" title="" id="EmailId" class="tooltips" />
- </td>
- </tr>
- <tr>
- <td><b>Designation:</b></td>
- <td>
- <inputtype="text" title="" id="Designation" class="tooltips" />
- </td>
- </tr>
- </table>
Step 10: To add the jQuery references, visit my article here and follow step 5 and step 9 to download jQueryUI files and add their references or you can just download the code file attached with this article.
Step 11: Add the following jQuery code to the head section.
- < scripttype = "text/javascript" > $(document).ready(function() {
- $('.tooltips').tooltip({
- content: getTooltipText
- });
- functiongetTooltipText() {
- varrtnValue = '';
- $.ajax({
- method: "POST",
- dataType: "json",
- url: "TooltipDataService.asmx/GetTooltipData",
- data: {
- controlName: $(this).attr('id')
- },
- async: false,
- success: function(data) {
- rtnValue = data.tooltipData;
- }
- });
- returnrtnValue;
- }
- }); < /script>
- We have created a function to make the AJAX call to web service. We will send the controlName parameter to web service using the id property of our input elements in the body tag.
- Method is POST, since firstly we call the service, then send the data to it and again retrieve database from it.
- Datatype is JSON as we are returning data from services in JSON format using JavascriptSerializer class.
- The call to service should be synchronous as if it is asynchronous, then the call to service will be once, but we need continuous connection with service.
- If the ajax call is a success, we have returned the data back to control using rtnValue variable.
- Finally, we are using jQuery class selector, and implement tooltip widget and the content of that widget comes from the function that made the AJAX call and returned data.
Step 12: Now save all the changes, press Ctrl + F5 and you will see the following:
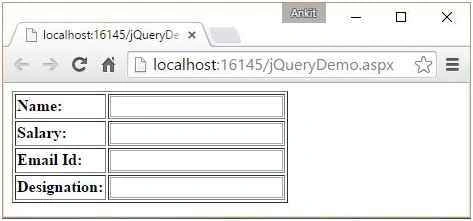
Have you ever wondered how easy to do it using jQuery.
Hope you enjoyed this!
Kameshwar RoyPosted Oct 5, 2015, 4:31 AM
Nice & useful
Sumit JoshiPosted Sep 21, 2015, 3:35 AM
Thanks for sharing.
Nilesh JadavPosted Sep 21, 2015, 1:22 AM
good one sir
Pankaj Kumar ChoudharyPosted Sep 20, 2015, 8:59 PM
Nice Article Ankit Sir..............
Santhakumar MunuswamyPosted Sep 20, 2015, 12:16 PM
Good Article. Thanks for sharing
Sibeesh VenuPosted Sep 20, 2015, 7:46 AM
Nice Share
Rajeesh MenothPosted Sep 20, 2015, 2:16 AM
Nice One,Thanks for sharing..
Karthikeyan KPosted Sep 20, 2015, 1:22 AM
Good one sir...Thanks for sharing us
Saineshwar BageriPosted Sep 20, 2015, 12:56 AM
nice one