

Introduction
Graphite Studio is one of the best No-Code tools available in the market. No-Code tools are generally used by Citizen Developers, but there are no constraints on the type of users. Small to mid and mid to large scale organizations also use No-Code tools to get benefits like fast development, good quality code, faster testing, etc. In the end, it's a win-win situation for all users.
This article looks too lengthy, but the following steps given in this article will be easy and quick. Let's get started with installing Graphite Studio step-by-step.
Pre-Requisite
Check and match your system requirement from the below table to install Graphite Studio.
| Component | Requirement |
| Processor | 2.2 GHz or faster x64-bit Processor or faster |
| Memory (RAM) | 8-16 GB or greater |
| Operating System | Windows Server 2012 R2 (64 bit) or Windows 10 Pro Windows Pro Enterprise |
| .NET Framework Version | 4.5.1 |
| Database | SQL Server 2012 R2 or SQL Server 2016 Express and above |
| Additional Components | Visual Studio 2012/13 Web Server - IIS 8.5 IIS Management Service Web Platform Installer Web Deploy 3.6 ASP .NET .NET Extensibility .NET WCF Services - HTTP Activation |
Download Graphite Studio from the given below URL:
https://graphitegtc.com/download
When you open the above URL, you can see 2 different installers to be downloaded:
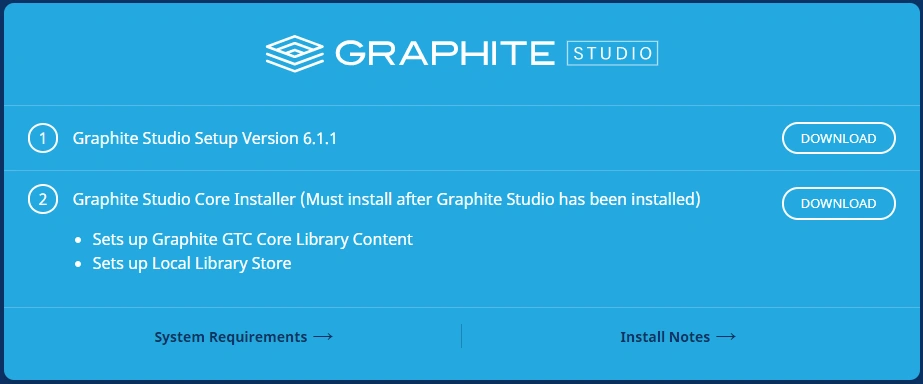
Figure 1
Download both installers:
- Graphite Studio Setup Version 6.1.1
- Graphite Studio Core Installer
Now install these installers one after another but the first one to be installed is Graphite Studio Setup Version 6.1.1.
Step 1 - Install "Graphite Studio Setup"
Locate the folder where your installer is available and start installing as per the given instructions.
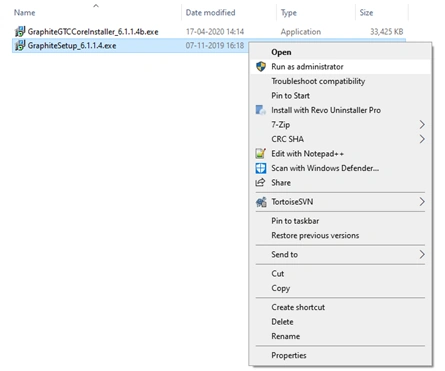
Figure 2
Prefer installing it using the "Run as administrator" option. This will automatically keep all permissions which an administrator should have.
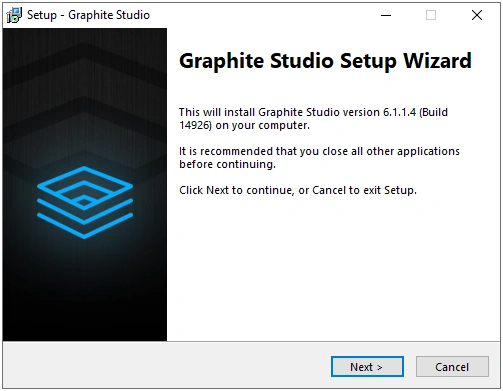
Figure 3
Click Next.
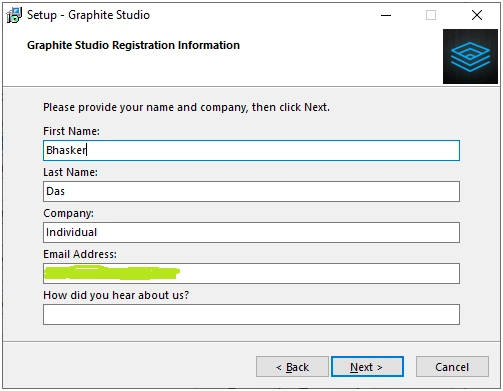
Figure 4
Please ensure that the given details are correct. The email will be used to send all further details like Activation Id etc. Click Next.
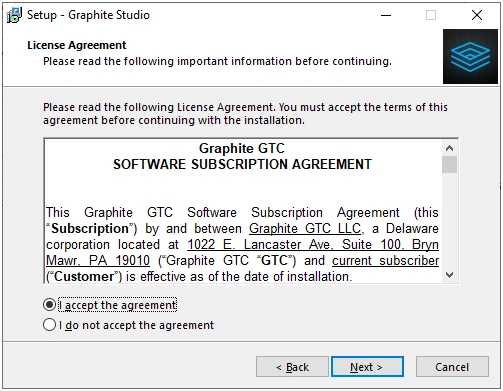
Figure 5
Accept the agreement and click Next.
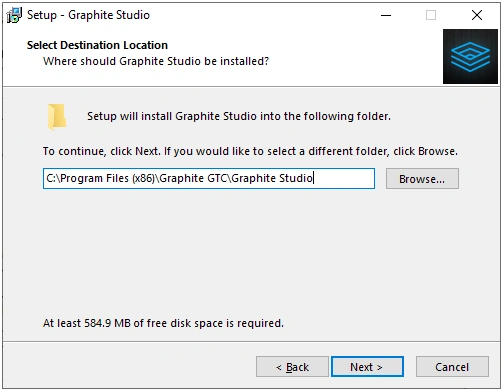
Figure 6
Select the location where you want Graphite Studio to be installed. The default location is also good to go. Click Next.
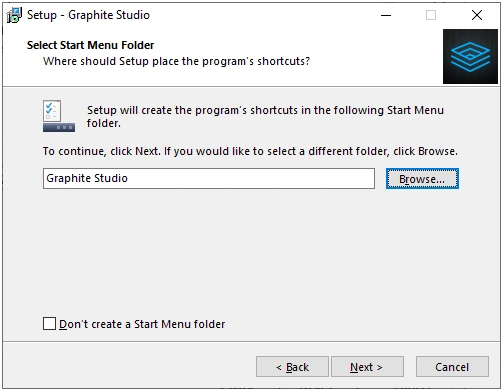
Figure 7
By default "Graphite Studio" folder will be created in the start menu. You can change or keep the folder name as it is. Click Next.
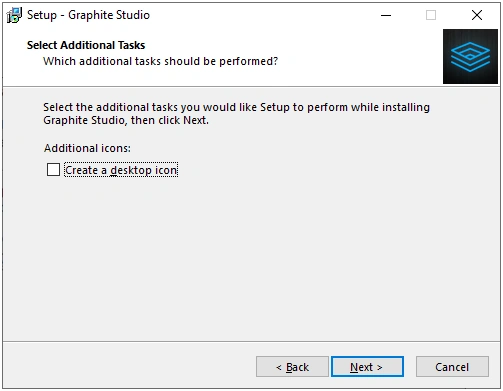
Figure 8
I usually don’t prefer to have shortcut icons on desktop but you may check or un-check it as per your preference. Click Next.
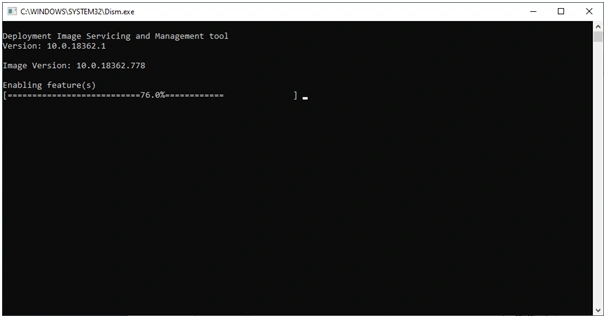
Figure 9
Installation is in progress…
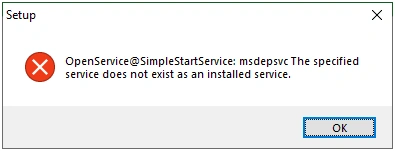
Figure 10 - 9-GraphiteStudio-WebDeploymentTool-Error
I got this error in the very next step. This error shows either the Web Deployment Tool is not installed or is not running. Let's name this error as "Web Deployment Error" and complete the main installation steps for now. We will rectify this issue in later steps.
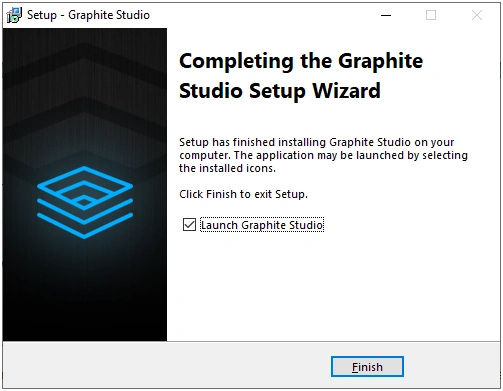
Figure 11
Click Finish to launch Graphite Studio.
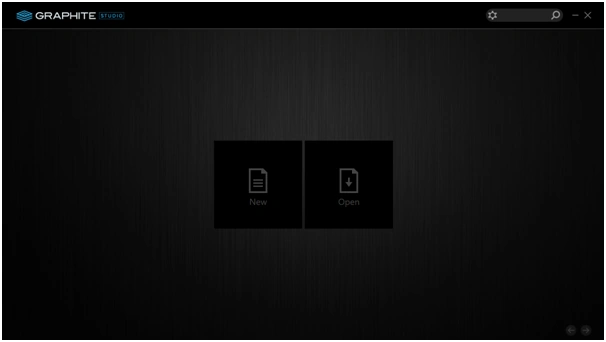
Figure 12
Here is the first screen of Graphite Studio. You would get 2 options to start with – "New" and "Open". Let's try to create a new application. Click New.
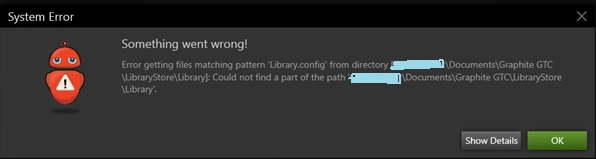
Figure 13
When trying to create a new application, Graphite Studio prompts an error shown above. This is because the installation is not completed yet. You are still due with a second downloaded installer – "Graphite Studio Core Installer". Graphite Studio is looking for Graphite's core libraries that are not available in the machine, hence the error.
Step 2 - Install "Graphite Core Installer"
Close the Graphite Studio and start installing Graphite Core Library.
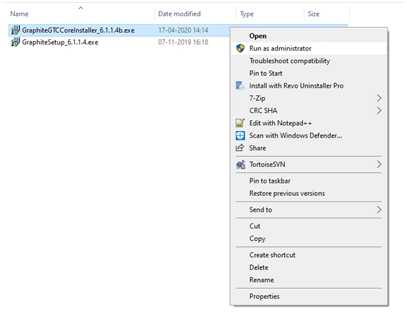
Figure 14
Use the "Run as Administrator" option similar to the first installer.
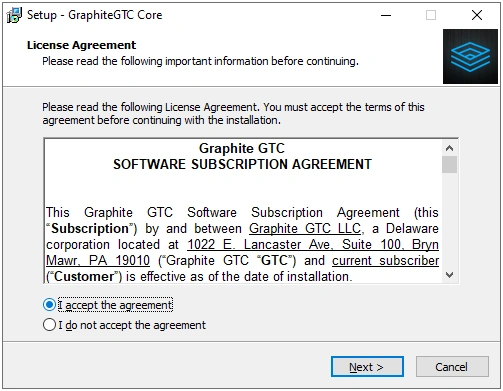
Figure 15
Accept the agreement and click Next.
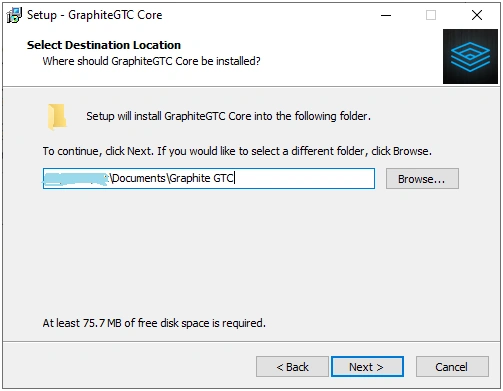
Figure 16
Select the same location where "Config" (location from earlier installation) folder resides. In my case, it is located at "~\Documents\Graphite GTC\Config". Click Next.
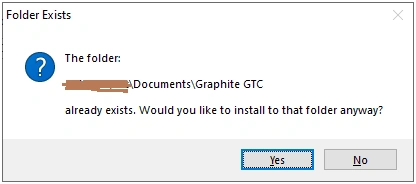
Figure 17
Click Yes
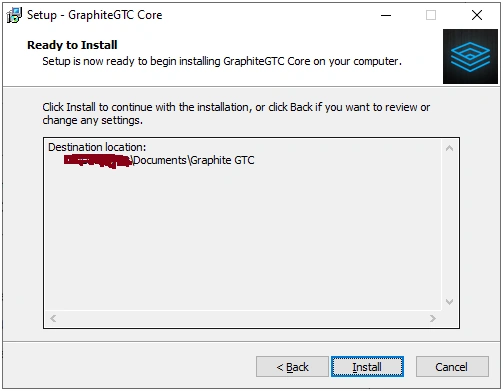
Figure 18
Click Install.
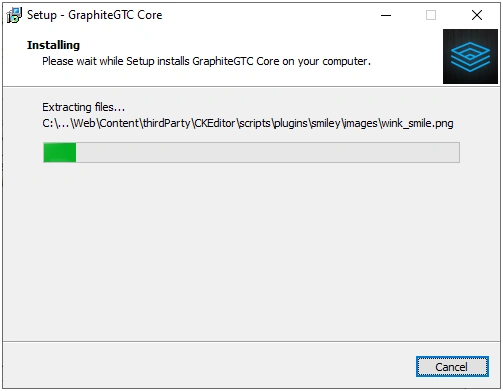
Figure 19
Installation is in progress.
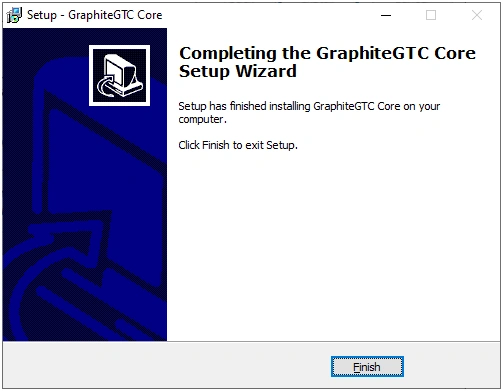
Figure 20
Click Finish to complete the Graphite GTC Core Library setup.
Now you have completed installing both installers which are Graphite Studio and Graphite Core Library. Ideally, this is the stage where you should be able to create an application using Graphite Studio, but since we got an error in our previous installation steps, let's fix the "Web Deployment Error" before creating an application.
Step 3 - Fix "Web Deployment Error"
Download "WebDeploy_x64_en-US.msi" from URL –
https://graphitegtc.com/download
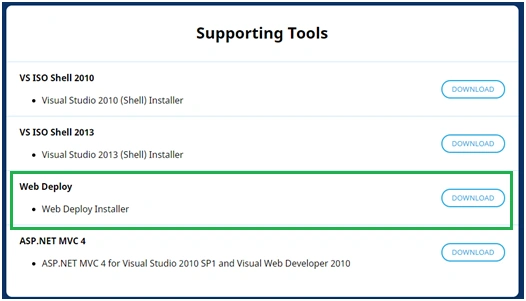
Figure 21
Now use this MSI file to install Web Deploy service in your machine.
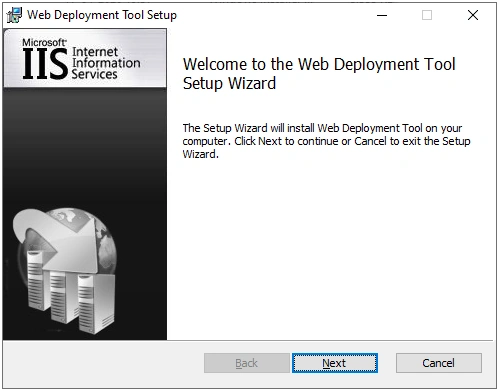
Figure 22
Click Next
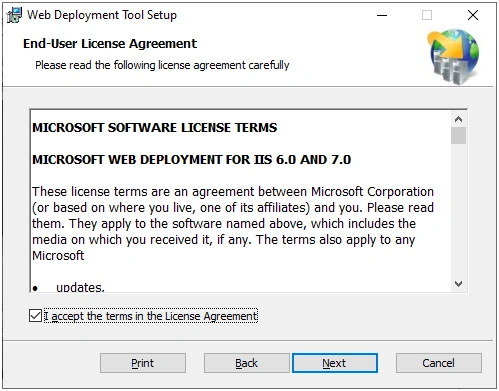
Figure 23
Accept the agreement. Click Next.
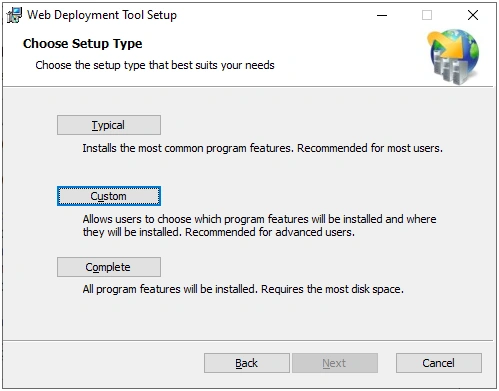
Figure 24
Choose Custom and make sure "Web Deployment Framework-->Remote Agent Service" should be deployed on the local hard drive.
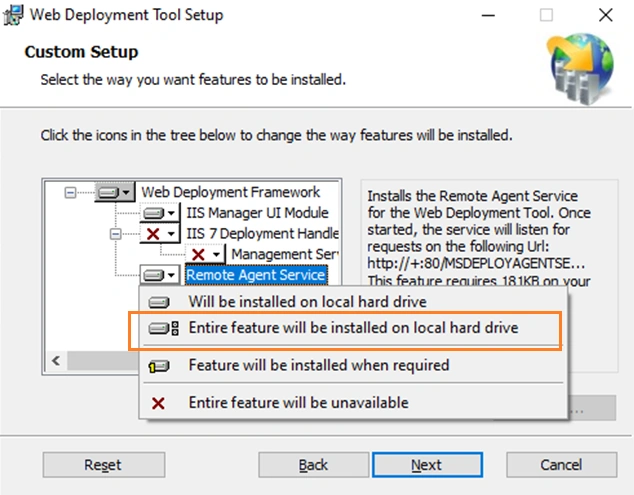
Figure 25
Click Next.
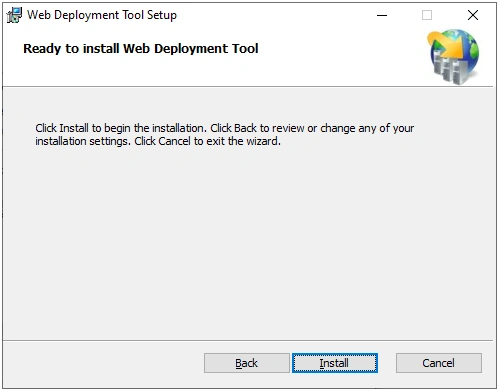
Figure 26
Click Install
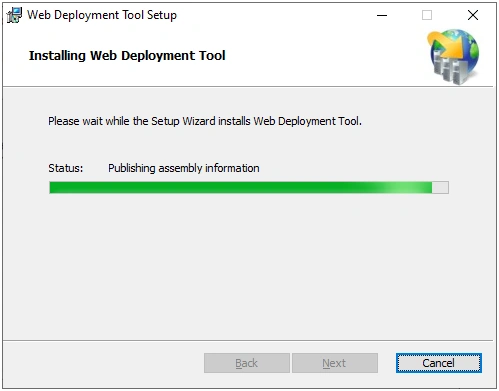
Figure 27
Installation is in progress…
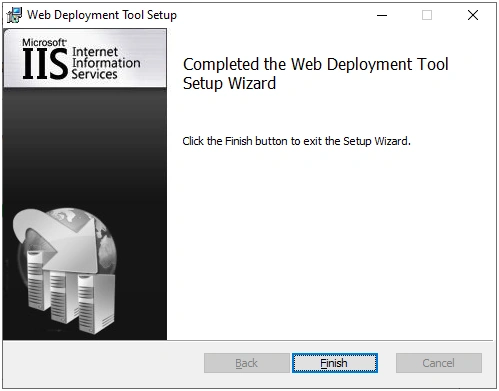
Figure 28
Click Finish.
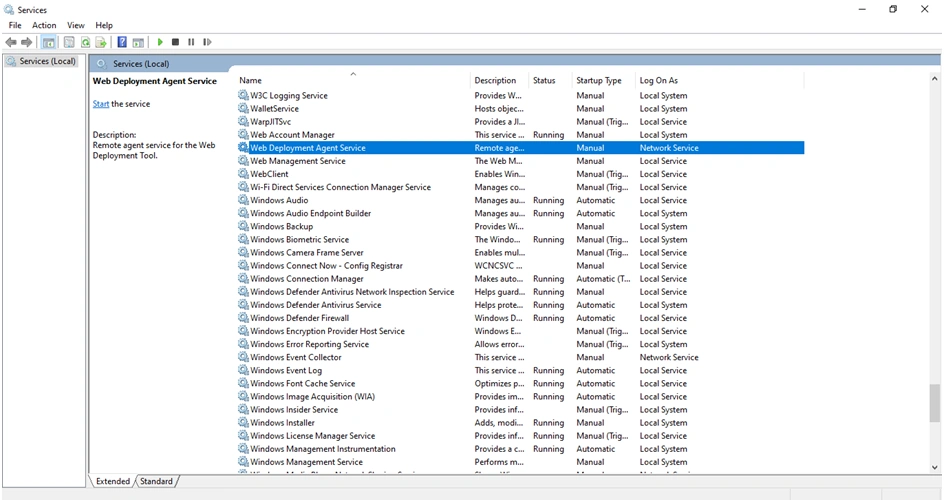
Figure 29
After finishing the installation, open your service manager and choose "Web Deployment Agent Service" and set it to Startup Type to "Automatic" and Status to "Running".
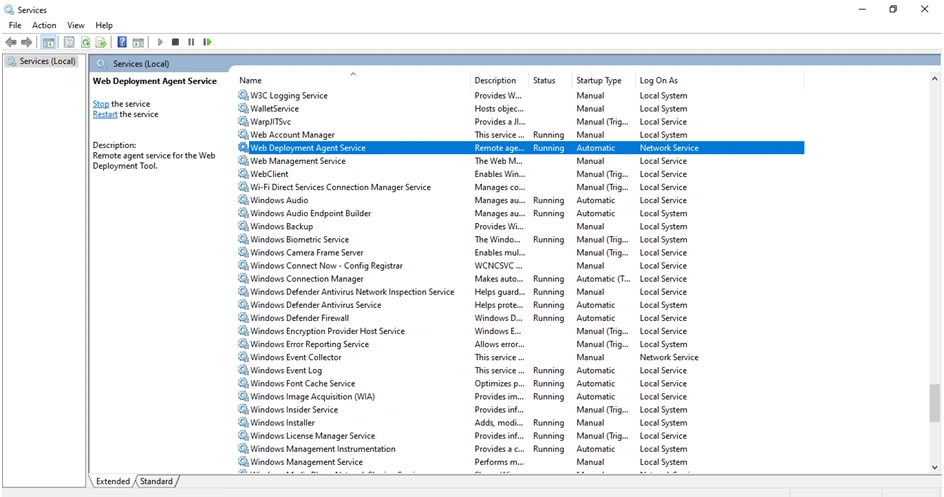
Figure 30
Once the service status is changed to Running and Startup Type to Automatic, let's re-launch Graphite Studio and see if everything is working fine. Go to your start menu and launch Graphite Studio.
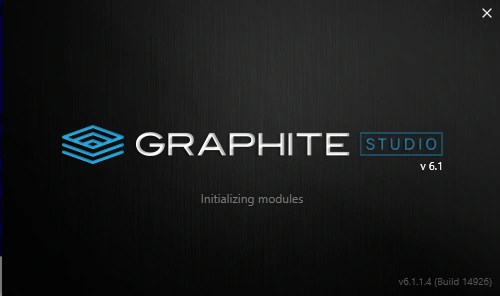
Figure 31
Graphite Studio splash screen
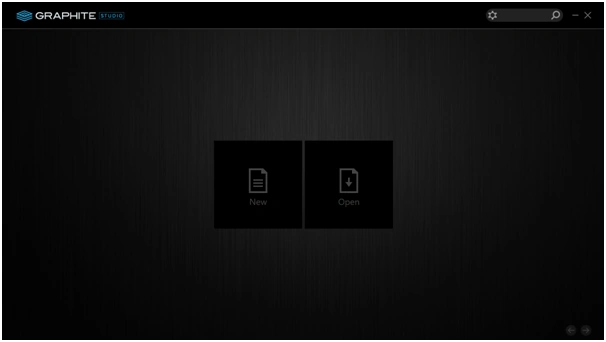
Figure 32
This is the Graphite Studio home screen again. Since we do not have any existing project, click on "New".
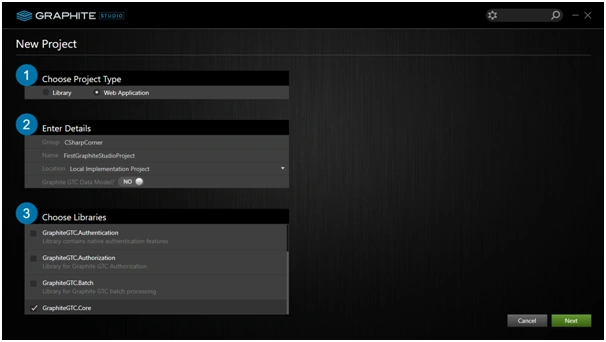
Figure 33
This is the new project creation screen. Choose project type to "Web Application". Click Next.
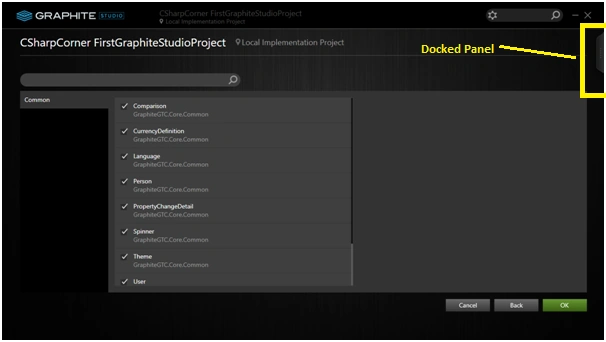
Figure 34
This is the screen from where you can choose sub-components from previously selected library(s). If you see from the previous screen, you have selected "GraphiteGTC.Core" library and these are the available sub-components under the selected library. Keep it as it is. Now it’s time to apply your activation ID, which is received in your email. Click on the docked right panel on this screen.
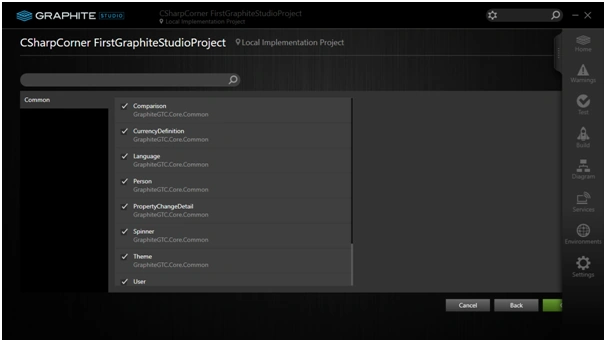
Figure 35
Click Settings-->Registration tab and also open your email and copy the Activation Id.
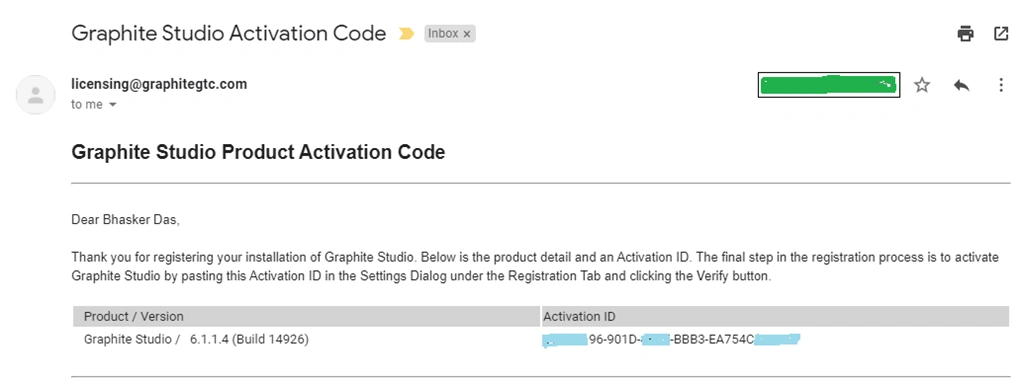
Figure 36
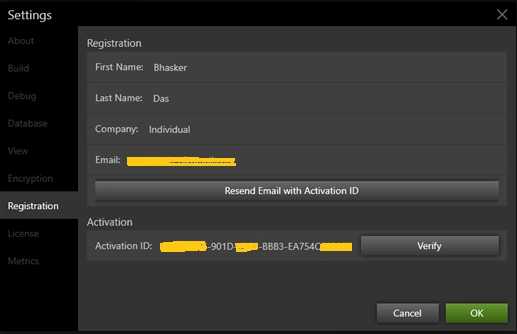
Figure 37
Put your activation id in the given box. Click Verify.
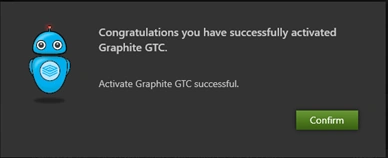
Figure 38
This is the successful activation message of your Activation Id. Click Confirm, then click Ok followed by Ok again.
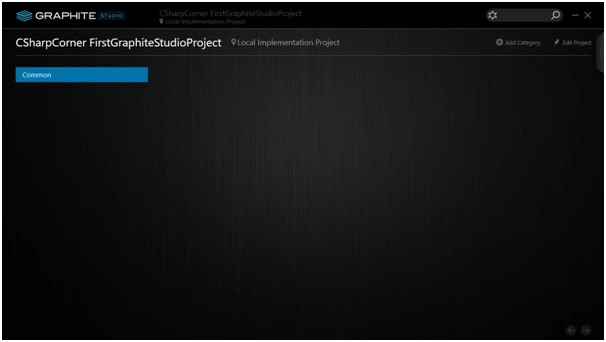
Figure 39
Congratulations!!! You have successfully set up Graphite Studio and ready to explore Graphite Studio features.
Note
Activation Id works for 30 days but you can even use it after 30 days. You just have to go back to Settings-->License.
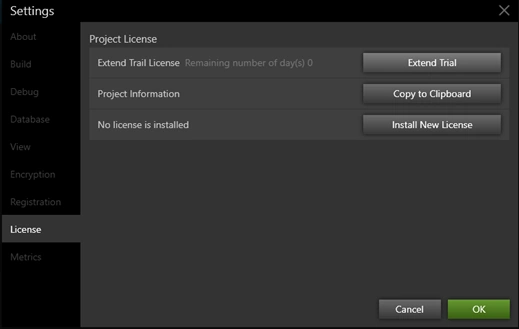
Figure 40
If it shows "Remaining number of days(s) 0" then clicks on the Extend Trial button.
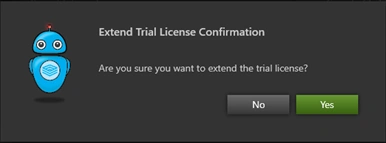
Figure 41
A popup will show up, so click Yes.
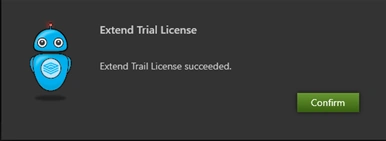
Figure 42
Another popup will appear saying the trial period has been extended. Click Confirm.
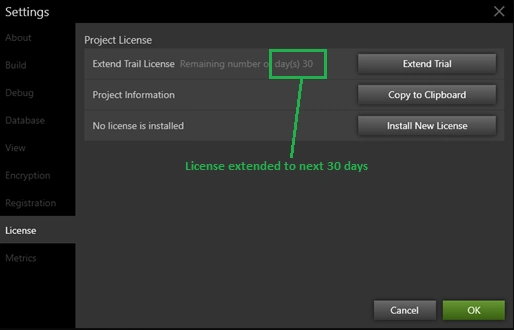
Figure 43
Click Ok.
You are allowed to create an application again for the next 30 days. The good thing is that extension is completely FREE OF COST, so enjoy learning and creating an application using NextGen Graphite Studio. Happy Graphiting!!!
Summary
This article will help you to install the step-by-step No-Code tool "Graphite Studio". Graphite Studio will surely enrich your experience in the No-Code area.
Reference URL
- https://graphitegtc.com/downloads/Graphite_Studio_System_Requirements.pdf
- https://graphitegtc.com/downloads/Graphite_Studio_Install_Notes.pdf
Join the conversation! Your thoughts help the community grow.