

Introduction
If you are a beginner, kindly take a look at my previous article for a better understanding.
It's very easy to add an existing repository from a local repository to Git in Visual Studio. It works wonderfully for a .NET project but if I have a file with a .java extension or any other, in my local repository, how can I add that to Git with Azure DevOps? This is a major question but you can get its answer from my previous article. Here comes the next article of the Azure DevOps series; i.e., how to add an existing repository to Git using the command prompt. By this method, you can add any kind of existing file from a local repository to the Git repository.
Get Started
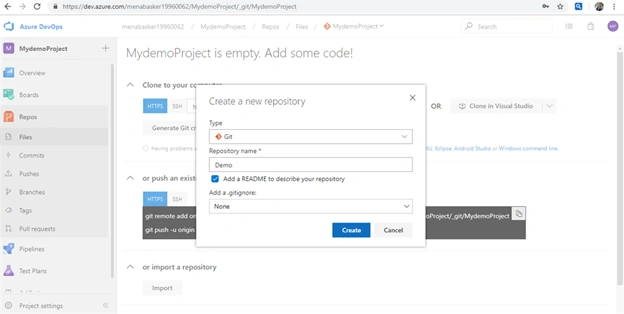
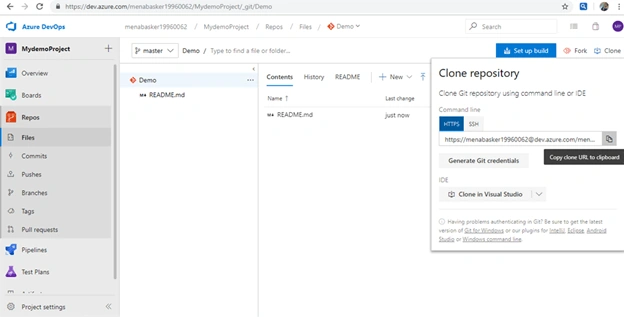
As usual, create a new repository and add a README file. Once it is created, click on it; you will find the README file in your repository. In the right corner, you will find the "Clone" option. Click on it and you will find the options of using HTTPS and using Git credentials. Here, I am using a remote repository URL. Just take a look at it and copy the URL to Notepad.
Open Command prompt
Just follow the steps as given, the images are for reference. Commands are clearly explained by using a highlighter. Here, images are just for understanding the flow.
- First, check if Git is installed on your local machine. Just use the command.
git --version - This will give the version of Git you have installed on your local machine.

- Navigate to the folder under which you want to clone the Git repository.
- Now, clone the Git repository to the local machine by using the following command.
git clone - Now paste the URL that you copied in Notepad after the command. After some time, you can find that the cloning process is completed.
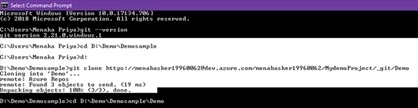
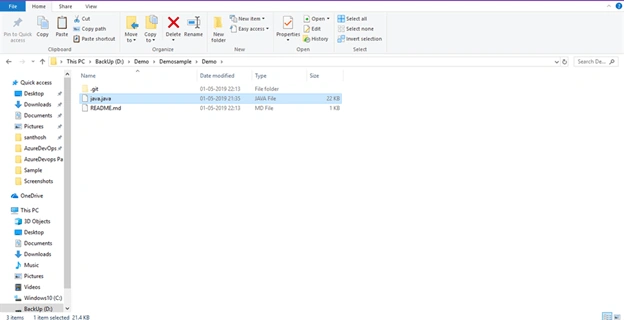
- You can see the README file is cloned from the Git server to the local machine. Now, add the file to this folder that you need to clone from the local machine to the Git server. Here is my project. The java.java file is added to the folder.
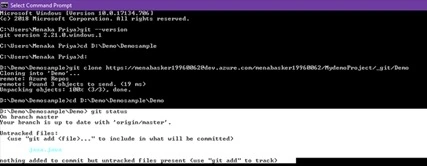
- Now, in the command prompt, use the command - git status. You can find the list of untracked files. It's not possible to commit the file unless untracked files are changed to be tracked. So, use the command git add filename. Here, I am using java.java as the filename.
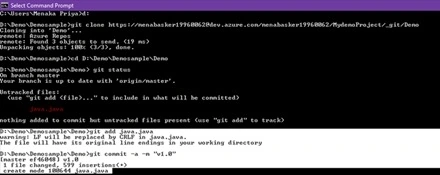
- Once it is done, now commit all files by using the command git commit -a -m "message". Here, -a is used to commit all files, and -m is meant for messages.
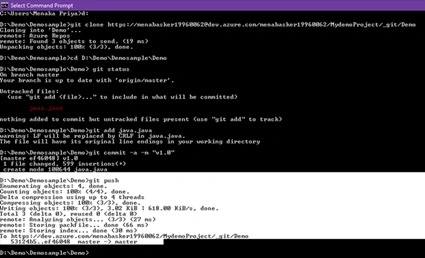
- The final step is to deploy or upload the file to the Git server. Use the command git push. This command will upload all files from the local repository to the Git server.
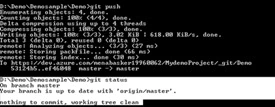
- Now again, use the command git status. You will get nothing to commit, the working tree is clean.
Open Azure DevOps
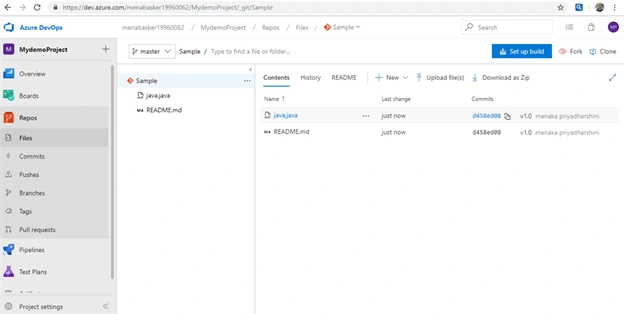
Check if the file you added to the local machine is pushed to the Git server or not. Just open the project in Azure DevOps and refresh/reload. You can see the file is pushed from the local machine to the Git server.
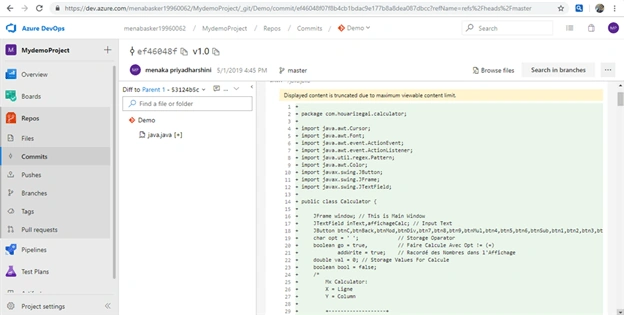
As a final output, the file you added to your local repository is cloned to the Git repository with Azure DevOps. Now, you can see the java.java file in your Azure DevOps.
Summary
I hope this was interesting. Stay tuned for upcoming articles in the Azure DevOps series. In case of any doubts, don't hesitate to drop me a comment.
Join the conversation! Your thoughts help the community grow.