

Introduction
Dynamic Host Configuration Protocol (DHCP) is a client/server protocol that automatically provides an Internet Protocol (IP) host with its IP address and other related configuration information such as the subnet mask and default gateway.
I will provide step by step to install DHCP and configure Windows server with screenshots below.
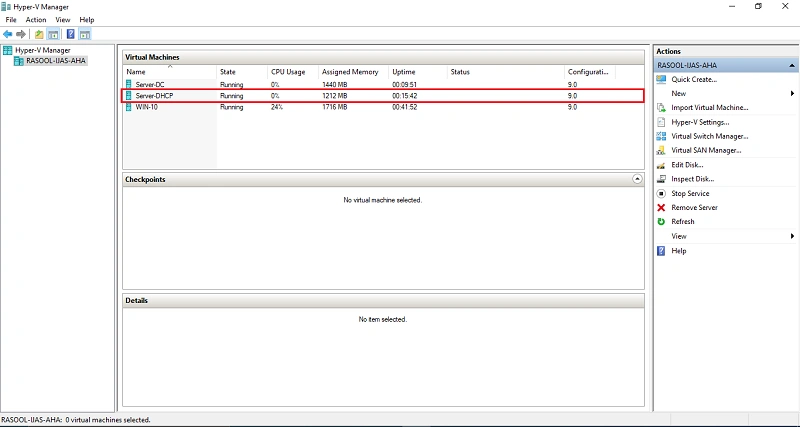
Go to Hyper-V Manager select the install DHCP Server
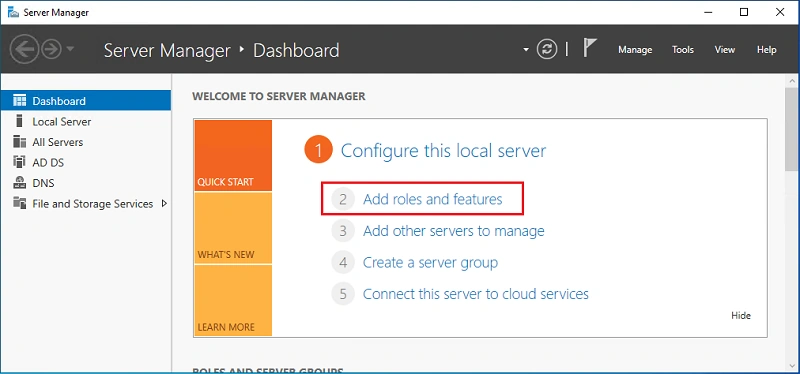
Next Server Manager to Add Roles and features
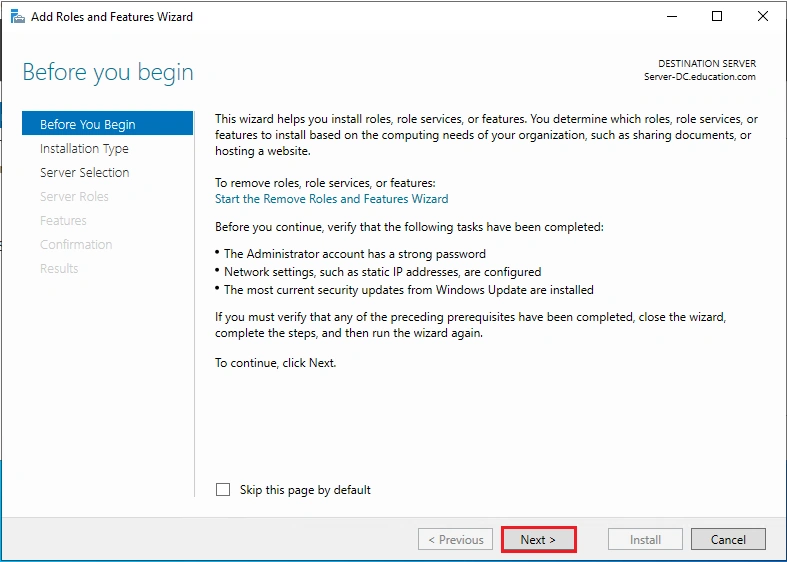
Click Next
Click Next
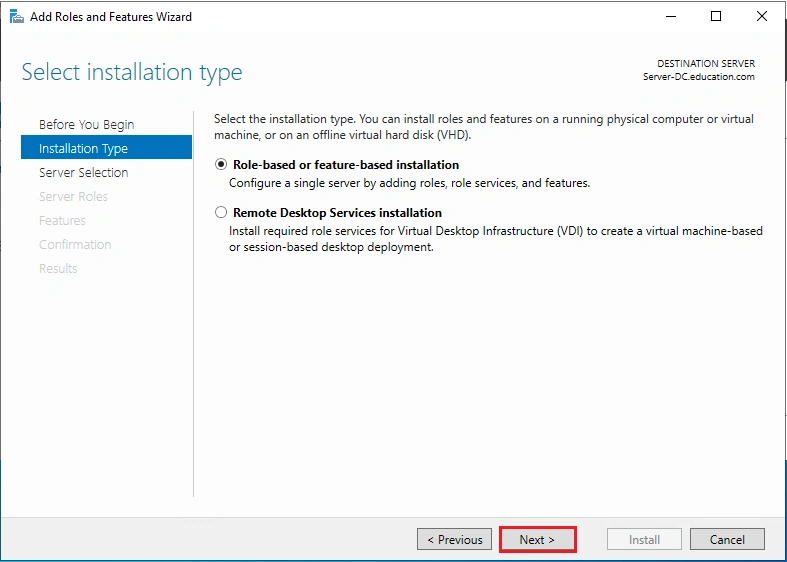
Click Next
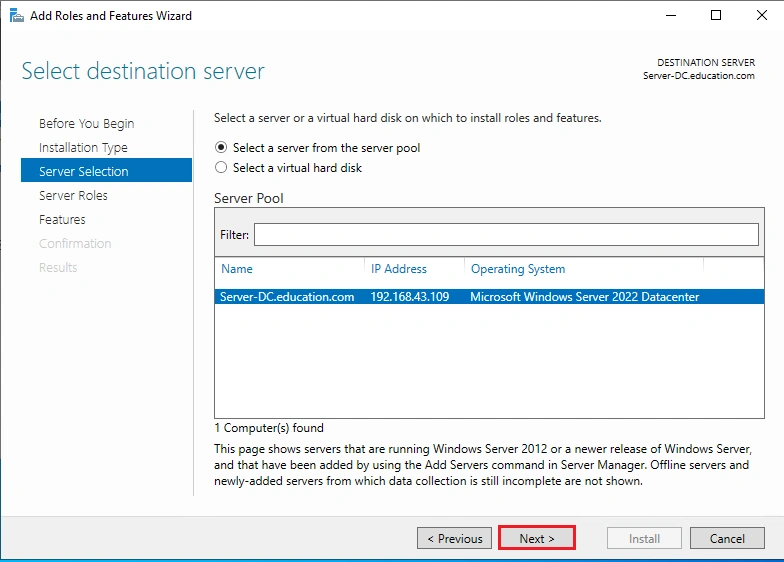
Click the DHCP Server checkbox
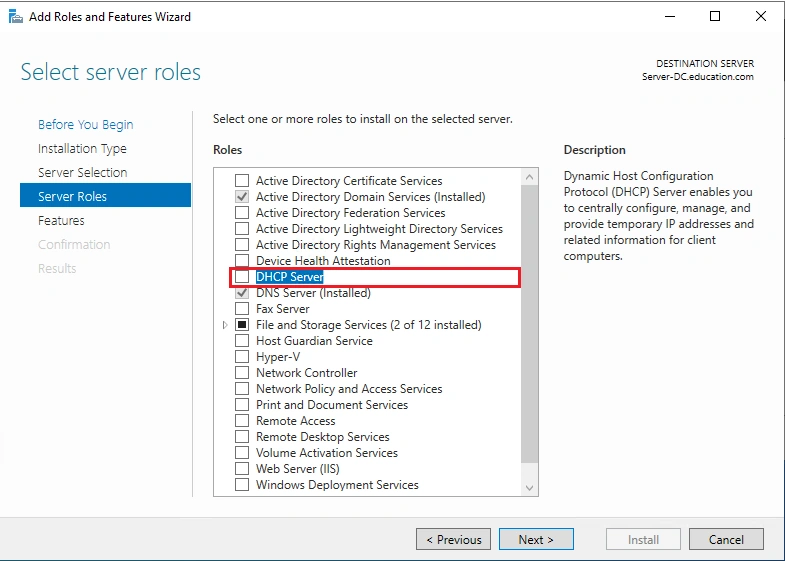
Click the Add Features Button
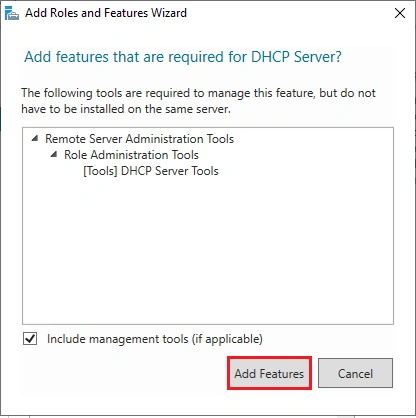
Click Next
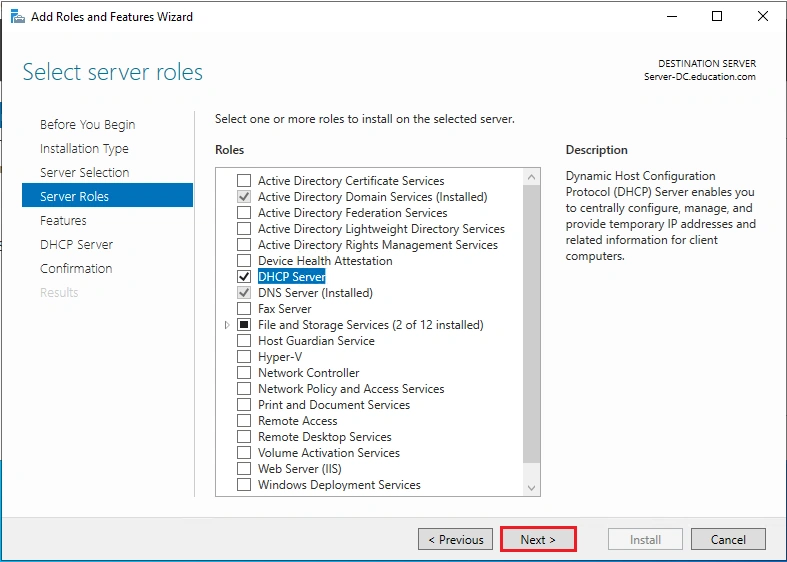
Click Next
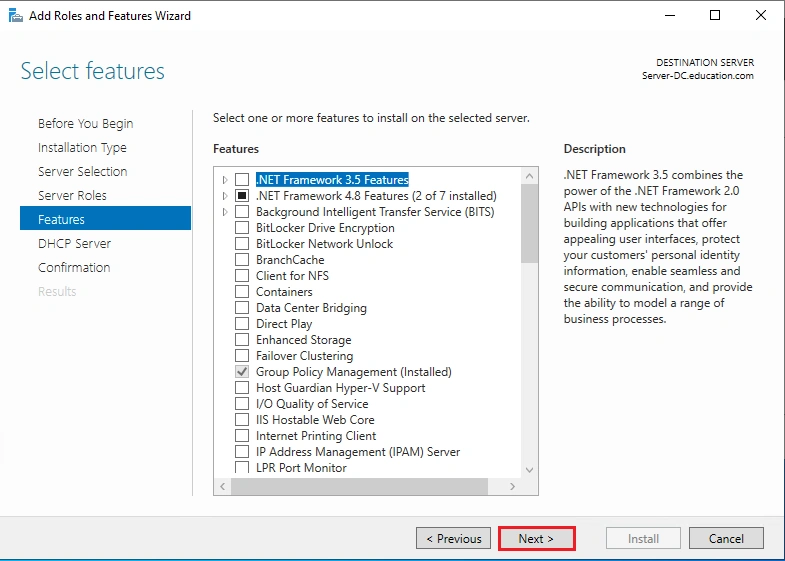
Click Next
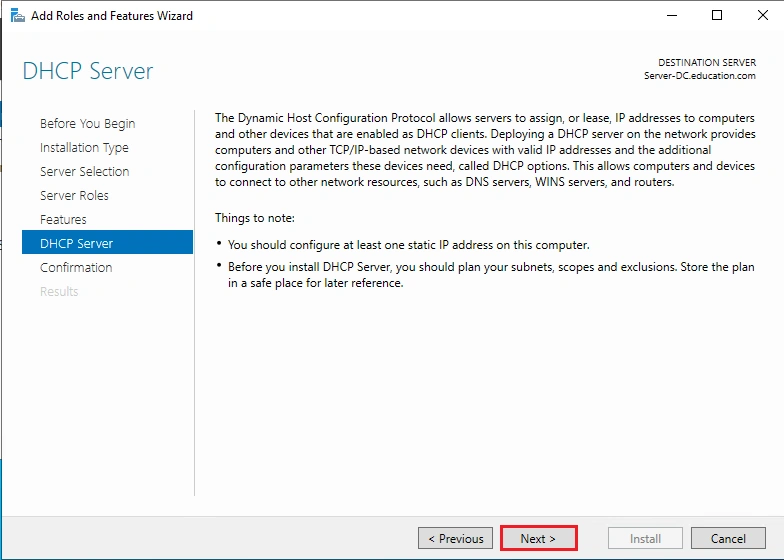
Click Install
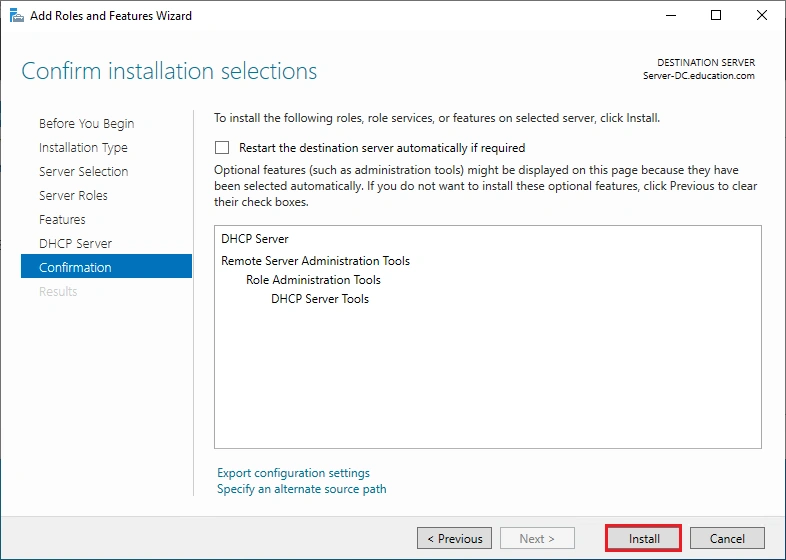
Click Close
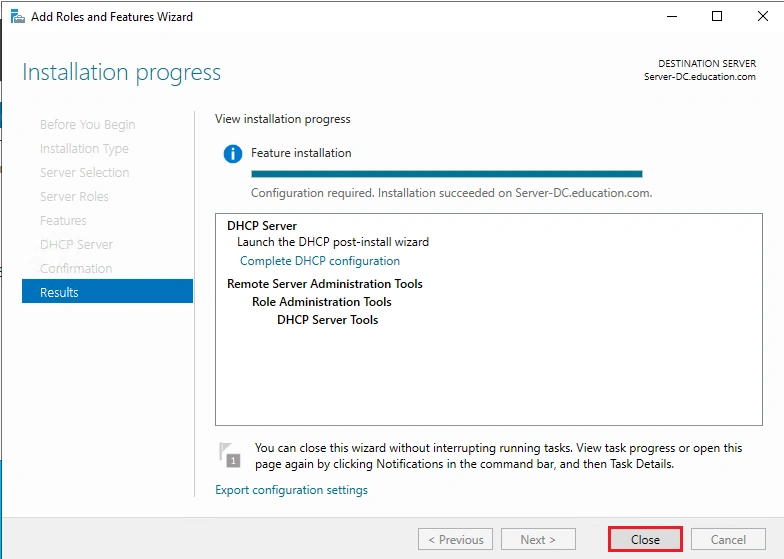
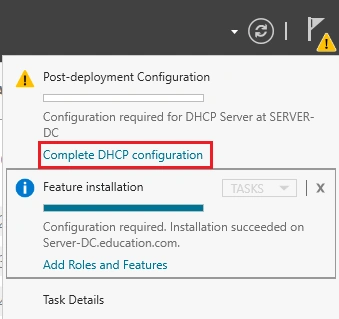
Next Complete DHCP Configuration
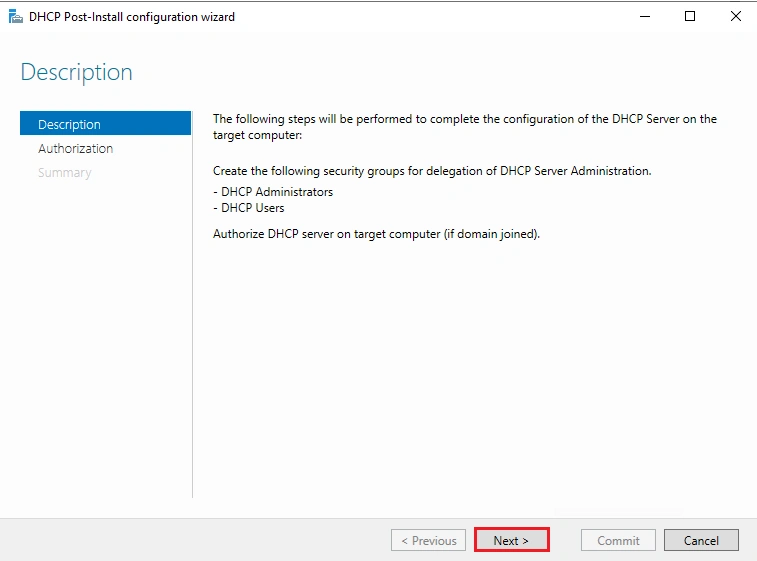
Click Next
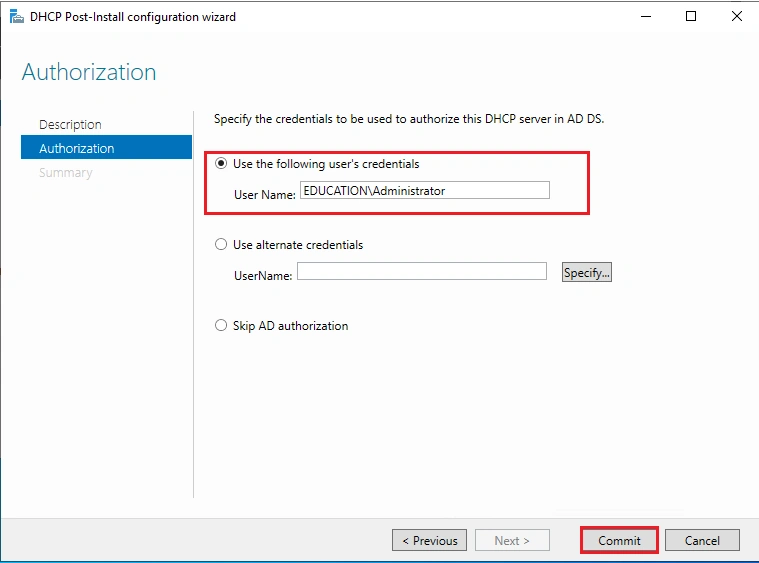
Click User credentials and commit button.
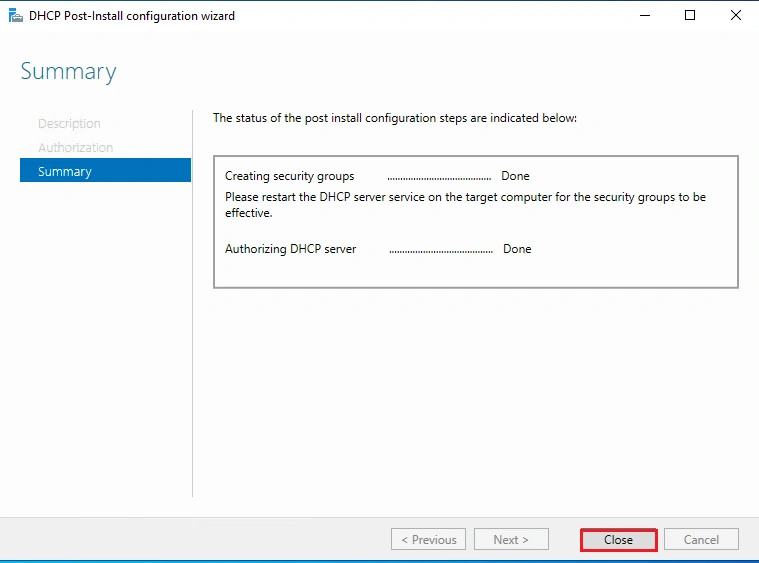
Click Close
Next select DHCP
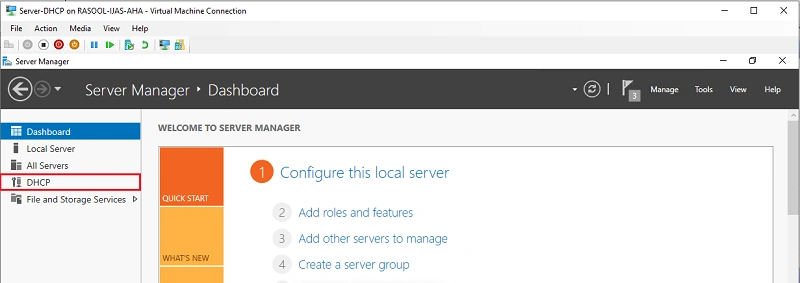
Next Right Click DHCP Manager
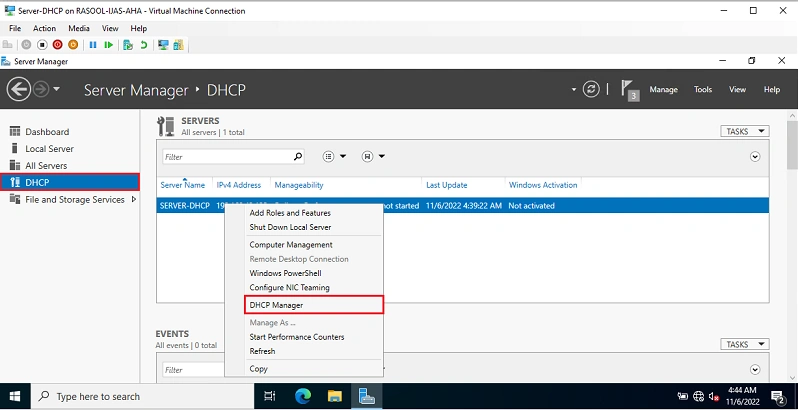
DHCP Manager
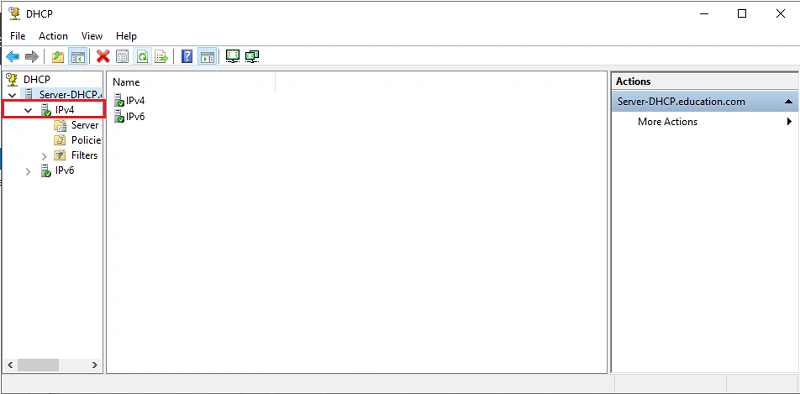
Select the IPv4, Right Click New Scope
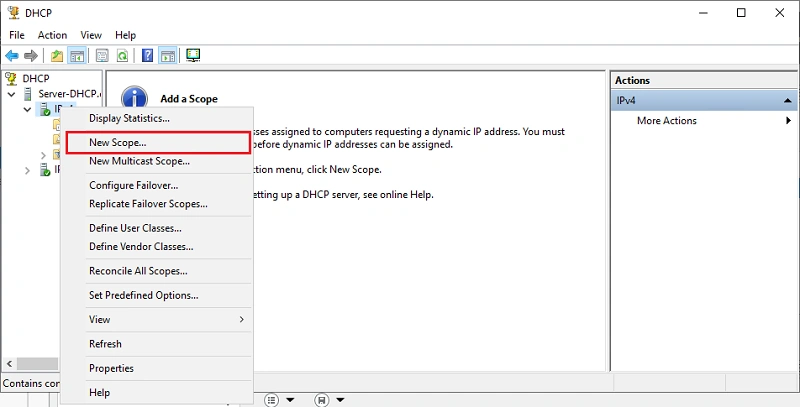
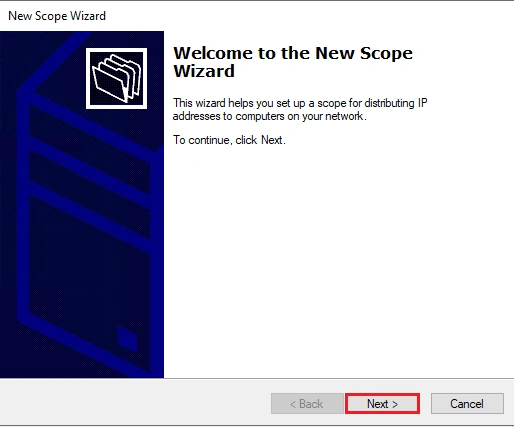
Click Next
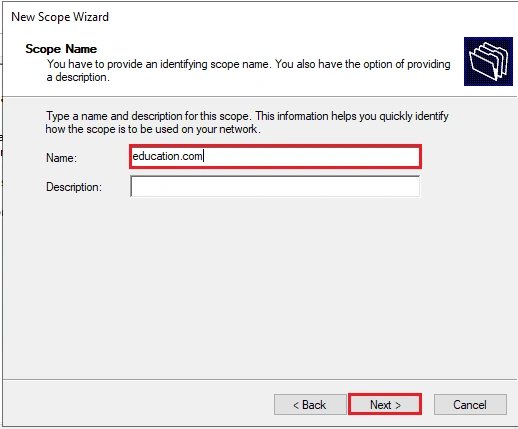
Enter the scope Name, Click Next
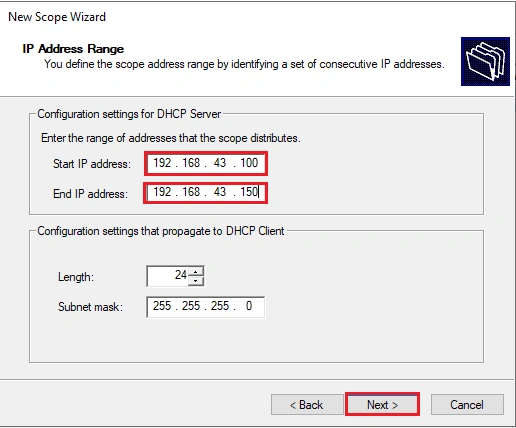
Select the DHCP Server Scope IP Address Range. Click Next
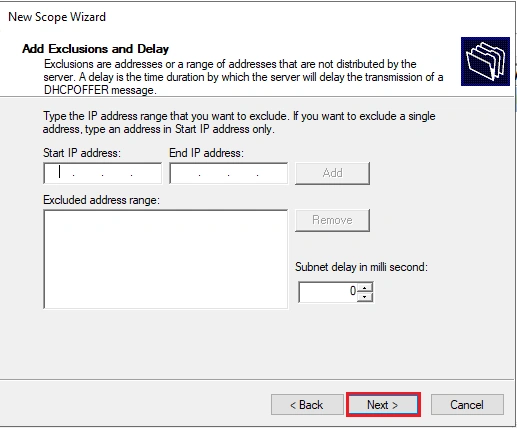
Click Next
Select the Lease Duration Time. Click Next
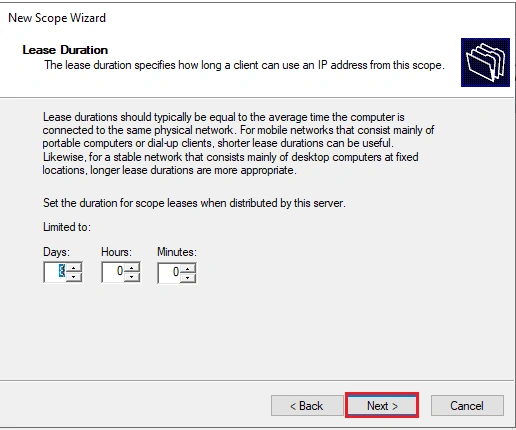
Click Next
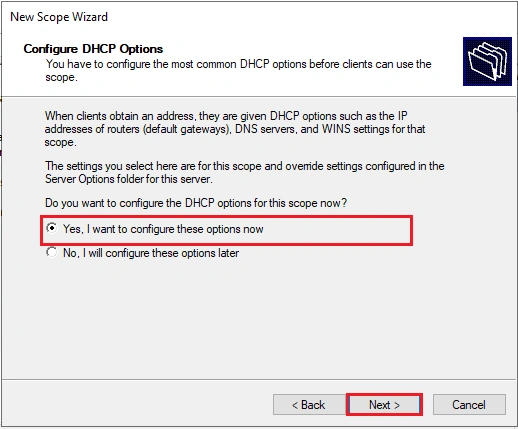
Enter the Router Default Gateway IP. Click Add
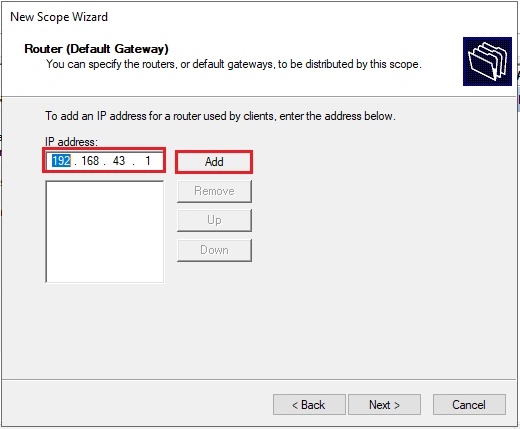
Click Next
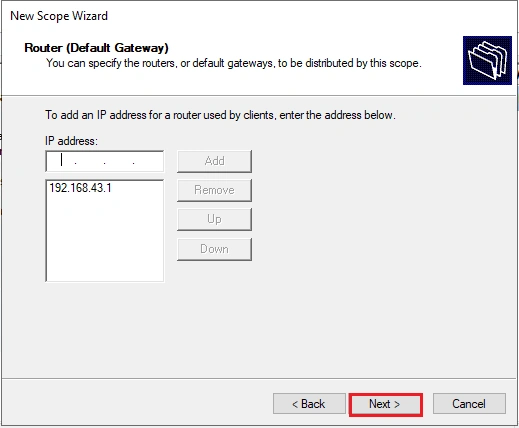
Click Next
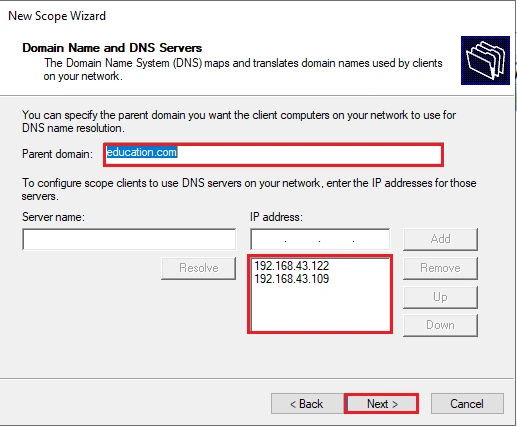
Click Next
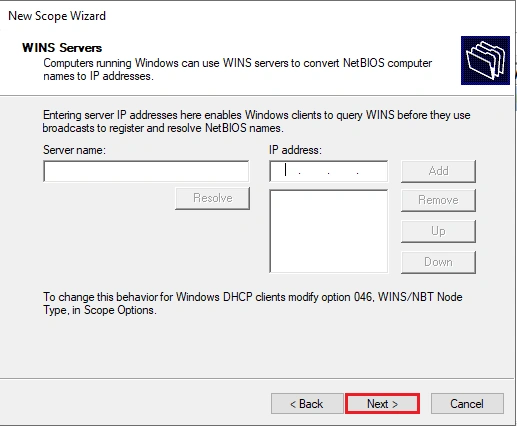
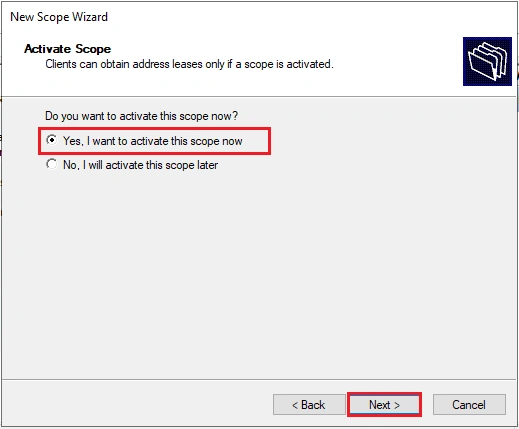
Select Activate Scope. Click Next
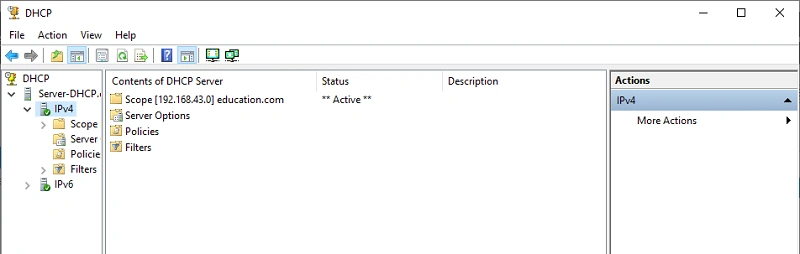
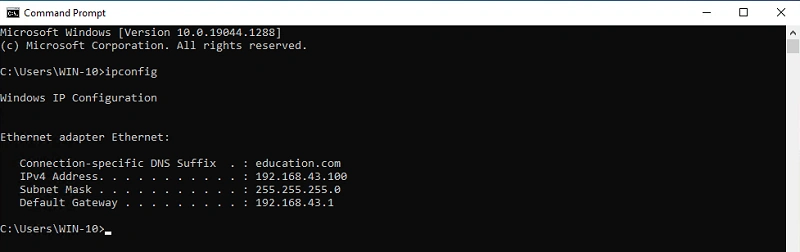
Successfully configured DHCP server
Conclusion
This article taught us how to set up DHCP and configure Windows server. If you have any questions, please contact me.
Thanks.
Join the conversation! Your thoughts help the community grow.