
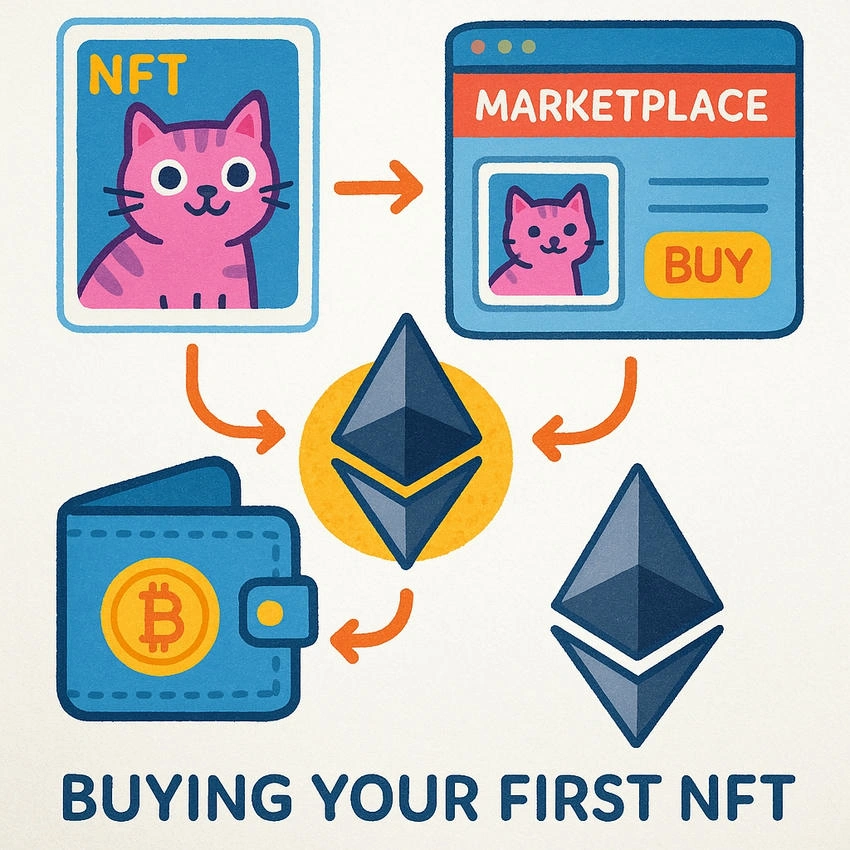
So you’ve been hearing about NFTs, digital art, collectibles, and even memes selling for thousands of dollars, and now you’re thinking, “Maybe I should buy one.” But how do you actually do it without accidentally throwing money into the void?
Don’t worry. This guide will walk you through buying your first NFT on Ethereum in a safe, smart, and beginner-friendly way.
Step 1. Know What You’re Buying.
Before spending a single cent, take time to understand what an NFT (Non-Fungible Token) really is. At its core, it’s a unique digital asset that lives on the blockchain. It can represent art, music, video, game items, or anything digital.
But here’s the thing: just because something is an NFT doesn’t mean it’s valuable. So, research the project, the artist, and the community behind it. Ask yourself.
- Who created it?
- Is it original or just a copycat?
- Is there a strong community or utility?
If something looks too good to be true, it probably is.
Fun Fact
Did You Know?
The first NFT ever minted was called “Quantum,” and it sold for over $1.4 million in 2021. It was made in 2014, before NFTs were even a trend.
Step 2. Set Up a Crypto Wallet.
To buy an NFT, you’ll need a crypto wallet that works with Ethereum. The most beginner-friendly option is MetaMask, a browser extension and mobile app.
Here’s what to do,
- Download MetaMask from the official site.
- Set up your wallet and write down your secret recovery phrase (this is super important; never share it).
- Once your wallet is ready, you’re good to go.
Step 3. Add Ethereum to Your Wallet.
You need ETH (Ethereum’s currency) to buy NFTs and pay gas fees.
You can buy ETH directly through MetaMask using a credit card or connect to an exchange like Coinbase, Binance, or Kraken and transfer the ETH to your MetaMask wallet.
Tip. Buy a little more ETH than the price of the NFT to cover gas fees (transaction fees on the Ethereum network). Sometimes these fees are higher than you’d expect.
Step 4. Pick a Reputable NFT Marketplace.
The most popular NFT marketplace on Ethereum is OpenSea. It’s user-friendly, well-known, and has a wide range of NFTs.
Other good options.
- Blur (for traders)
- Zora (for creators)
- Foundation (for curated digital art)
Stick to well-known platforms when you’re just starting out. Scams are real, and lesser-known platforms can be risky.
Step 5. Connect Wallet and Browse.
Once you’re on a marketplace.
- Click “Connect Wallet.”
- Choose MetaMask and follow the prompts.
- Start browsing! Filter by price, category, or trending projects.
Take your time here. Don’t rush into buying something because it’s “about to sell out.” That’s a common trap.
Step 6. Buy (Without Overpaying)
When you’re ready,
- Double-check the NFT and the seller.
- Click “Buy Now” or make an offer if it's available.
- Approve the transaction in your MetaMask wallet.
Your wallet will show you the total cost, including gas fees. If the fee looks crazy high, wait a bit and try again. Gas prices go up and down depending on network demand.
Step 7. Confirm Your Purchase.
Once the transaction is confirmed, you’ll see the NFT in your wallet under the “Collected” tab on OpenSea.
You now officially own a digital collectible.
What’s Next?
Now that you own an NFT, try listing it for sale. Or create your own art and mint your first collection, who knows, you might be the next big creator.
Bonus Tips to Avoid Losing Money
- Start Small: Don’t jump into expensive NFTs right away. Try buying something affordable to understand the process first.
- Use Tools like Etherscan or NFT Price Trackers: These help you check if an NFT or contract is legit.
- Follow the Community: Join the project’s Discord or Twitter. Real communities are a sign of a healthy project.
- Avoid Clicking Suspicious Links: Scams often happen through fake sites or DMs. Always check the official website or social links.
Final Thoughts
Buying your first NFT can feel intimidating, but with the right steps, it’s surprisingly doable. Stick to trusted tools, take your time, and never invest more than you’re willing to lose. Most importantly, have fun exploring this new digital world!
Join the conversation! Your thoughts help the community grow.