

Over the years, Docker containers have completely changed how developers create, share, and run applications. With their flexible design, Docker containers ensure an environment across various platforms, simplifying the process of deploying applications reliably. When integrated with .NET, developers can harness Docker's capabilities to streamline the development and deployment phases of .NET applications. This article delves into the advantages of using Docker containers with .NET applications and offers a guide on getting started.
Why Choose Docker for .NET?
- Consistent Development Environment: Docker containers encapsulate all dependencies and configurations for running an application, guaranteeing consistency across development, testing, and production environments. By leveraging Docker, developers can avoid the typical "it works on my machine" issue, as they can create environments that operate flawlessly across various development teams and devices.
- Simplified Dependency Management: Docker eliminates the need to manually install and manage dependencies on developer machines. By specifying dependencies in a Docker file, developers can effortlessly bundle their .NET applications with libraries and dependencies, reducing setup time and minimizing compatibility issues.
- Scalability and Resource Efficiency: Due to its nature and containerization technology, Docker is well-suited for horizontally or vertically scaling .NET applications. Developers can easily set up instances of their applications using Docker Swarm or Kubernetes, which helps optimize resource usage and enhance application performance.
- Simplified Deployment Process: Docker simplifies the deployment of .NET applications. Developers have the ability to wrap their applications into Docker images. These can be deployed to any Docker-compatible environment, including local servers, cloud platforms like AWS or Azure, and even IOT devices. This not only streamlines the deployment process but also accelerates the release cycle of .NET applications.
Starting with Docker and .NET
Step 1. Installing Docker
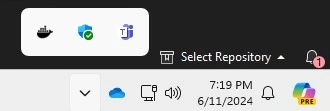
Installing Docker is easy by navigating to Docker Desktop. Docker Desktop is available for Windows, Mac, and Linux. I have downloaded and installed it for Windows. Once installed, the Docker (whale) icon is shown on the systems side tray as shown below.
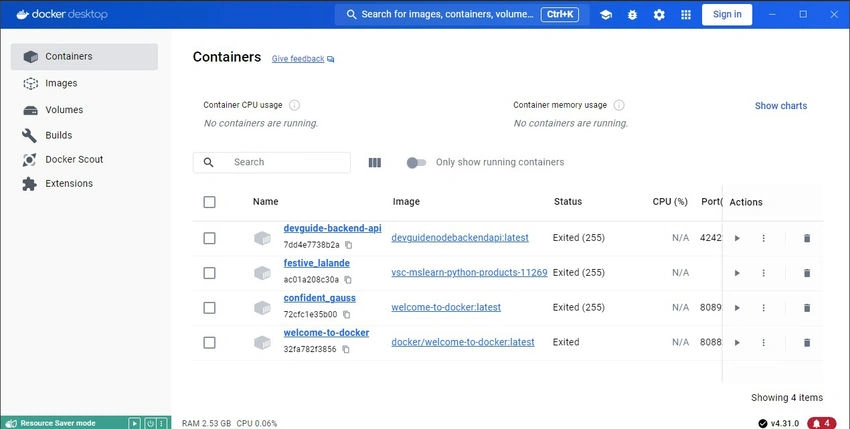
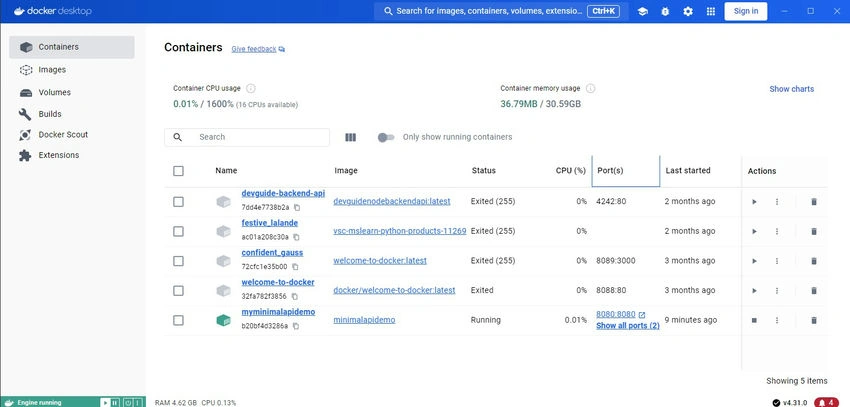
When you click on the icon, it will open the Docker Desktop dashboard as shown below. You can see the list of containers, images, volumes, builds, and extensions. The figure below shows the list of containers I have created on my local machine.
Step 2. Creating a .NET Application
Create a .NET application using the tool of your choice, like Visual Studio, Visual Studio Code, or the .NET CLI. For example, you can use the following command directly from the command line.
dotnet new web -n MinimalApiDemo
Step 3. Setting up Your Application With Docker
Create a Dockerfile in the root folder of your .NET project to specify the Docker image for your application. Below is an example of a Dockerfile for an ASP.NET Core application that was created in the previous step.
# Use the official ASP.NET Core runtime as a base image
FROM mcr.microsoft.com/dotnet/aspnet:8.0 AS base
WORKDIR /app
EXPOSE 8080

# Use the official SDK image to build the application
FROM mcr.microsoft.com/dotnet/sdk:8.0 AS build
WORKDIR /src
COPY ["MinimalApiDemo.csproj", "./"]
RUN dotnet restore "MinimalApiDemo.csproj"
COPY . .
WORKDIR "/src/"
RUN dotnet build "MinimalApiDemo.csproj" -c Release -o /app/build

# Publish the application
FROM build AS publish
RUN dotnet publish "MinimalApiDemo.csproj" -c Release -o /app/publish

# Final image with only the published application
FROM base AS final
WORKDIR /app
COPY --from=publish /app/publish .
ENTRYPOINT ["dotnet", "MinimalApiDemo.dll"]
Step 4. Creating and Launching Your Docker Image
Create a Docker image by executing the command from a terminal window (use lowercase letters).
docker build -t minimalapidemo .
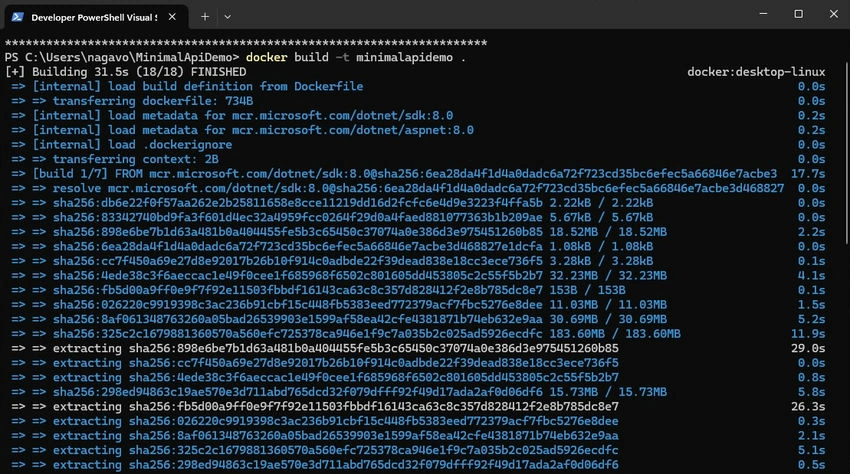
After finishing the construction process, you are ready to start up your Docker image by running it inside a container. Run the Docker command below to spin up a new container.
docker run -d \
  -p 8080:8080 \
  --name myminimalapidemo \
  minimalapidemo
Your API service is currently running within a Docker container and can be reached at this localhost as shown below.
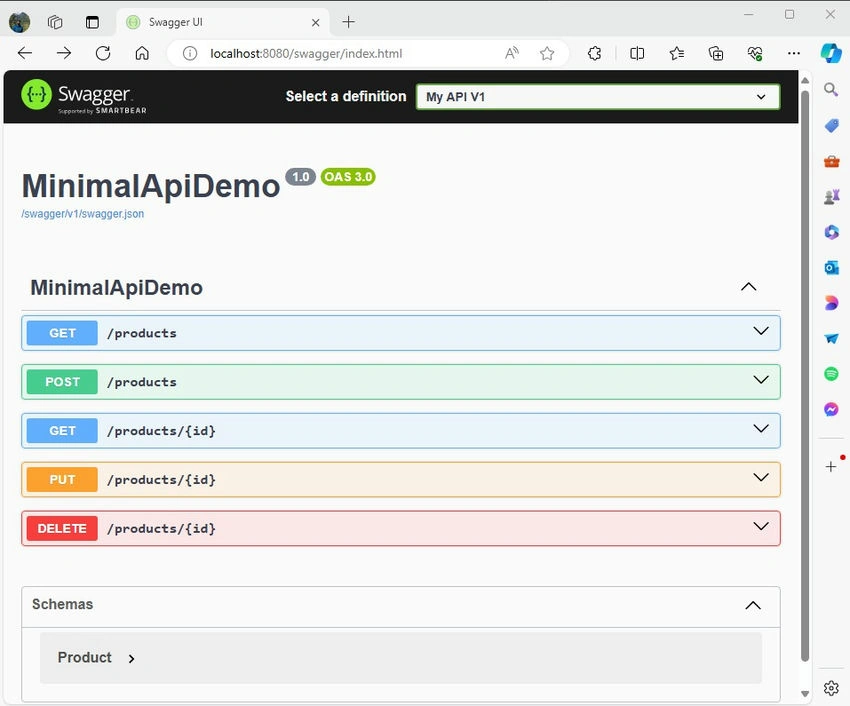
Refer to my previous article to see how I created product controllers using Minimal API's with different HTTP endpoints.
Here are Some Recommended Strategies for Dockerizing .NET Applications.
- Reduce Image Size: Enhance the efficiency of your Docker images by utilizing stage builds, eliminating dependencies, and minimizing layers in your Docker file.
- Utilize .dockerignore File: Generate a .dockerignore file to exclude files and directories from being transferred into the Docker image, thereby decreasing image size and enhancing build speed.
- Ensure Container Security: Adhere to security practices during the creation and operation of Docker containers, including updating base images, conducting vulnerability scans, and restricting container privileges.
- Employ Docker Compose for Multi-Container Applications: For applications with services or dependencies, leverage Docker Compose to define and manage multi-container applications, simplifying both development and deployment processes.
- Monitor and Troubleshoot Containers: Monitor the performance and health of your Docker containers using Docker’s own monitoring tools or third-party solutions. Utilize tools like Docker logs and debugging utilities to resolve issues and enhance the efficiency of your containers promptly.
Conclusion
Docker containers offer an efficient platform for the development, packaging, and deployment of .NET applications. By containerizing these applications, developers can create development environments, simplify dependency management, and streamline deployment processes. Whether the focus is on microservices, web apps, or APIs, Docker provides a proficient method to operate .NET applications across various environments. By adhering to best practices and maximizing Docker’s capabilities, developers can fully leverage the benefits of containerization, thereby accelerating the process of constructing and deploying .NET applications
Join the conversation! Your thoughts help the community grow.