


It is undeniable. Github Copilot has single-handedly revolutionized software development for all developers worldwide. The way development is done is bound to evolve but the key part is not AI, but the developers.
Github Copilot is still very young. You may all have read that the positive points are numerous, however, there are some points to consider in order to make the most of it.
In this article, I will walk you through everything you may find interesting; from the installation to creating actual working code with the assistance of your new friend.
The installation
Our friends working on GitHub Copilot have made it extremely easy to get started and install it.
Since VS Code is very popular, let’s see how to equip it with GitHub Copilot. Note that you can use it with other IDEs as well.
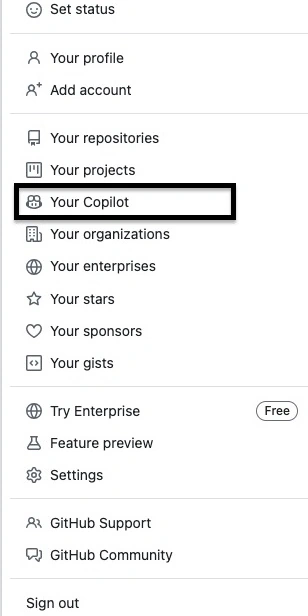
- Login to your Github account and select ‘Your Copilot.
- Select ‘Copilot in your IDE’. You may explore the other integration as well, but for now, we are focusing on the IDE.
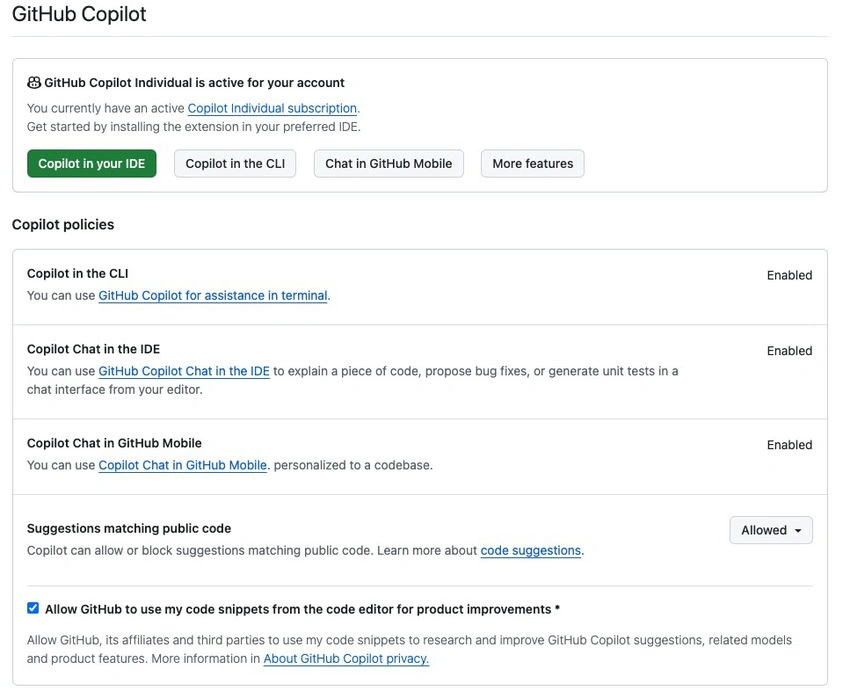
- Select the IDE of your choice. Click on ’Start a free trial’. If everything is OK, a message will be displayed.

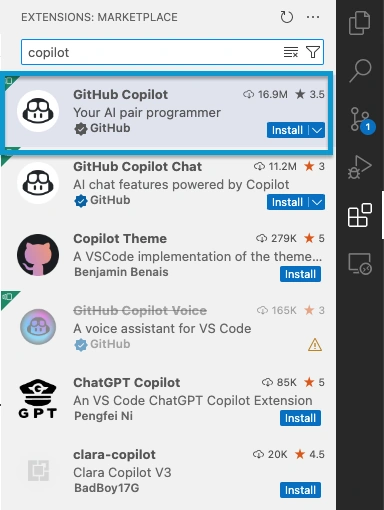
- Open VS (Visual Studio) Code. Click on the extensions and type in ’copilot’.
- Install ‘Github Copilot’.
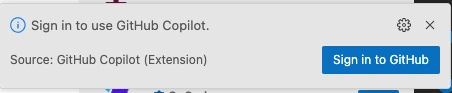
- You will be prompted to sign in to GitHub from VS Code. Please do so.
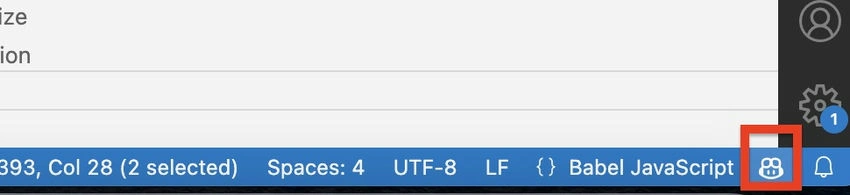
- When the authentication is successful, you fill see the ‘Copilot’ icon at the bottom right of VS Code. Click on it to see the status.
Useful tools and shortcuts
The chat
By now, most of us would have tried ChatGPT or something more or less the same. The chat provided by GitHub Copilot is the same. However, Copilot compared to ChatGPT has been trained mostly for programming. So, when asked about programming, it is able to give more precise information. When correctly prompted, it gives precise answers. For example, you can ask it how to set up the architecture of a feature.
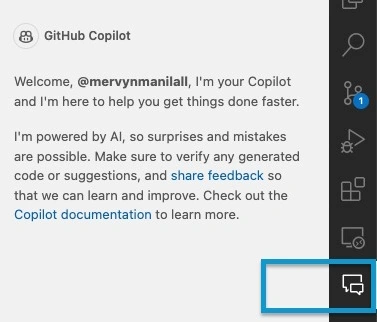
To access it, click on the chat icon in VS Code. It is located under the extension.
Annotations
The following annotations can be used either in the chat or in the inline chat.
Some annotations that I have used so far are the @fix and @workspace.
- @fix: say there is an error and you want to quickly fix it within the context of your code, open either one of the chats, and before writing any prompt, start by typing ‘@fix’ and describe your problem. Do not forget to highlight the code.
- @workspace: If you want GitHub Copilot to do anything with the context of your whole project/workspace, start by typing ‘@workspace’ before any prompt. It will ‘scan’ everything and propose you something related to your project. This annotation can also help you find codes or files within your project.
Fix with copilot
- All modern IDEs provide you with some quick fixes whenever there is an error in your code.
- However, it is very limited and sometimes generic. When you have Copilot installed, you have the option to fix it directly. No need to do any prompt.
- The fixes are more relevant to the current context of your code and more precise.
- When there is an error, right-click on the error and select 'fix with copilot'.
- It, sometimes, tells you if you need a new file and what code it needs to contain.
The ‘Explain This’
Highlighting a code, right-click, and ask the copilot to explain it to you. It significantly reduces debugging time as you don’t have to read and spend time trying to understand what it is doing. Instead, the explanation is already done for you. You can focus on fixing it. Here again, copilot can help you. This can also work with the @workspace.
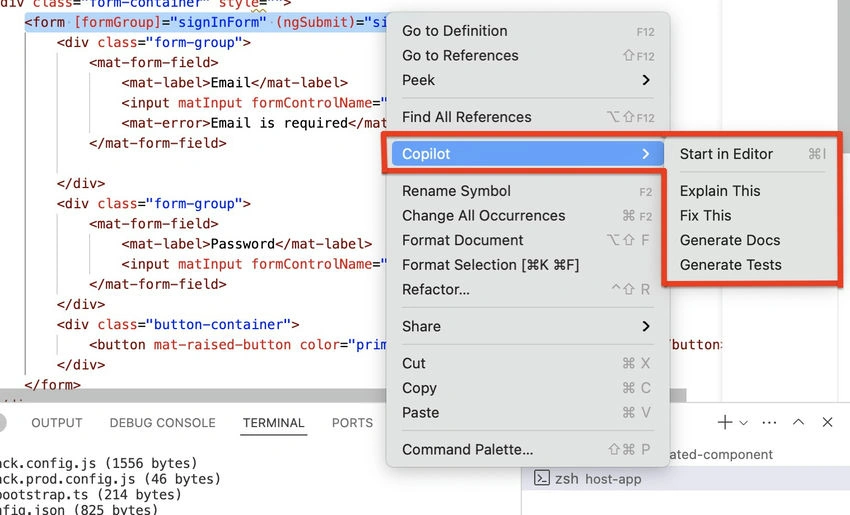
From the image above, we can see how easily we can get access to the two features we have just mentioned.
Inline chat
- To quickly use the inline chat, press Control + i on Windows or Command + i on Mac.
- If you think of copilot as a way to assist you in your work, then this shortcut is the fastest way to interact with it and make use of the previous points mentioned.
- We have all seen videos of GitHub Copilot writing code for you. This is the best way I have found to do it.
- Open the file where you want to write a new code. Press the shortcut Ctrl+I and type/ask what you want it to do. It will try its best to give you the code that you want to be based on the context of the file.
- It is important to be very specific about what you require and if you want to build on top of existing code (modify existing) code, you can start your prompt as follows 'I need this button to be centered. Add to the existing CSS, the code required. This is personal advice as sometimes GitHub Copilot removed my existing code and provided me with only the codes required to complete what it was asked.
These are the features that I have used and experimented with so far. You can find more here: https://code.visualstudio.com/docs/copilot/overview.
Key points
Learn to prompt
GitHub Copilot is a great productivity tool that will make you work faster. However, this can be achieved by prompting correctly. This can only be achieved with consistency. At first, you will be given responses and codes that do not match what you think and want. Based on my experience, the copilot is not at fault, you are. We are not used to ‘ordering’ or asking for some code. We need to train ourselves how to correctly do so. For a long, we have trained AI models to make it learn and do what we want. We have now reached a point where we need to train ourselves to correctly communicate and ask what we want.
What is truly a copilot?
Another key point to keep in mind is that we cannot ask it to code a whole project for us. We cannot ask it to write an e-commerce website. It can provide us with guidelines at first; which will be our starting point. Following these, we create our project, write our codes and when we are stuck, we ask for help. It is called Copilot as it is here to assist us, not to do our work.
Conclusion
At some point or another, we will all be tempted to try GitHub Copilot, either out of curiosity or because we will see or hear something about it that will make us cross the bridge.
In this article, I have shared what I used and how to use it. Also, I shared some key points to keep in mind.
As I said, this technology is here to assist us and not to make it write entire websites or programs for us.
Feel free to share your thoughts and experiences.
Join the conversation! Your thoughts help the community grow.