

In this article, we will go step by step, to create a Virtual Machine Scale Set for Windows Server. With the help of this option, we can create multiple VMs with a single click. Virtual Machine scale sets are Azure computer resources. So, these can be easily deployed and managed. All Virtual Machines are configured and connected to each other. So, we can scale them, automatically. Also, no pre-provisioning of Virtual Machines is required.That makes it easier to build large scale services that target big data, big computer and containerized workloads. For applications that need to scale computer resources out and in, scale operations are implicitly balanced across facult and updated domains.
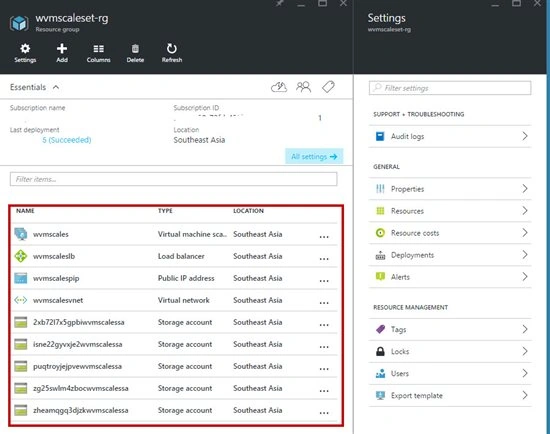
VM Scale Set resources: VM Scale Set, Load Balancer, Public IP Address, VNET and a set of uniquely named storage account.
Prerequisites
- Microsoft Azure Subscription (MSDN subscribers log in needed, or you can sign up for one month free trial)
You will learn,
- How to create Windows Server Virtual Machine Scale Set.
Deploying a VM Scale Set
Step 1: Navigate to Azure Portal & Sign in with Azure credentials.
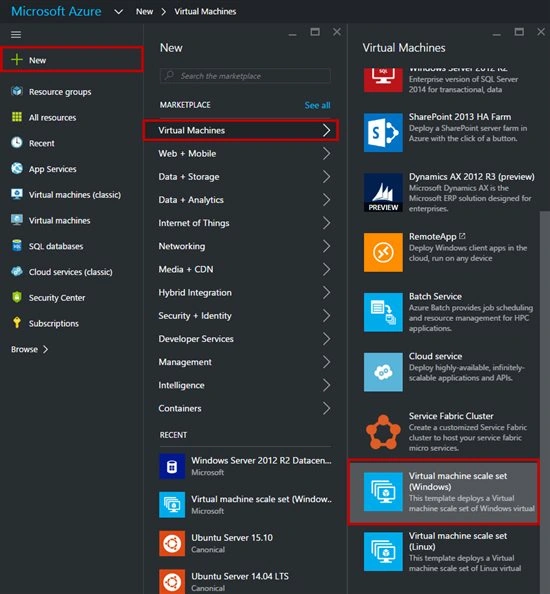
Step 2: Click on New -> Virtual Machine -> Virtual Machine Scale Set (Windows).
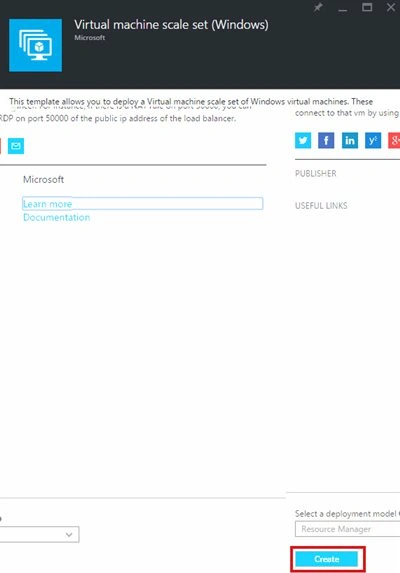
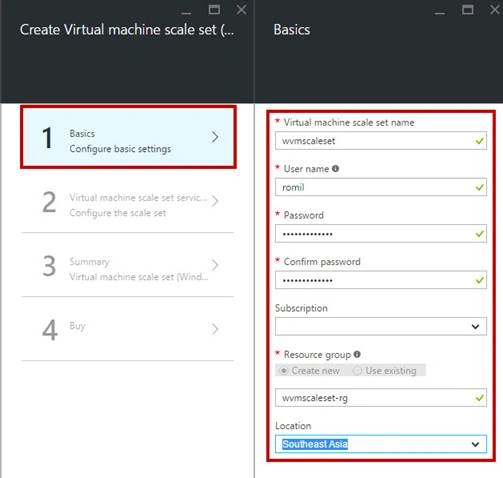
Step 3: Set the Virtual Machine scale name, Username, Password, Subscription, Enter Resource Group Name, and Location.
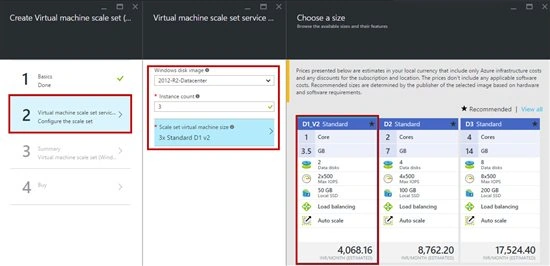
Step 4: Choose Windows Disk Image from the list. Enter Instance count and scale set vm size
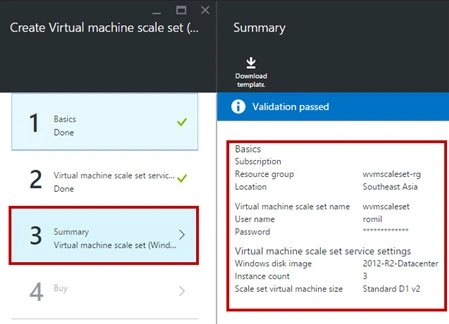
Step 5: Summary of Virtual Machine Scale Set will now display. Also, you can download the template.
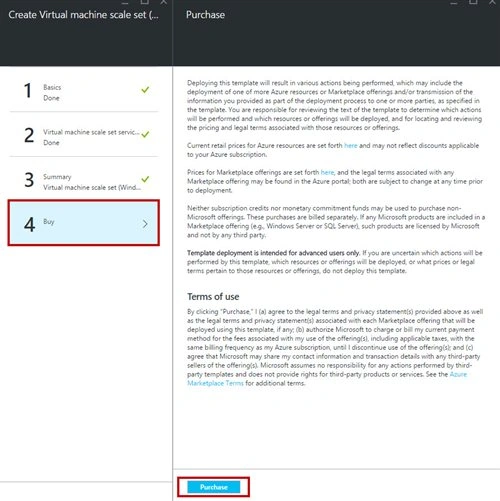
Step 6: Click on “Purchase” button.
Step 7: All VM Scale Set resources are available below:
Congratulations! You have successfully deployed the Windows Server Virtual Machine Scale Set on Microsoft Azure!
Sri RamaPosted May 15, 2021, 7:06 AM
How do we configure to use static hostname (own) and auto domain join, when it scales out.
Suketu NayakPosted Sep 29, 2016, 2:11 AM
Wow Superb
Vignesh ManiPosted Jul 13, 2016, 5:41 PM
Nice