

Introduction
In this article, we are going to learn the basic routing concepts in Angular 6 using Angular CLI (Command Line Interface). So, before reading this article, you must read the following articles for more knowledge.
- Getting Started With Angular 6 Using Angular CLI - Part One
- Getting Started ✍️ With Angular 6 Using Angular CLI - Part 2️⃣
Routing in Application
In every application, we do a minimal number of route concepts. For example, while clicking the menu page, it will redirect to a child page or different page, etc. How can we do this in Angular? Yes, there are a few basic things we need to configure before the routing is implemented in Angular.
Creating a Routing Module
By using the command line parameter "--routing", we’re able to create a routing module in the Angular application. So, by using any of the following commands, we can create a routing module in Angular with the default routing set up. We have given “app-routing” as our routing module name.
- ng generate module app-routing --flat --module=app
- ng g m app-routing --flat --module=app
- --flat puts the file in src/app instead of its own folder.
- --module=app tells the CLI to register it in the imports array of the AppModule
The following code is generated after the above command's execution.
- import { NgModule } from '@angular/core';
- import { CommonModule } from '@angular/common';
- @NgModule({
- imports: [
- CommonModule
- ],
- declarations: []
- })
- export class AppRoutingModule { }
Import Router in the Application
Angular Router is an optional service and it is not a part of "@angular/core" and Router Modules are the part of "@angular/router" library package. So we need to import "RouterModule" and "Routes" from "@angular/router" library package.
- import { RouterModule , Routes } from '@angular/router';
A very simple explanation in Angular docs is “Routes” which tells the router which view to display when a user clicks a link or pastes a URL into the browser address bar. So the scenario is whether a click or paste a URL into the browser!!
- const routes: Routes = [{}];
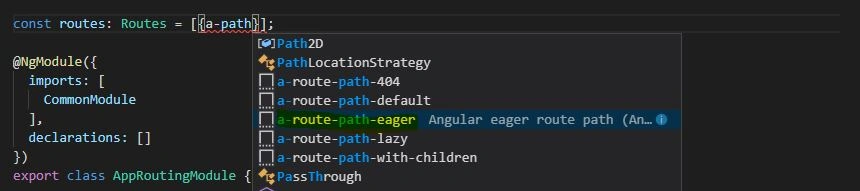
Now we have added path and component name in the Routes.
- const routes: Routes = [{ path: 'customer', component: CustomerComponent }];
RouterModule.forRoot()
We first initialize and import the router setup and it starts listening to the browser location changes. Whatever routes we have mentioned earlier will be injected into the forRoot().
- @NgModule({
- exports: [RouterModule] ,
- imports: [
- CommonModule, [RouterModule.forRoot(routes)]
- ],
- declarations: []
- })
forChild() is used for the submodules and lazy loaded submodules in the following way.
- @NgModule({
- exports: [RouterModule] ,
- imports: [
- CommonModule, [RouterModule.forChild(routes)]
- ],
- declarations: []
- })
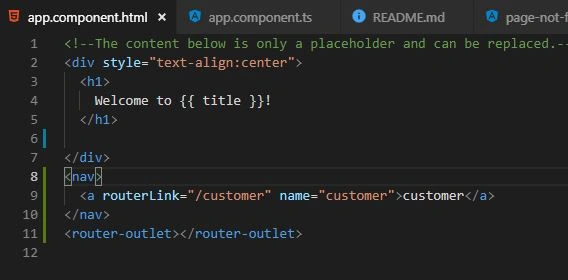
RouterOutlet acts as a placeholder and it looks like a component. So when you place this outlet in an app component then it will be dynamically filled based on the current router state.
- <router-outlet></router-outlet>
The navigation we have added in the same app component page and while clicking on the "/customer" string content in "routerLink" then It will redirect into the respective page. We can add more functionality in the anchor tag like active,binding array of links,etc.
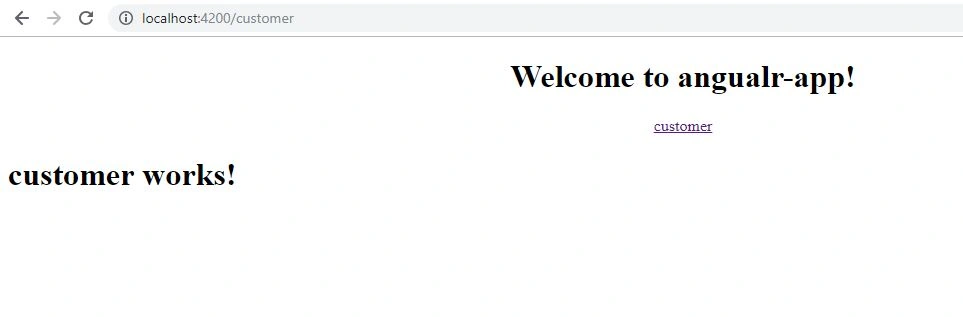
The Router Output
While clicking on the "customer" link it will redirect into the customer component.
Page Not Found – 404 Error!!
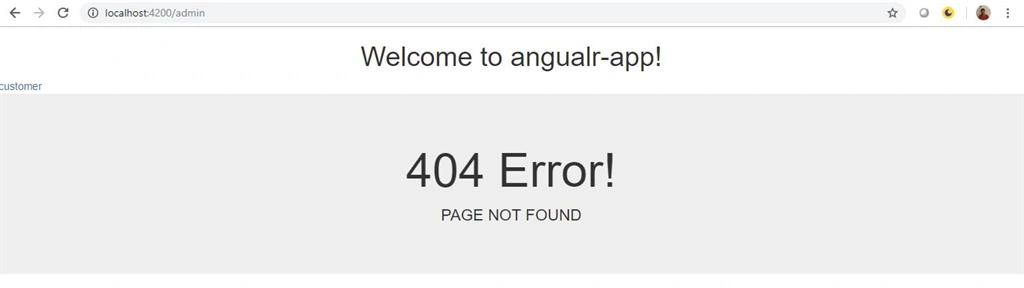
If a user is trying to access different pages in the application and that is not part of the routing configuration then we need to display an Error message page called as Page Not Found. Any of the following commands will create a "Page Not Found" page with using inline template.
- ng generate component PageNotFound --inline-template
- ng g c PageNotFound -t
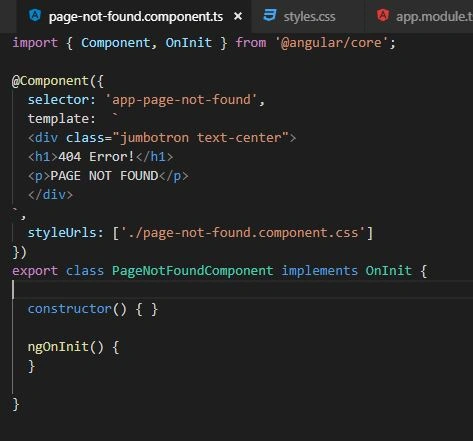
If you want to add bootstrap style in the application then import the following reference link in the style.css.
- @import url('https://unpkg.com/[email protected]/dist/css/bootstrap.min.css');
- const routes: Routes = [{ path: '', component: EmployeeComponent },
- { path: 'customer', component: CustomerComponent },
- { path: '**', component: PageNotFoundComponent }];
Download
Reference
Summary
From this article, we have learned the basic routing concepts of Angular CLI. I hope this article is useful for all the Angular CLI beginners.
Vijayakumar ManiPosted Jan 24, 2019, 12:15 AM
Good one...
Rushi MehtaPosted Jan 23, 2019, 3:18 AM
Nice Article