

Introduction
Xamarin is a platform that allows us to create a multi-platform app for Android, Windows, or iOS through a single integrated development environment (IDE). And with Xamarin.forms, the interface design for all three platforms can be accomplished within its XAML-based standard, native user-interface control.
Step 1
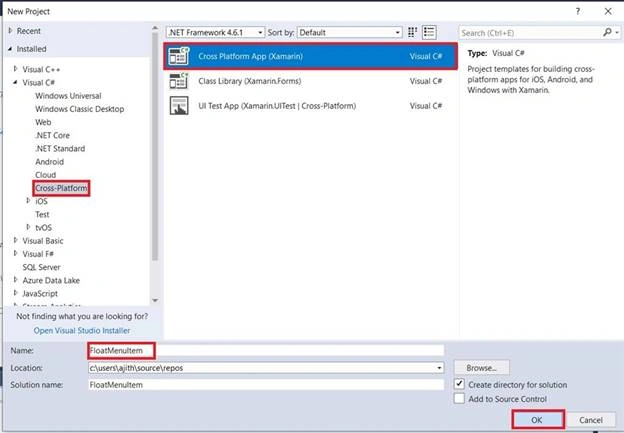
Open Visual Studio and go to New Project >> Installed >> Visual C# >> Cross-Platform.
Select the Cross-Platform app, then give your project a name and location.
Step 2
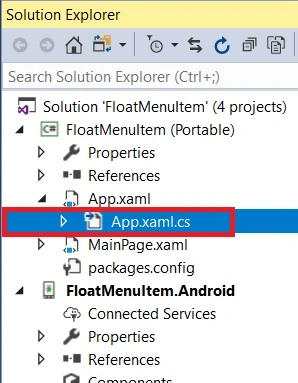
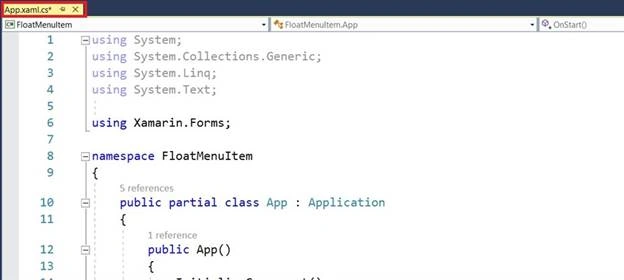
Open Solution Explorer >> Project Name(Portable) >> App.xaml.cs >> double-click will open the design view of this page.
The Code is given below.
C# Code
- using System;
- using System.Collections.Generic;
- using System.Linq;
- using System.Text;
- using Xamarin.Forms;
- namespace FloatMenuItem
- {
- public partial class App : Application
- {
- public App()
- {
- InitializeComponent();
- MainPage = new NavigationPage(new MainPage());
- }
- protected override void OnStart()
- {
- // Handle when your app starts
- }
- protected override void OnSleep()
- {
- // Handle when your app sleeps
- }
- protected override void OnResume()
- {
- // Handle when your app resumes
- }
- }
- }
Step 3
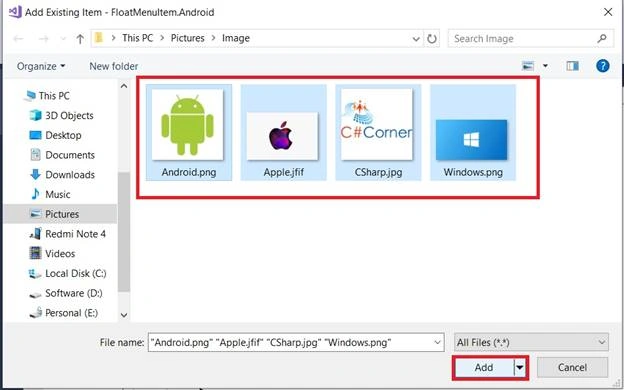
Next, add an image to Solution Explorer >> Project Name.Android >> Resourses >> Right Click >> drawable >> Add >> Existing Item.
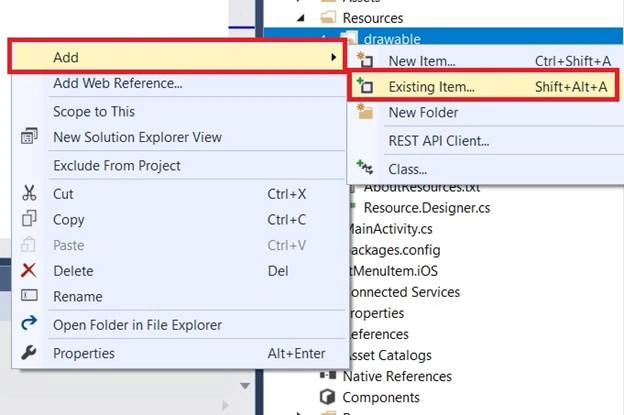
Next, a dialogue box will open. Choose image location and add images.
Step 4
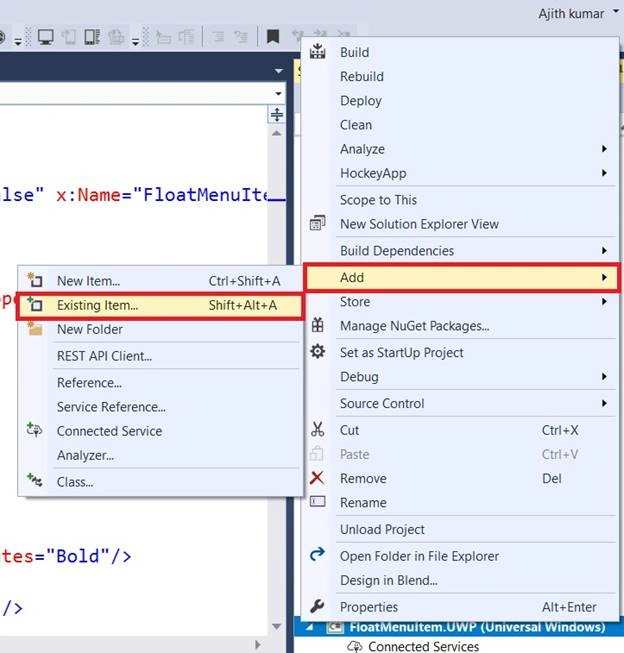
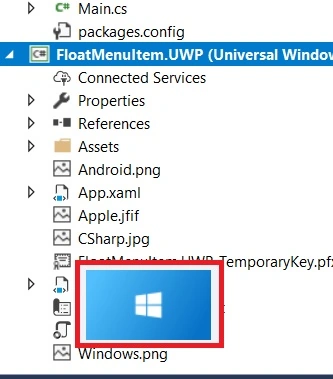
Next, add an image to Solution Explorer >> Project Name.Universal Windows Platform >>Right Click >> Add >> Existing Item.
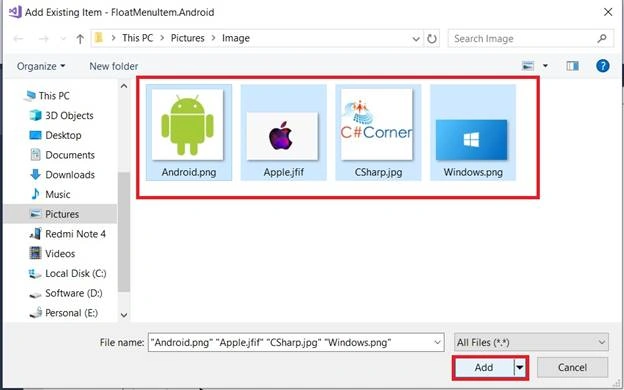
Next, a dialogue box will open Choose image location and add images.
Step 5
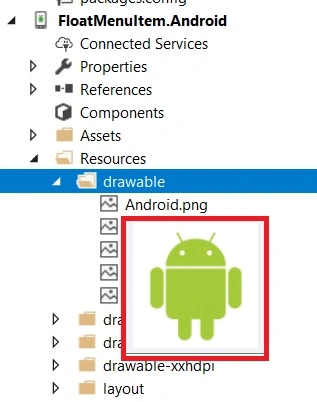
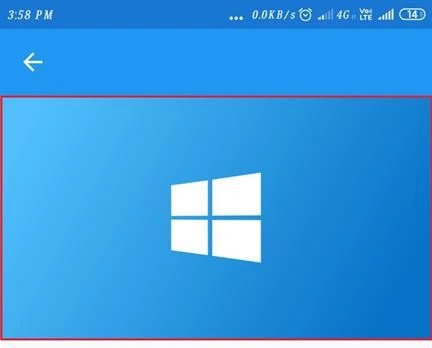
The Image is added successfully for Android and UWP.
Step 6
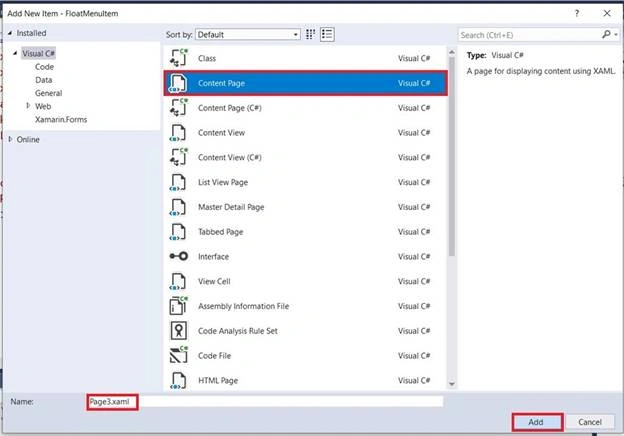
Next, Open Solution Explorer >> Project Name(Portable) >> Right-Click >> Add >> New Item or Ctrl+Shift+A.
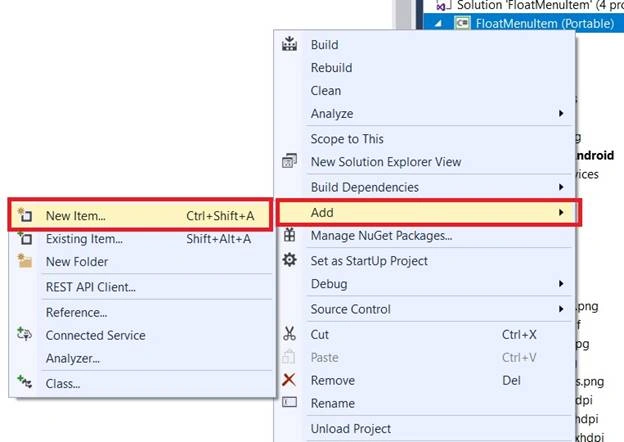
A new dialogue box will open. Now, add the XAML page and give it a name. Click the "Add" button.
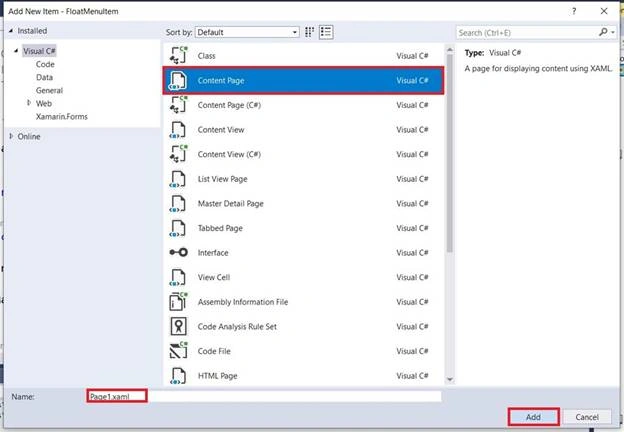
Similarly, add the XAML page and give your name - "Page 2".
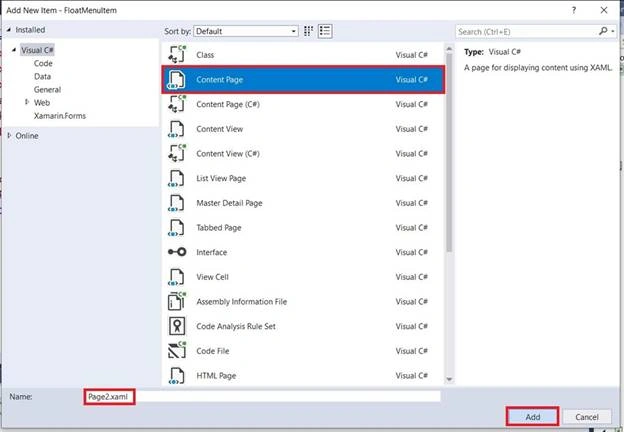
Similarly, add the XAML page and give your name - "Page 3".
Step 7
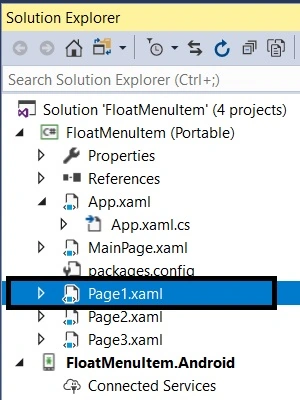
Open Solution Explorer >> Project Name >> Page1.xaml. Open the design view of this page.
The Code is given below.
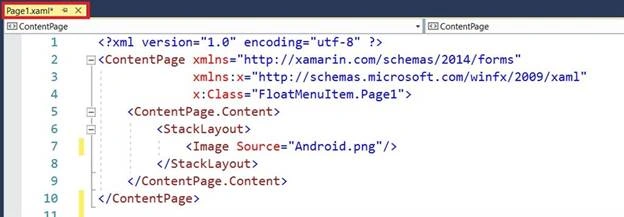
Xaml Code
- <?xml version="1.0" encoding="utf-8" ?>
- <ContentPage xmlns="http://xamarin.com/schemas/2014/forms"
- xmlns:x="http://schemas.microsoft.com/winfx/2009/xaml"
- x:Class="FloatMenuItem.Page1">
- <ContentPage.Content>
- <StackLayout>
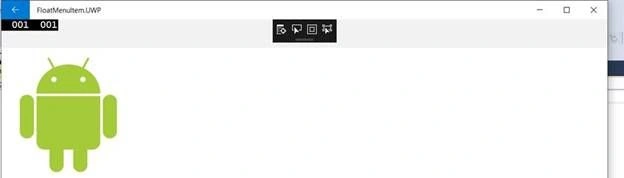
- <Image Source="Android.png"/>
- </StackLayout>
- </ContentPage.Content>
- </ContentPage>
Step 8
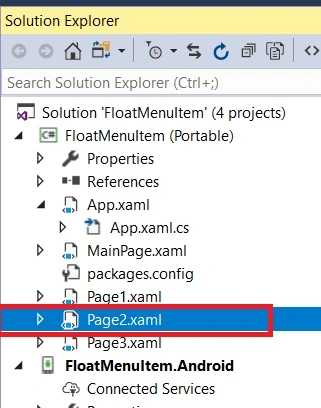
Open Solution Explorer >> Project Name >> Page2.xaml. Open the design view of this Page.
The Code is given below.
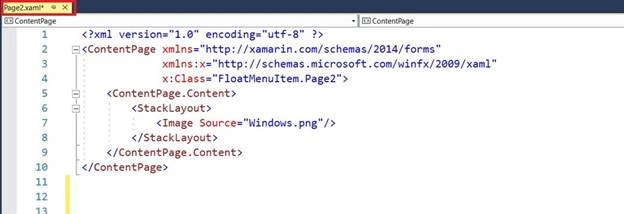
Xaml Code
- <?xml version="1.0" encoding="utf-8" ?>
- <ContentPage xmlns="http://xamarin.com/schemas/2014/forms"
- xmlns:x="http://schemas.microsoft.com/winfx/2009/xaml"
- x:Class="FloatMenuItem.Page2">
- <ContentPage.Content>
- <StackLayout>
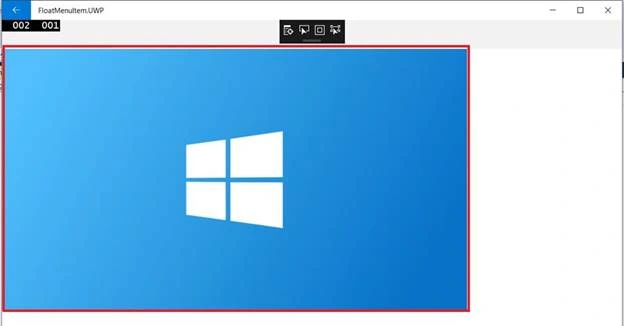
- <Image Source="Windows.png"/>
- </StackLayout>
- </ContentPage.Content>
- </ContentPage>
Step 9
Open Solution Explorer >> Project Name >> Page3.xaml. Open the design view of this Page.
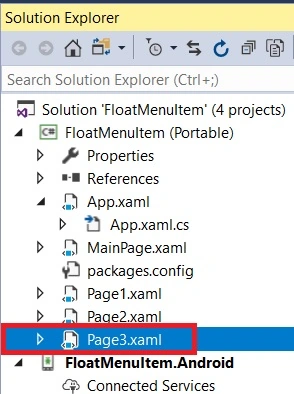
The Code is given below.
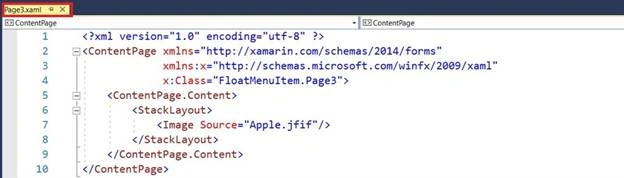
Xaml Code
- <?xml version="1.0" encoding="utf-8" ?>
- <ContentPage xmlns="http://xamarin.com/schemas/2014/forms"
- xmlns:x="http://schemas.microsoft.com/winfx/2009/xaml"
- x:Class="FloatMenuItem.Page3">
- <ContentPage.Content>
- <StackLayout>
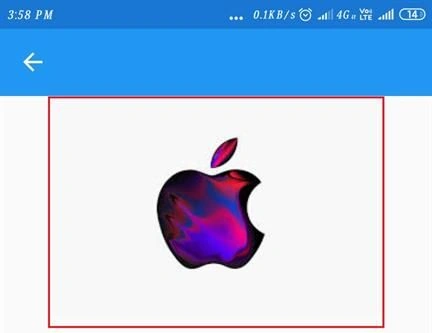
- <Image Source="Apple.jfif"/>
- </StackLayout>
- </ContentPage.Content>
- </ContentPage>
Step 10
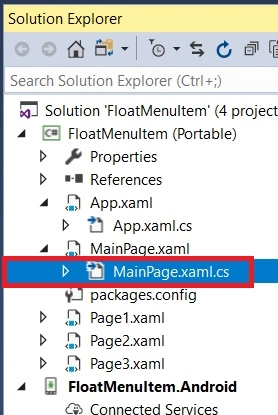
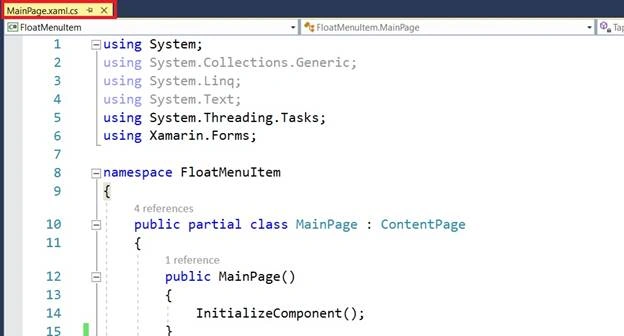
Open Solution Explorer >> Project Name >> MainPage.xaml. Open the design view of this Page.
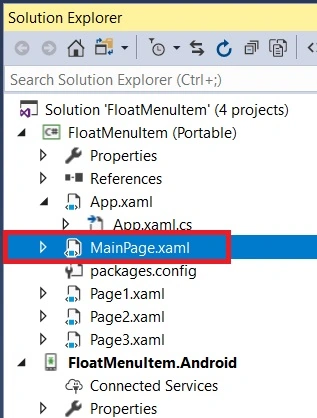
The Code is given below.
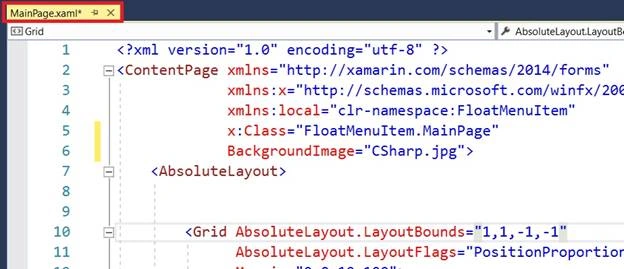
Xaml Code
- <?xml version="1.0" encoding="utf-8" ?>
- <ContentPage xmlns="http://xamarin.com/schemas/2014/forms"
- xmlns:x="http://schemas.microsoft.com/winfx/2009/xaml"
- xmlns:local="clr-namespace:FloatMenuItem"
- x:Class="FloatMenuItem.MainPage"
- BackgroundImage="CSharp.jpg">
- <AbsoluteLayout>
- <Grid AbsoluteLayout.LayoutBounds="1,1,-1,-1"
- AbsoluteLayout.LayoutFlags="PositionProportional"
- Margin="0,0,10,100">
- <Grid.RowDefinitions>
- <RowDefinition/>
- <RowDefinition/>
- <RowDefinition/>
- </Grid.RowDefinitions>
- <StackLayout Grid.Row="0" Orientation="Horizontal" IsVisible="False" x:Name="FloatMenuItem1">
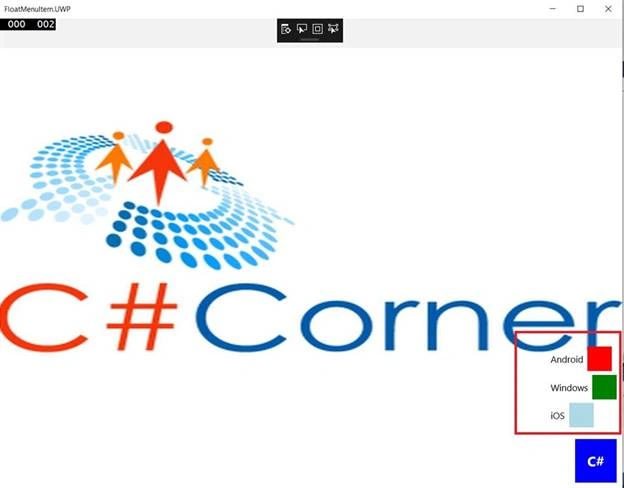
- <Label Text="Android" VerticalOptions="Center"/>
- <Frame BackgroundColor="Red" CornerRadius="30">
- <Frame.GestureRecognizers>
- <TapGestureRecognizer x:Name="FloatMenuItem1Tap" Tapped="FloatMenuItem1Tap_OnTapped" />
- </Frame.GestureRecognizers>
- </Frame>
- </StackLayout>
- <StackLayout Grid.Row="1" Orientation="Horizontal" IsVisible="False" x:Name="FloatMenuItem2">
- <Label Text="Windows" VerticalOptions="Center"/>
- <Frame BackgroundColor="Green" CornerRadius="30">
- <Frame.GestureRecognizers>
- <TapGestureRecognizer x:Name="FloatMenuItem2Tap" Tapped="FloatMenuItem2Tap_OnTapped" />
- </Frame.GestureRecognizers>
- </Frame>
- </StackLayout>
- <StackLayout Grid.Row="2" Orientation="Horizontal" IsVisible="False" x:Name="FloatMenuItem3">
- <Label Text="iOS" VerticalOptions="Center"/>
- <Frame BackgroundColor="LightBlue" CornerRadius="30">
- <Frame.GestureRecognizers>
- <TapGestureRecognizer x:Name="FloatMenuItem3Tap" Tapped="FloatMenuItem3Tap_OnTapped" />
- </Frame.GestureRecognizers>
- </Frame>
- </StackLayout>
- </Grid>
- <Frame BackgroundColor="Blue" CornerRadius="30" HasShadow="True"
- AbsoluteLayout.LayoutFlags="PositionProportional"
- AbsoluteLayout.LayoutBounds="1,1,-1,-1"
- Margin="10">
- <Label Text="C#" TextColor="White" FontSize="Medium" FontAttributes="Bold"/>
- <Frame.GestureRecognizers>
- <TapGestureRecognizer Tapped="TapGestureRecognizer_OnTapped"/>
- </Frame.GestureRecognizers>
- </Frame>
- </AbsoluteLayout>
- </ContentPage>
Step 11



DeepanPosted Aug 21, 2019, 2:03 AM
Simple way of teaching