

Introduction
In this article, I will explain how to create a Fingerprint Lock using Arduino Mega 2560. It will be used to identify the same user in the same way that a fingerprint scanner works.
Parts
- Fingerprint sensor
- Arduino Mega 2560
- Servo motor
- Jumper wires
Fingerprint Sensor
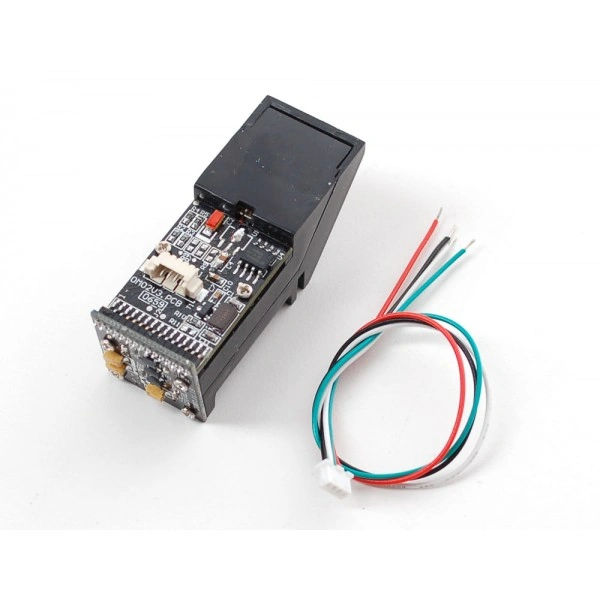
Figure 1: Fingerprint Sensor
- It is an electronic device and captures digital images.
- The captured image is called a live scan.
- It simply identifies the fingerprint and gives the result.
- It can easily match the fingerprint.
Connection:
Step 1: Connection From Servo Motor To Arduino Mega 2560,
- The servo first pin can be connected to the Gnd.
- The second pin can be connected to the VCC.
- The third pin can be connected to the digital pin 06 of the Arduino Mega 2560.
Step 2: Connection From Fingerprint Sensor To Arduino Mega 2560,
- The Gnd pin of the fingerprint sensor to the Gnd of the Arduino Mega 2560
- The Vcc pin of the fingerprint sensor to the 5v of the Arduino Mega 2560
- The Rx pin can be connected to the A4 of the Arduino Mega 2560.
- The Tx pin can be connected to the A5 of the Arduino Mega 2560.
Programming
Explanation:
- #include<Fingerprint.h>
- #include<SoftwareSerial.h>
- #include<Streaming.h>
- #include<Servo.h>
- #define __Debug 1
- const int pinServo = 6;
- const int angleServo = 60;
- #if __Debug
- #define DBG(X) Serial.println(X)
- #else
- #define DBG(X)
- #endif
- SoftwareSerial mySerial(A5, A4);
- Fingerprint finger = Fingerprint( & mySerial);
- Servo myservo;
- void open_close_door()
- {
- myservo.attach(pinServo);
- for (int i = 20; i < angleServo; i++)
- {
- myservo.write(i);
- delay(5);
- }
- delay(2000);
- for (int i = (angleServo - 1); i >= 20; i--)
- {
- myservo.write(i);
- delay(5);
- }
- myservo.detach();
- }
- void setup()
- {
- Serial.begin(38400);
- finger.begin(19200);
- delay(500);
- DBG("setup ok!");
- }
- void loop()
- {
- if (getFingerprintIDez() >= 0)
- {
- open_close_door();
- DBG("get right finger, open door now!!");
- delay(2000);
- }
- delay(50);
- }
- int getFingerprintIDez()
- {
- if (!finger.verifyPassword())
- {
- DBG("Did not find fingerprint sensor :(");
- return -1;
- }
- uint8_t p = finger.getImage();
- if (p != FINGERPRINT_OK)
- {
- return -1;
- }
- p = finger.image2Tz();
- if (p != FINGERPRINT_OK)
- {
- return -1;
- }
- p = finger.fingerFastSearch();
- if (p != FINGERPRINT_OK)
- {
- return -1;
- }
- #if __Debug
- Serial.print("Found ID #");
- Serial.print(finger.fingerID);
- Serial.print(" with confidence of ");
- DBG(finger.confidence);
- #endif
- return finger.fingerID;
- }
- When the fingerprint is the same, the sensor identifies it and prints the message as matched.
- The servo motor also gets rotate to the 60-degree direction.
- When fingerprints do not match, a message is sent as "Not Matched."
Output:
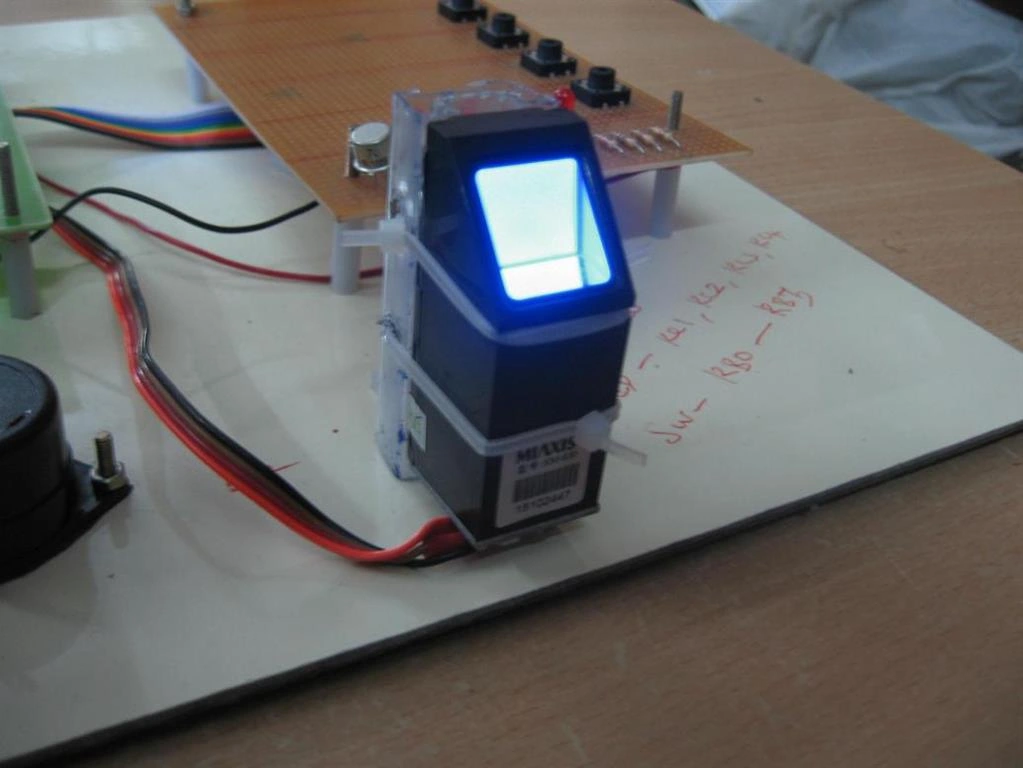
Figure 2: Output.
Read more articles on Arduino:
Ranjeet SunarPosted Feb 13, 2021, 4:37 AM
How to fix error in fingerprint.h
Meggaa MannPosted Jan 9, 2019, 8:43 PM
Kindly provide a link to the libraries you are using for this code.
Piratheepan PirathiPosted Aug 1, 2017, 11:29 AM
Can any one send me the code to arduino c# fingerprint connection
Sr KarthigaPosted May 25, 2016, 8:29 AM
thank you prasanna
Prasanna MuraliPosted May 20, 2016, 10:12 AM
Nice one...
Sr KarthigaPosted Mar 27, 2016, 8:59 PM
Thank you sirisha
Sirisha KPosted Mar 17, 2016, 7:57 AM
good one
Sr KarthigaPosted Mar 8, 2016, 6:26 AM
Thank you shubham sir
Shubham KumarPosted Mar 3, 2016, 3:37 AM
nice'
Sr KarthigaPosted Feb 29, 2016, 7:49 PM
thank you asfend sir
Asfend YarPosted Feb 29, 2016, 2:20 PM
good
Sr KarthigaPosted Feb 29, 2016, 8:45 AM
thank you gowtham sir
Sr KarthigaPosted Feb 29, 2016, 8:44 AM
Thank you ankur sir
Gowtham KPosted Feb 28, 2016, 12:34 PM
Good One
Ankur MistryPosted Feb 28, 2016, 8:49 AM
Nice, Helpful stuff
Sr KarthigaPosted Feb 27, 2016, 11:25 AM
Thank you sibeesh sir
Sr KarthigaPosted Feb 27, 2016, 11:25 AM
Thank you vignesh mani sir
Sibeesh VenuPosted Feb 27, 2016, 9:59 AM
Nice Share
Vignesh ManiPosted Feb 27, 2016, 9:07 AM
Good one
Sr KarthigaPosted Feb 27, 2016, 3:52 AM
thank you asfend sir
Sr KarthigaPosted Feb 27, 2016, 3:52 AM
Thank you kumaresh sir
Asfend YarPosted Feb 27, 2016, 3:43 AM
nice
Kumaresh RajalingamPosted Feb 27, 2016, 3:11 AM
Very Nice