

Step 1: Open Expression Blend 4 -> Select Silverlight Application + Web -> Change Name and Location accordingly -> hit OK. A Blank Window appears on the Artboard.
Step 2: Select Shapes -> Select Triangle Shape from Shapes or Assets located to the Top Left of the Workspace as shown below:
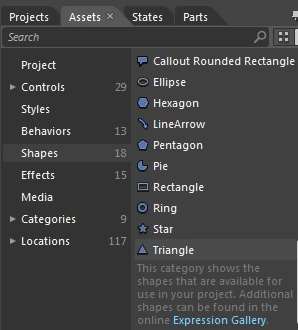
Note: In front of the Triangle Shape a dialog box appears which shows the details of the Triangle Shape as shown below:

Step 3: Draw a Triangle Shape as shown below:
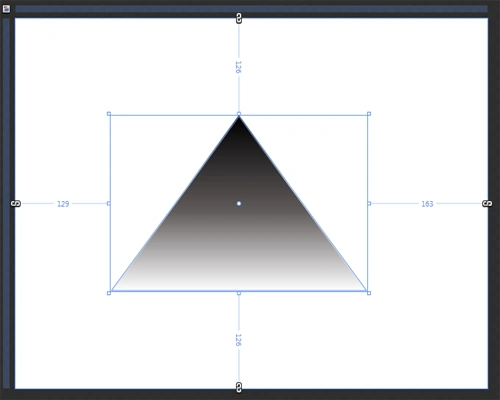
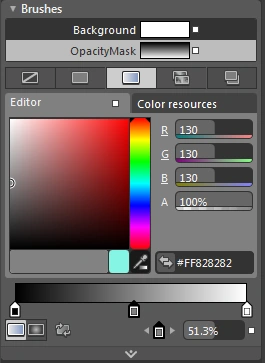
Note: By using Gradient Brush or Solid Color Brush Fill Gradient Color as shown above as shown below:
Step 4: Transform Property: It is divided into 2 parts; they are Render Transform and Projection as shown below:
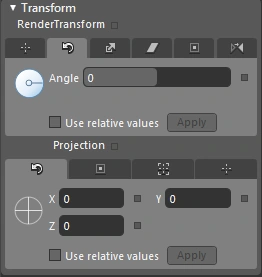
Step 5: Select Render Transform Property ->
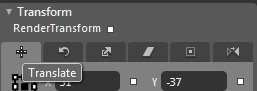
- Select Translate Property which is used to move the Triangle in any direction according to your choice by Increasing/Decreasing the X-Y Axis Range as shown below:
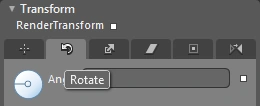
- Select Rotate Property from Render Transform Property and Increase/Decrease the Angle Range as shown below:
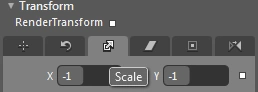
- Select Scale Property manage the Shape of Triangle by Increasing/Decreasing the Range of X-Y Axis as shown below:
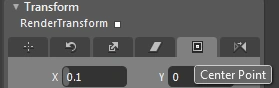
- Select Center Point Property of Render Transform Property and Increase/Decrease the Range of X-Y Axis and bring the Triangle to Center as shown below:
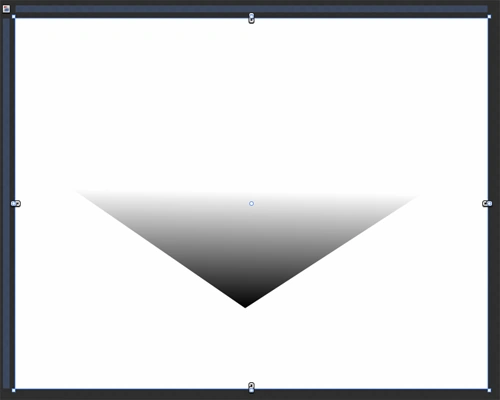
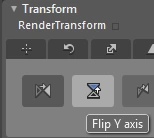
Step 6: Draw another Triangle Shape and using the Flip Property of the Render Transform Property, flip the triangle to the left as shown below:
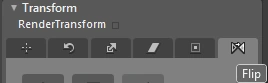
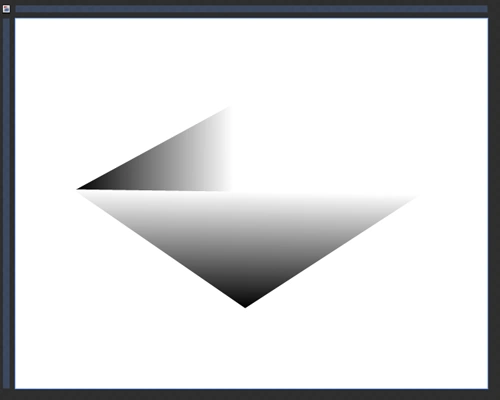
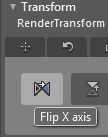
Note: A Flip Property is divided into 2 parts; they are Flip X-Axis and Flip Y-Axis as shown below:
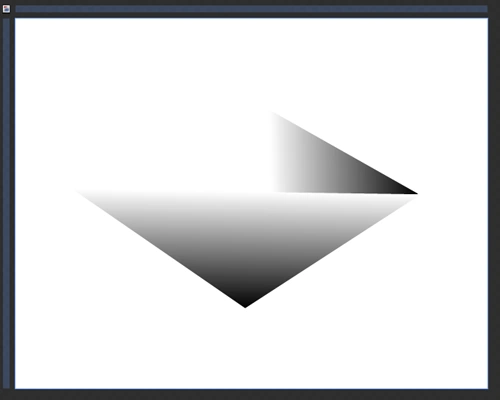
Step 7: Draw another triangle by following the above steps of "Flip" as shown below:
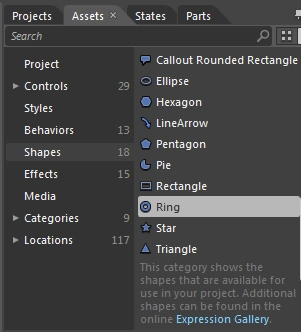
Step 8: Select Shape -> Ring Shape and draw a Ring (Eye) as shown below:
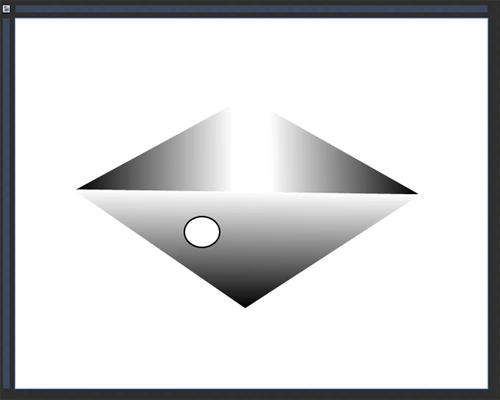
Note: Here, fill the ring by using the White Color from the Solid Color Brush.
Note: In front of the Ring Shape, a dialog box appears which shows the details of the Ring Shape as shown below:

Step 9: By following the previous steps draw another Ring (Pupil) inside the larger ring as shown below:
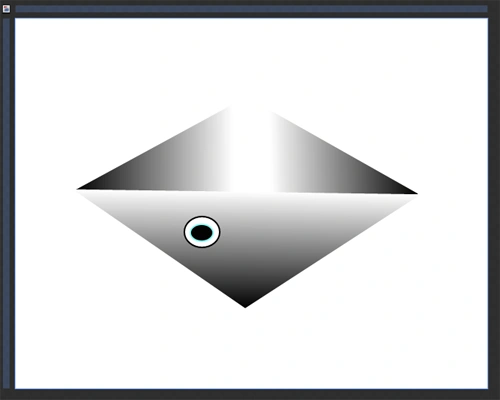
Note: Here, fill the ring using the Black Color from the Solid Color Brush and Sky Blue Color as Stroke.
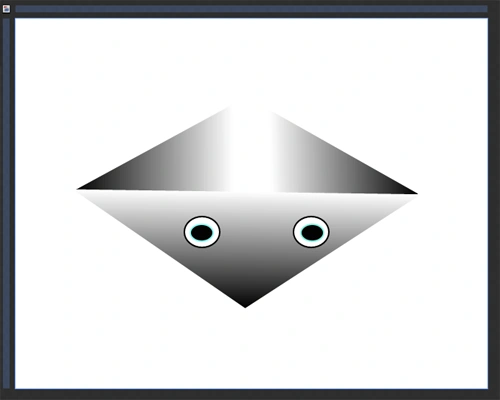
Step 10: Copy and Paste the rings from Step 7 and Step 8 and see the image as shown below:
Summary
Join the conversation! Your thoughts help the community grow.