

In this article, we are going to learn how to implement continuous integration and continuous deployment to a .NET API through Azure DevOps.
This is part of a series of videos,
- Implementing Clean Architecture On .NET
- Implementing Unit And Integration Tests On .NET With xUnit
- Deploy .NET API to Azure App Service through Azure DevOps
Prerequisites
- Visual Studio 2022 with .NET 6 SDK
- SQL Server Database
- Account on Azure DevOps Services and Azure Portal
- Download or clone the base project from here
1. Create Azure SQL Database
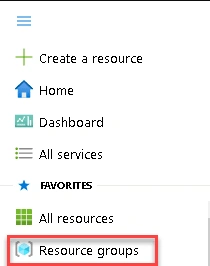
Click on the sidebar icon and go to Resource groups.
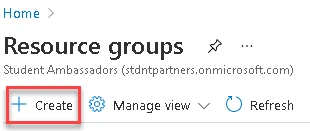
Click on Create.
Type a name for the resource group, then click on Review + create / Create.
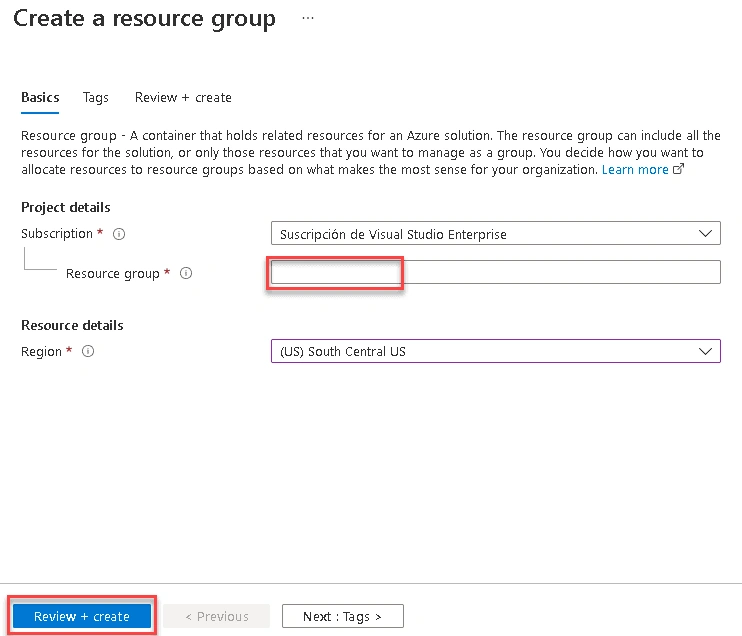
For this example, I used Demo-StoreCleanArchitecture for the resource group name.
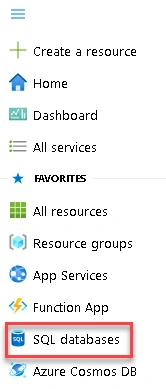
Now, from the sidebar, go to SQL databases.
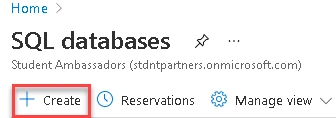
Click on Create.
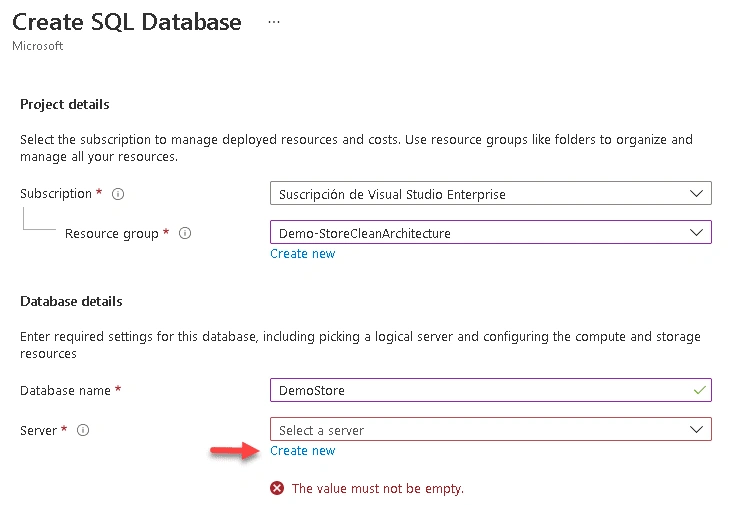
Type the database name and create a server if you haven't one.
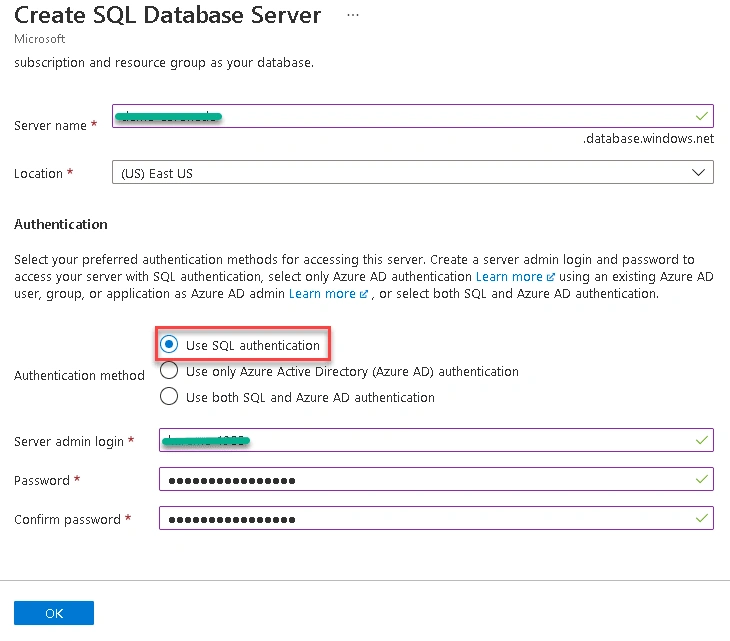
Let's create a server. Follow these steps:
- Type a unique server name
- From Authentication method, select Use SQL authentication
- Type Server admin login and password, then click on Ok
From Compute + storage, click on Configure database.
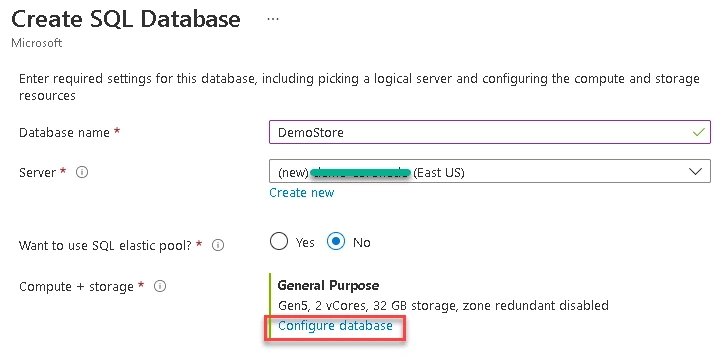
As you can see, the default service tier has a lot of estimated cost per month (231.28 USD). Let's select other service tier cheaper.
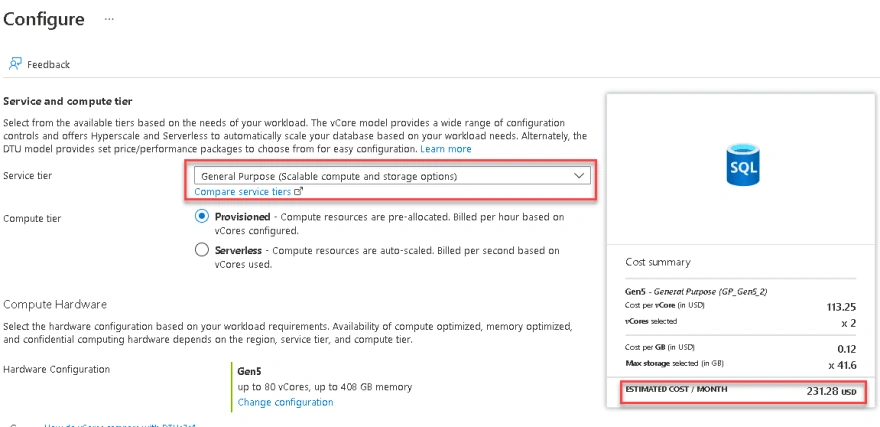
Select Basic, this is for less demanding workloads. And now the cost is too low (4.99 USD).
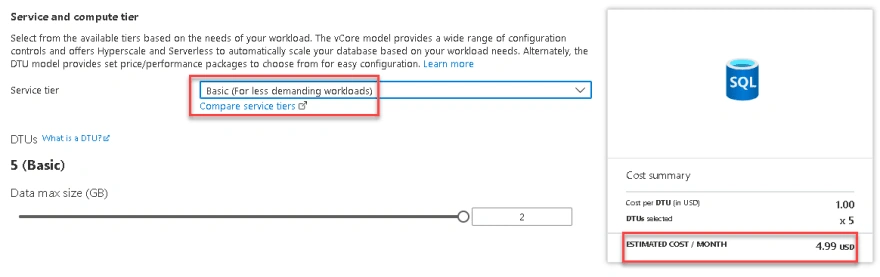
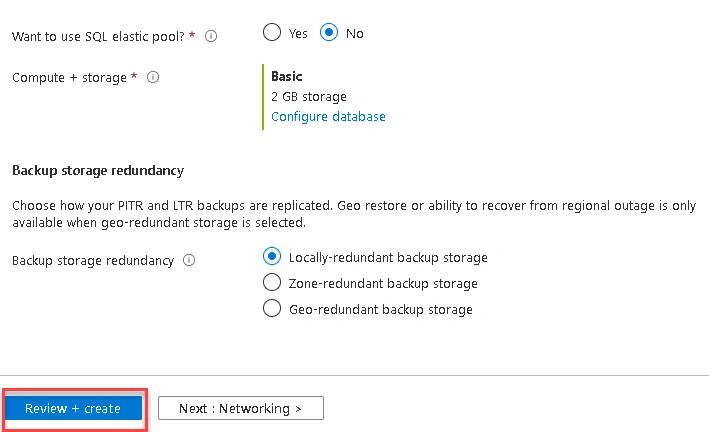
Then, click on Review + create.
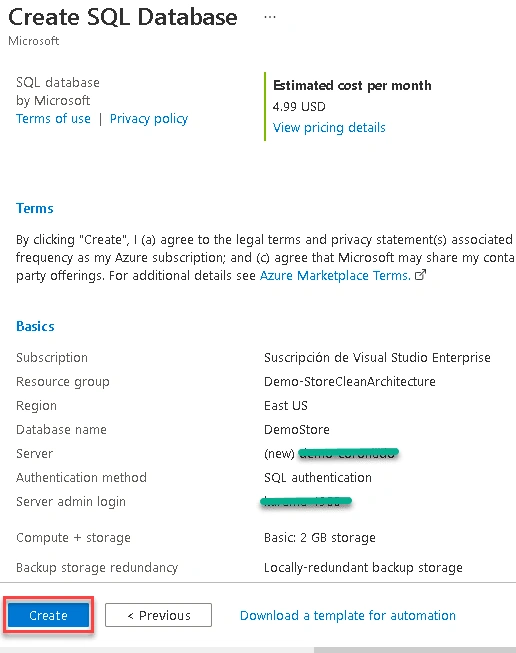
You can see a summary of all the features you are going to implement in this resource. Click on Create.
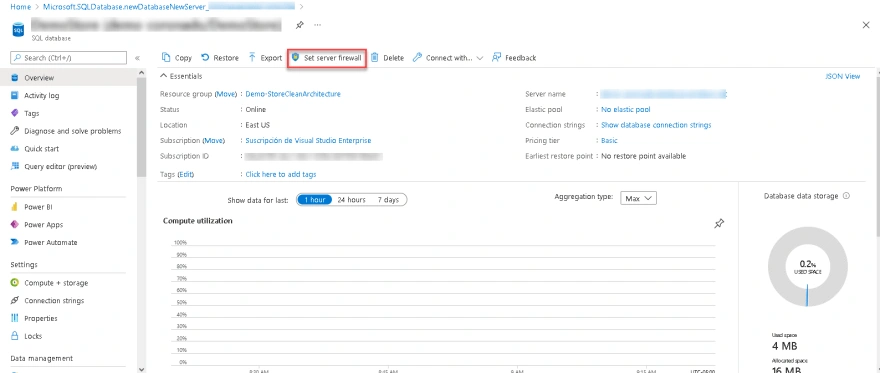
Let's wait until the database is created. Then click on Set server firewall.
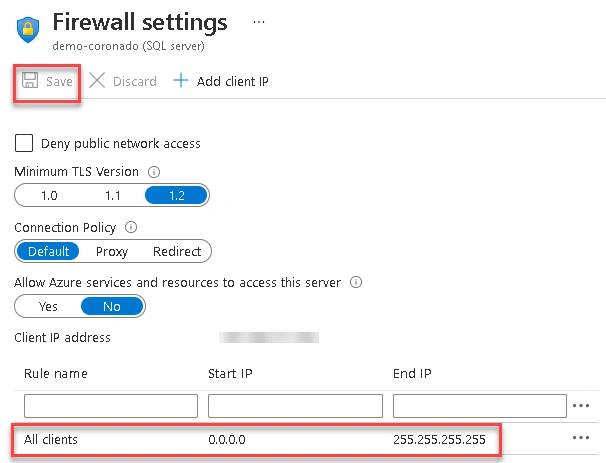
Let's add a rule to allow connections to this database from any IP address (just for testing, we can restrict to connect only from our IP address). Then click on Save.
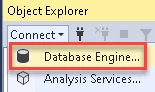
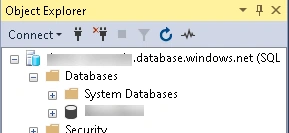
To test if we are allowed to connect to this database. Open SQL Server Management Studio. From Object Explorer, click on Connect / Database Engine.
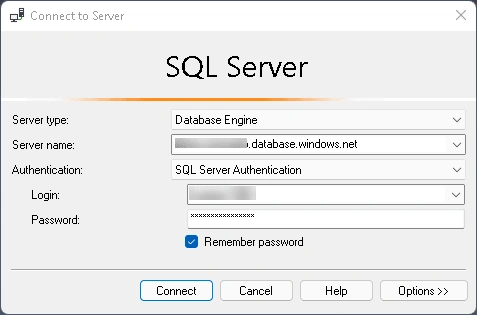
Enter the credentials and click on Connect.
As you can see, the connection was successful.
2. Create Azure App Service
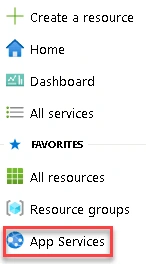
From the sidebar, select App Services.
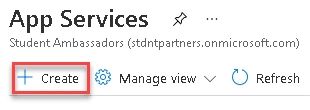
Click on Create.
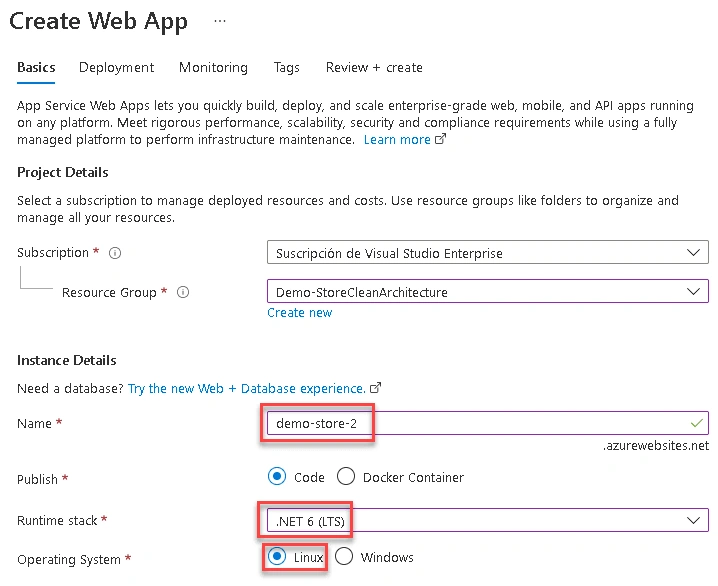
Follow these steps:
- Select the Resource group
- Name: specify a unique name
- Runtime stack: .NET 6 (LTS)
- Operating System: Linux
If it's a new App Service Plan, we can change the Sku and size, clicking on Change size.
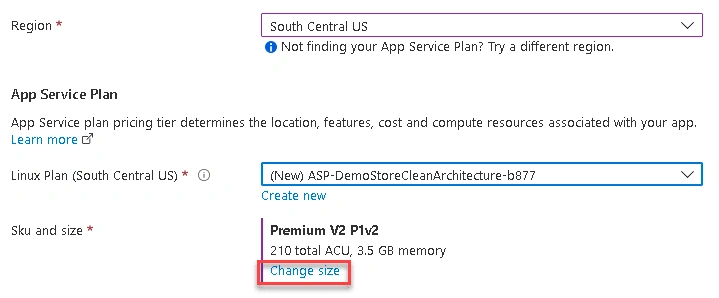
Select F1 plan from Dev/Test and click on Apply.
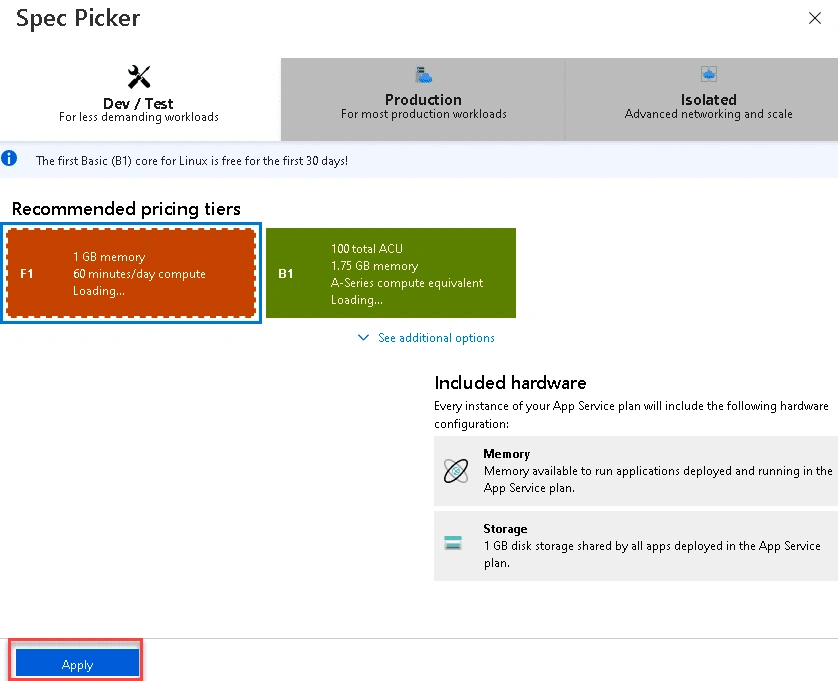
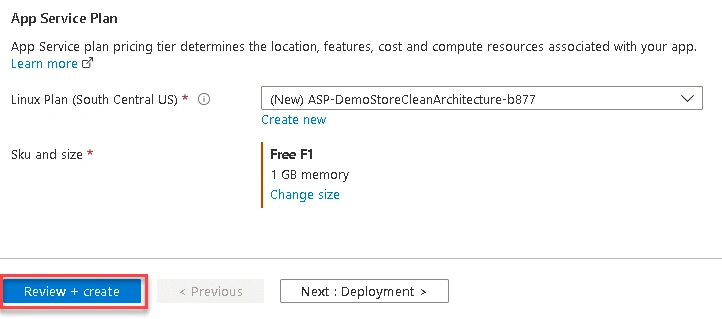
Then, click on Review + create.
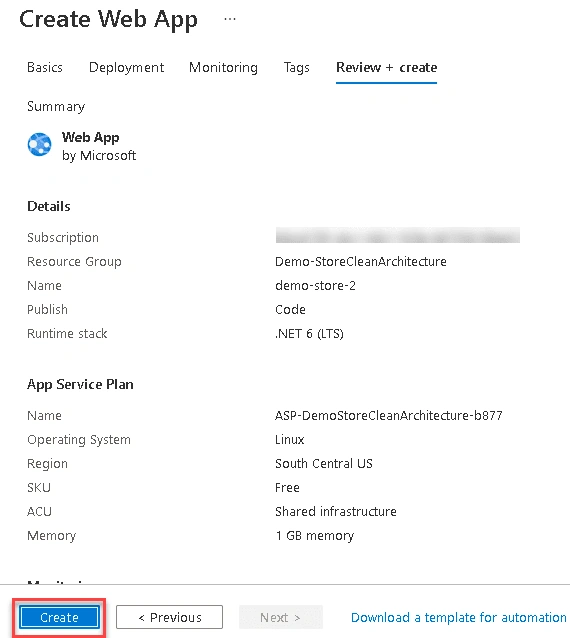
You can see a summary of all the features of our Web App. Click on Create.
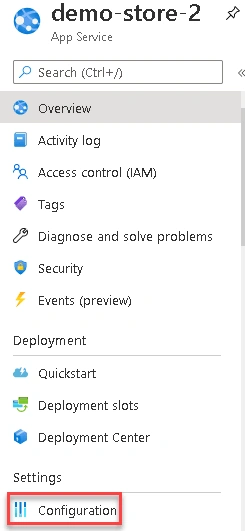
After the Web App is created. Go to the resource, in Settings section, click on Configuration.
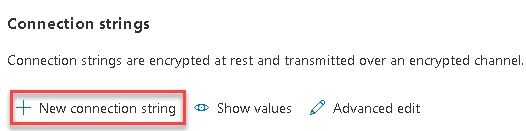
Go to Connection strings, click on New connection string.
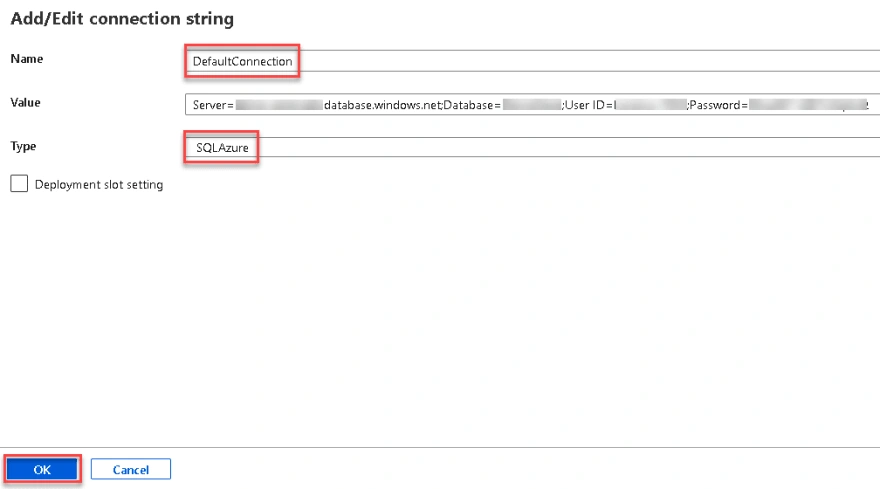
In the dialog, enter DefaultConnection in Name, select SQLAzure in Type and add the connection string in Value. Then click on Ok.
Server=<server_name>.database.windows.net;Database=<database_name>;User ID=<username>;Password=<password>
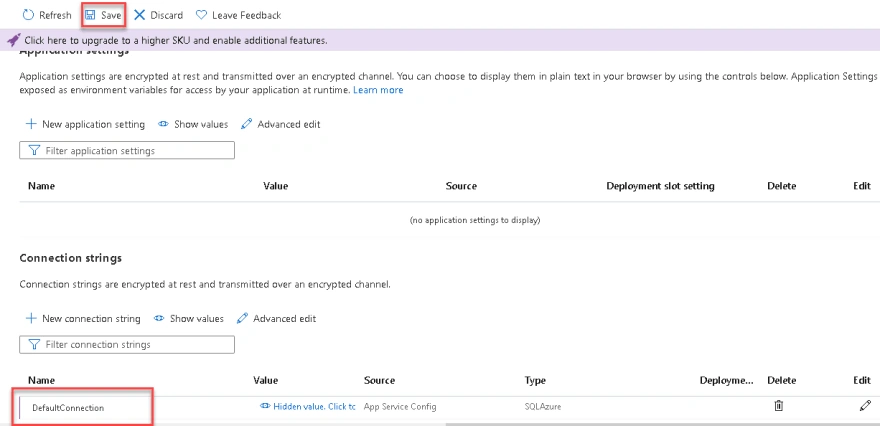
As you can see, the connection string was added. Click on Save.
3. Create a project on Azure DevOps and create Build and Release pipelines
3.1. Update .NET application
Before going to Azure DevOps Services, first, we need to do a change in the .NET application. In the Infrastructure project, in DependencyInjection.cs file, add the following below services.AddScoped<IProductRepository, ProductRepository>(),
var serviceProvider = services.BuildServiceProvider();
try {
    var dbContext = serviceProvider.GetRequiredService < StoreContext > ();
    dbContext.Database.Migrate();
} catch {}
This will apply all the pending migrations to the database.
Commit the changes.
3.2. Create Build Pipeline
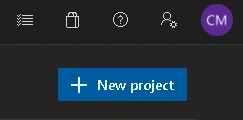
Go to Azure DevOps Services. At the right, click on New project.
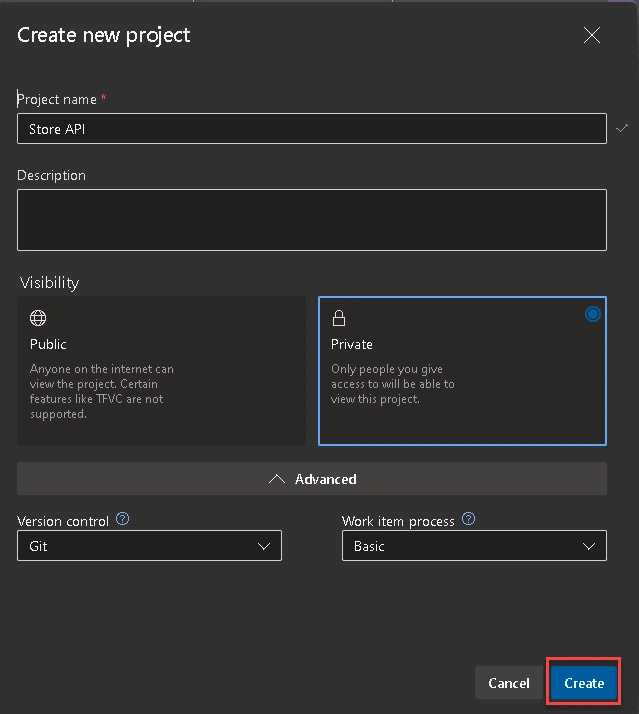
Specify a project name. Select the visibility you want. Click on Create.
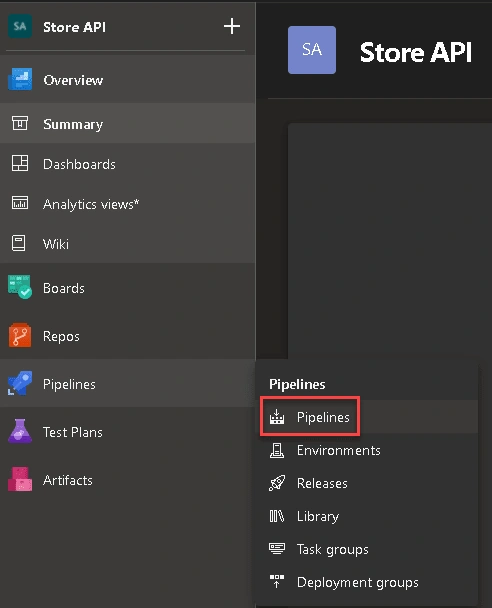
Go to Pipelines, click on Pipelines.
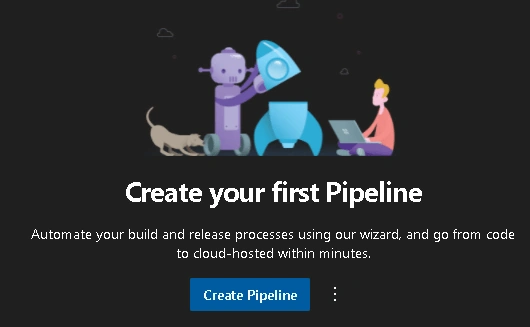
Click on Create Pipeline.
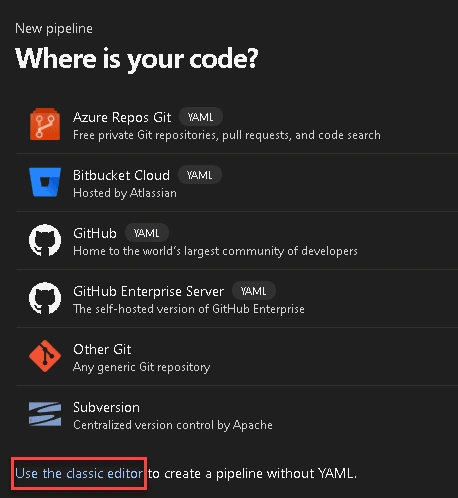
Click on Use the classic editor.
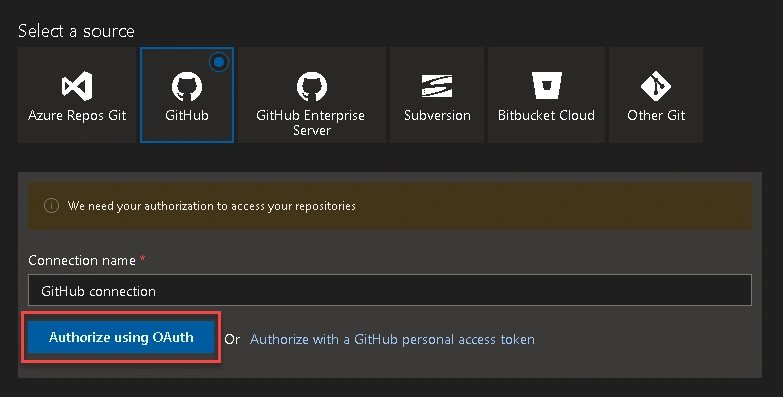
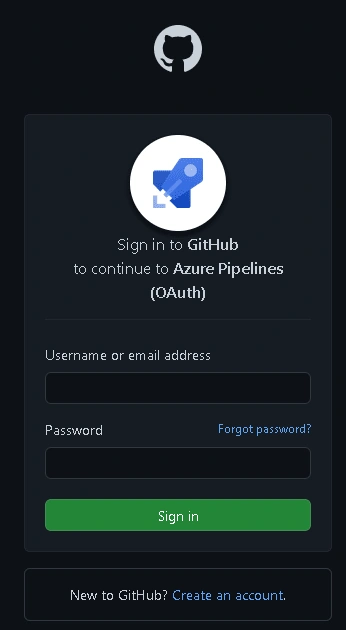
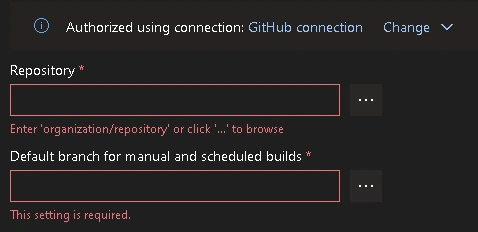
Select GitHub. Type a connection name, then click on Authorize using OAuth.
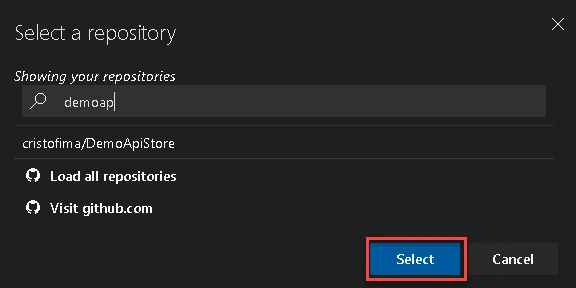
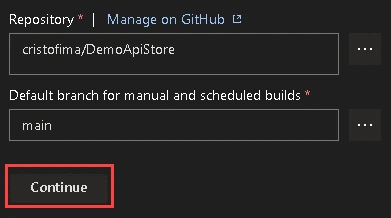
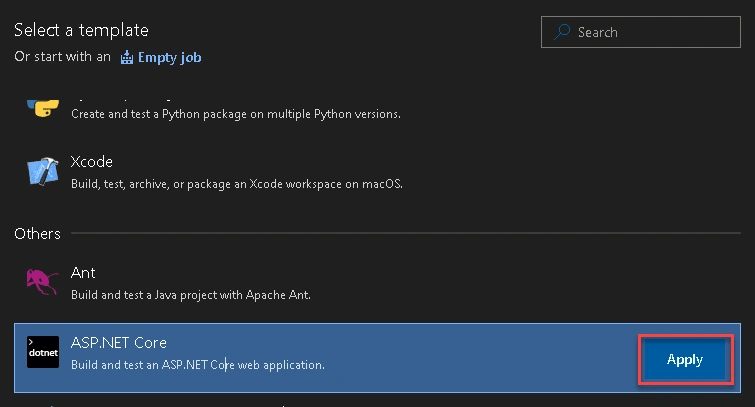
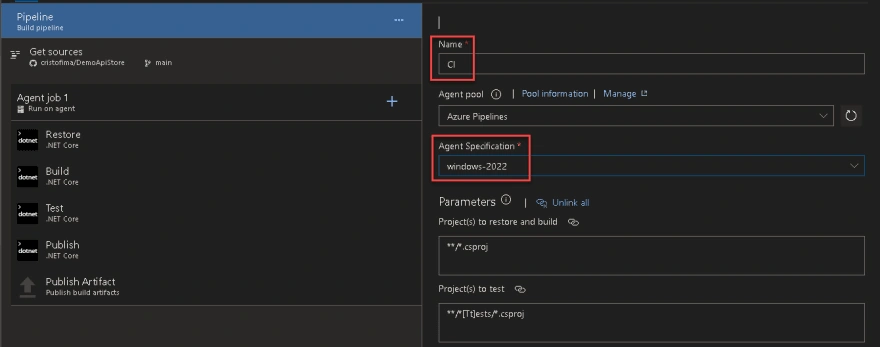
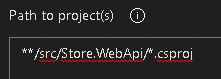

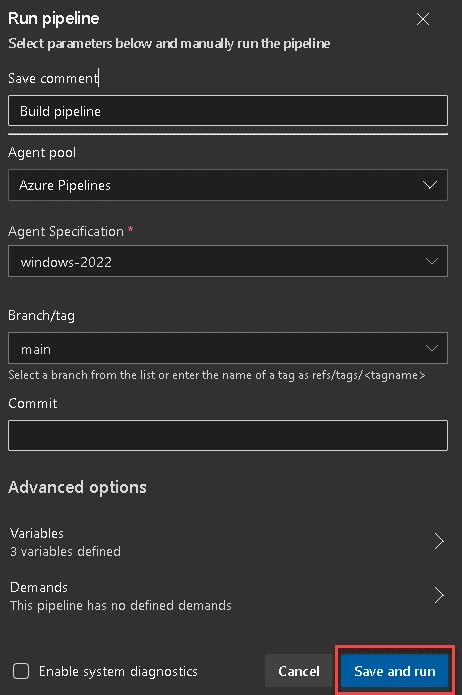
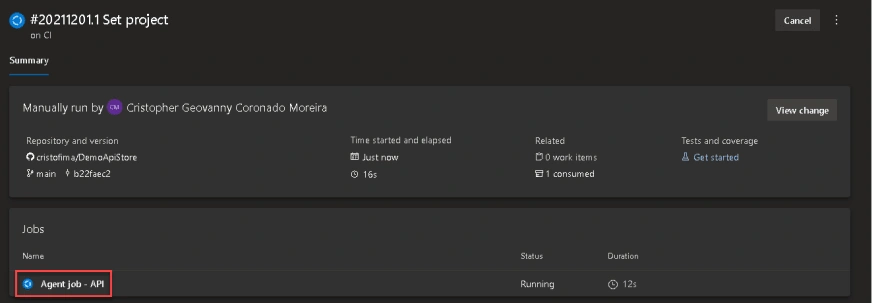
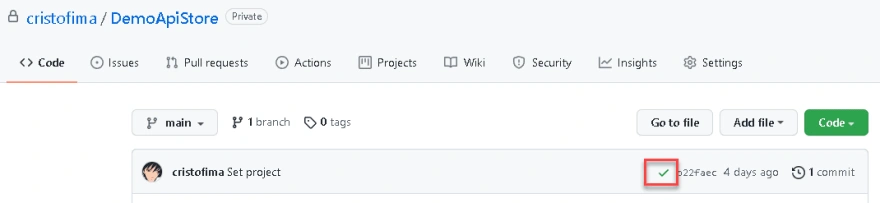



Cicero FoscariniPosted Jun 12, 2022, 9:54 AM
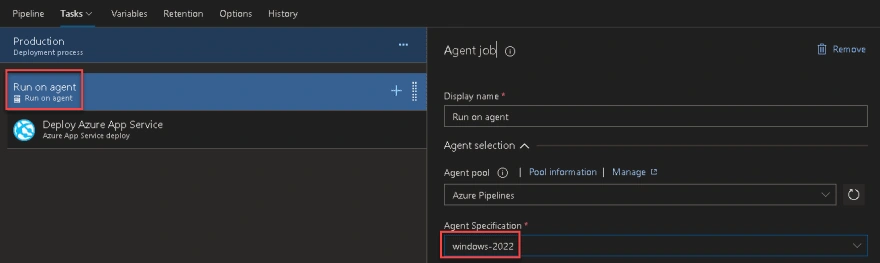
Hi! Thank you for the tutorial. I am having some problems. When I save the piperline agents, I am getting this error: ##[error]No hosted parallelism has been purchased or granted. To request a free parallelism grant, please fill out the following form https://aka.ms/azpipelines-parallelism-request Also, my list of pipeline agents are a bit different then yours, even i am following your steps. I am not sure if it is making such different.
Arnab MukherjeePosted Dec 4, 2021, 7:18 PM
Nice article.