

Introduction
This would be a series of articles, in this article, we would talk about the deployment of the NESTJS application on AWS.
It will cover the following things,
- What is NestJS? (covered in the first article)
- Background (covered in the first article)
- Installation(covered in the first article)
- Hands-on Lab – Create a sample NestJS project (covered in the first article)
- In-depth Explanation - Out-of-the-box files(covered in the second article)
- Hands-on Lab – Create custom APIs and connect with the PostgreSQL database in the existing NestJS project (covered in the third article)
- Hands-on Lab –Deploy NestJS application on AWS
Hands-on Lab - Deploy NestJS application on AWS
Open Visual Studio Code with the existing application, create a Procfile for the AWS pipelines to refer to, and see the file and its code –
web : npm run deploy
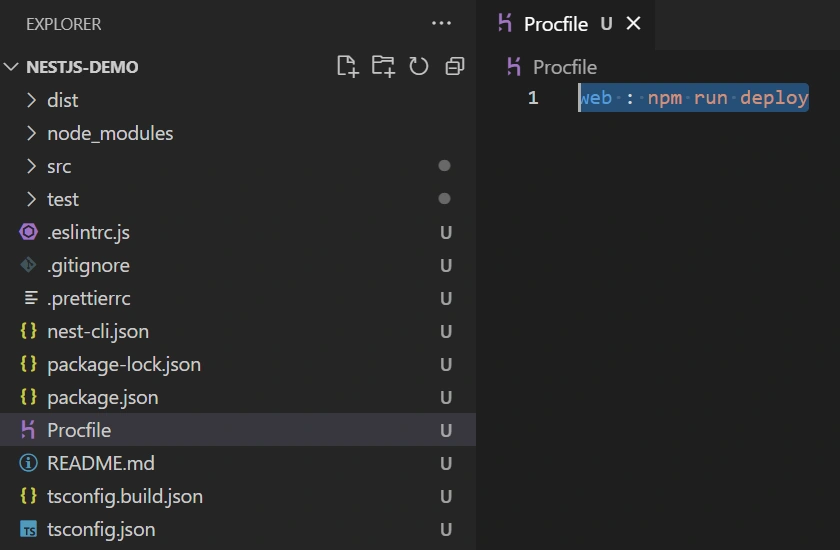
Once Procfile is created and the deploy command is mentioned there, then we need to create a deploy command in the package.json file, have a look at the below code
"deploy": "npm ci && npm run build && npm run start:prod"
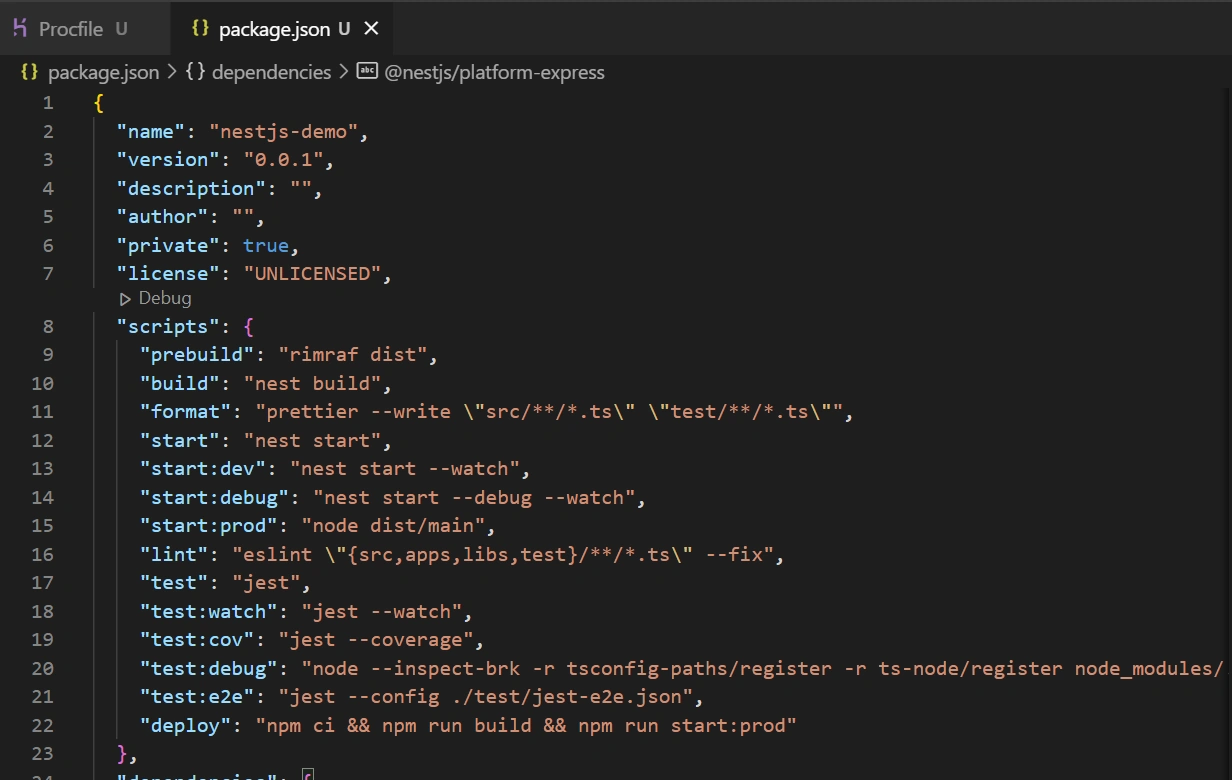
Once, this is done, we would move to main.ts and define the environment variable as PORT and changes in the code, have a look below,
import { NestFactory } from'@nestjs/core';
import { AppModule } from'./app.module';
asyncfunctionbootstrap() {
    constapp = awaitNestFactory.create(AppModule);
    constport = process.env.PORT || 3000;
    awaitapp.listen(port);
}
bootstrap();
Now, execute the following to check if the APIs is working fine or not, below is the command, followed with response
npm run deploy
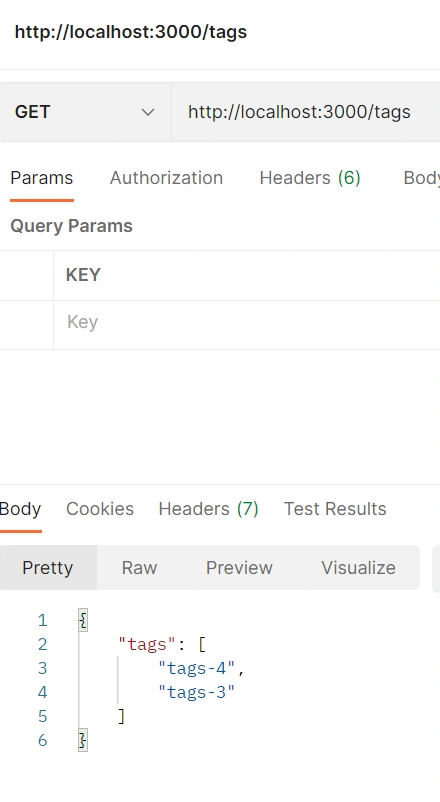
Now, create a GitHub repository named nest-api
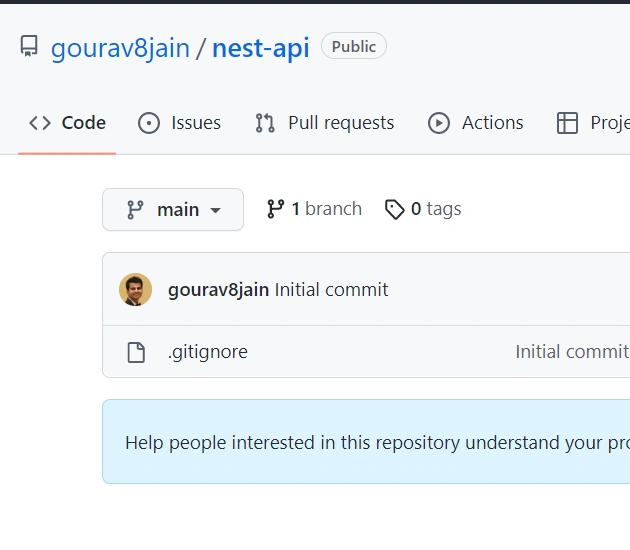
Now, execute the following command to add, commit and push the API code into the following repository,
git remote add origin https://github.com/gourav8jain/nest-api.git
git add.
git commit -m "Code changes"
git push origin master
Now, let’s move to AWS and open the portal using the URL – http://portal.amazon.aws.com and then look for Amazon Elastic beanstalk and create a new beanstalk application using the steps
- Name the application as nest-api
- Choose the platform as nodejs
- Choose a sample application and create the application
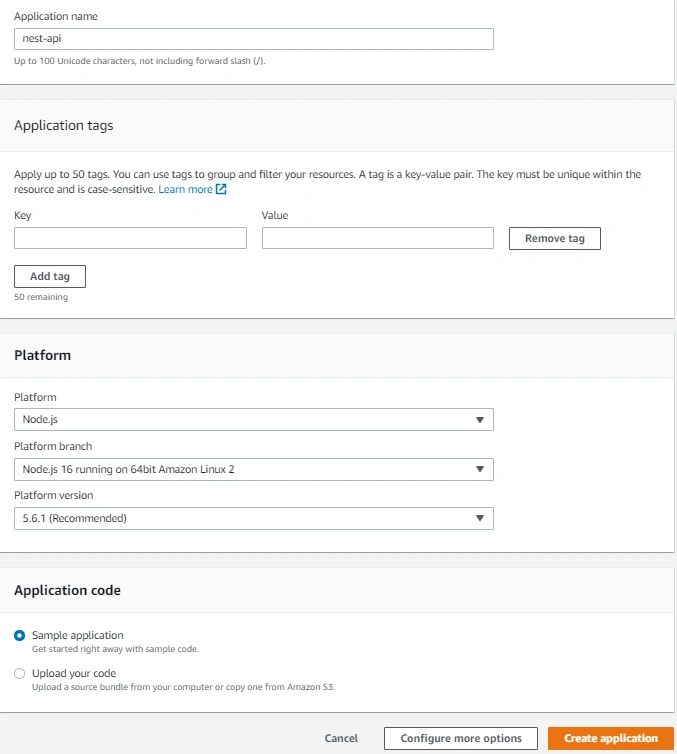
Then, search for a code pipeline and create a pipeline using the below steps
- Name the pipeline as nest-api-pipeline, choose a new service role
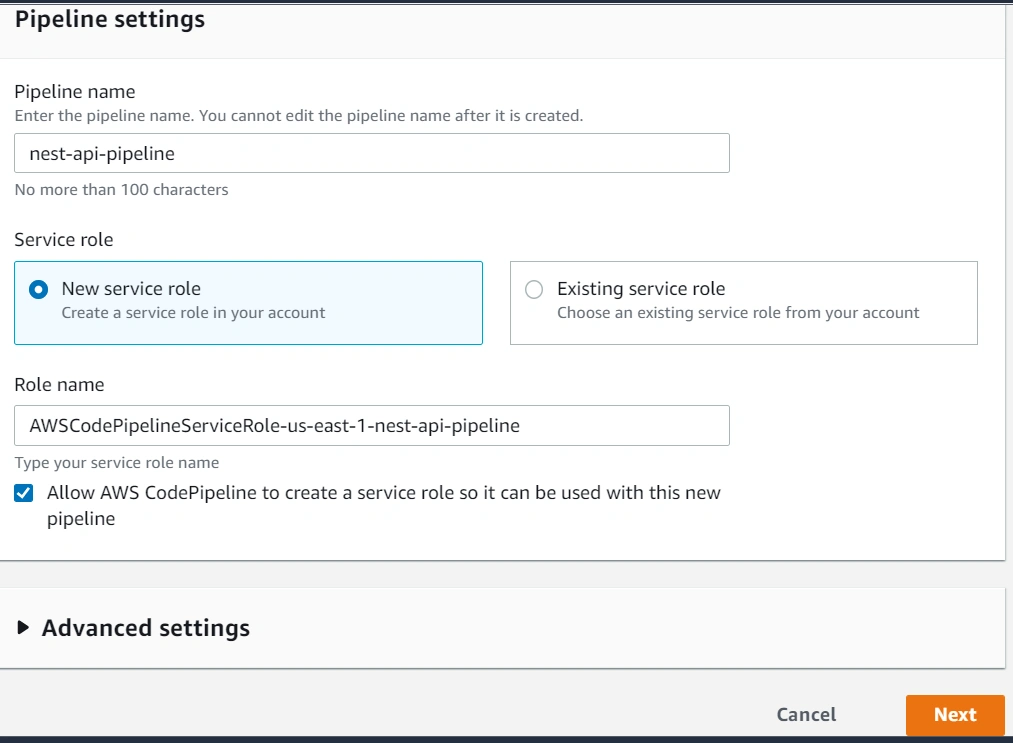
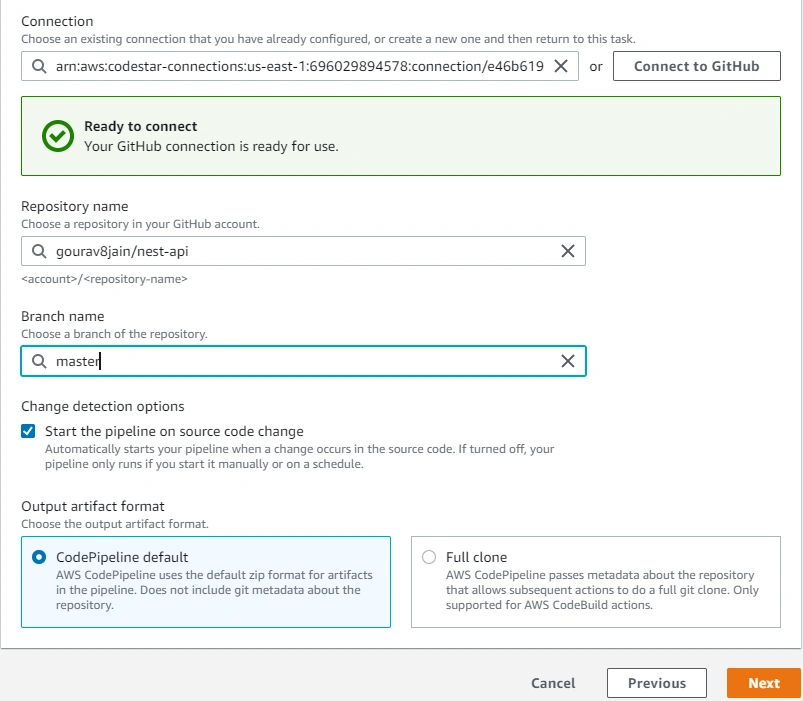
Click on next, connect with our GitHub account using the GitHub credentials, select the repository and the branch, click on skip
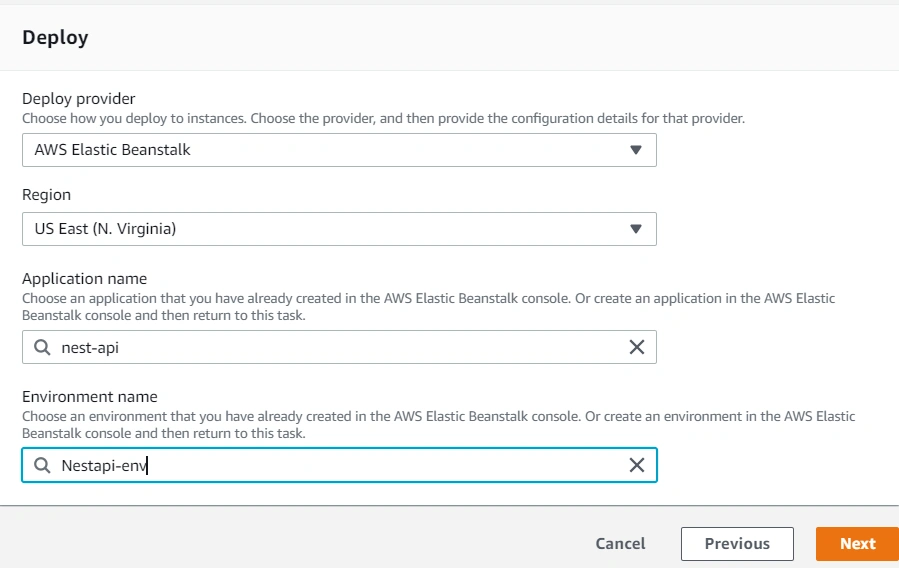
Skip the build stage and then add the deploy stage, select AWS elastic beanstalk, select application name and environment (default), click on next
Review the pipeline and create the pipeline, see the execution
Go back to the Visual Studio Code and do some of the below changes in the tag.controller.ts and push the code using the below command
git push origin master
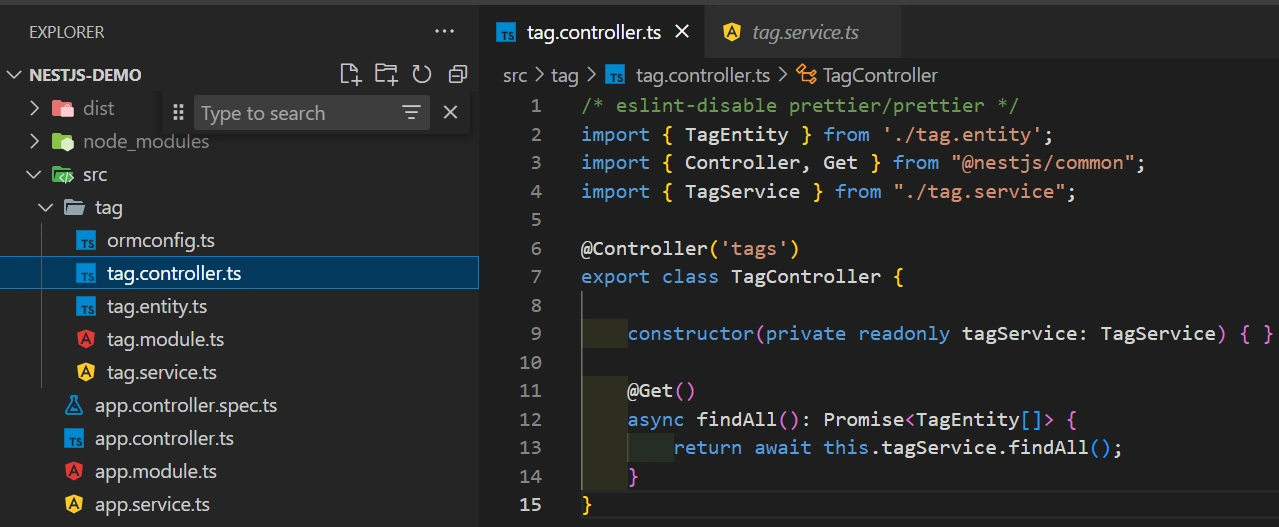
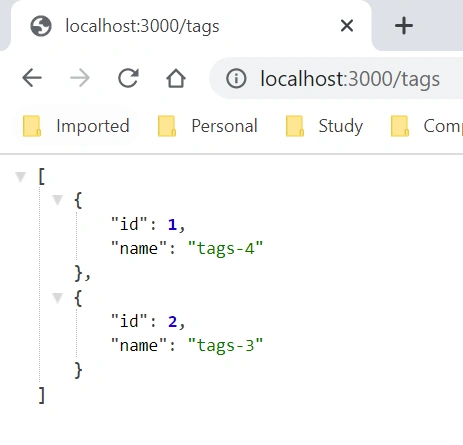
It would trigger the pipeline again, and execute the web URL again to check out the results –
In this article, we talked about the deployment of the NestJS application on the AWS
The code could be found at the repository - https://github.com/gourav8jain/nest-api.git
Stay tuned for the next series of articles on different topics, hope you see you guys again soon.
Happy learning!
Join the conversation! Your thoughts help the community grow.