

Let’s start,
Step 1: Open Visual Studio->New Project->Templates->Visual C#->Android->Blank App
Select Blank App. Give the Project Name and Project Location.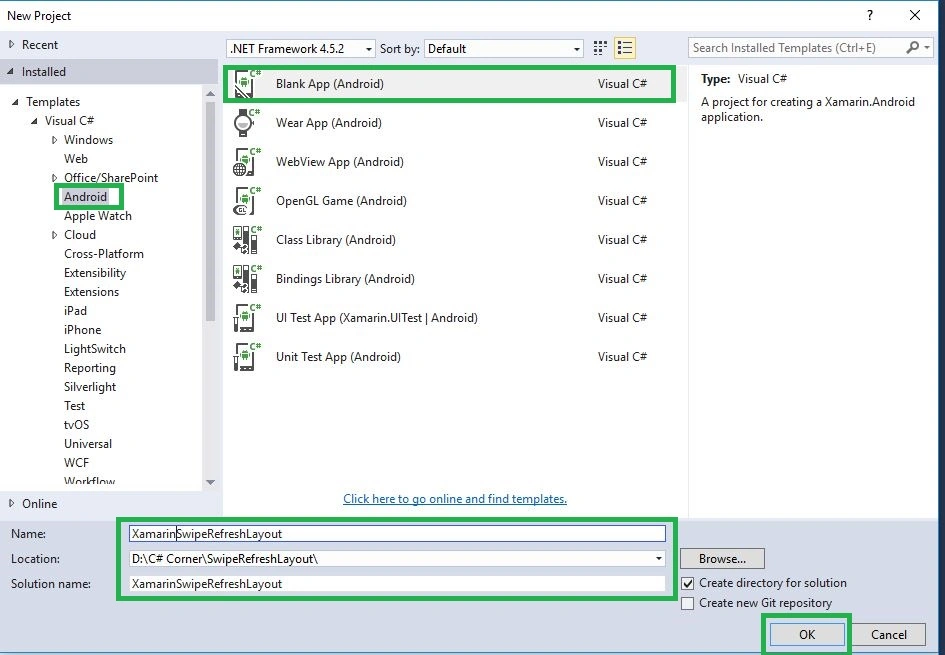
Step 2
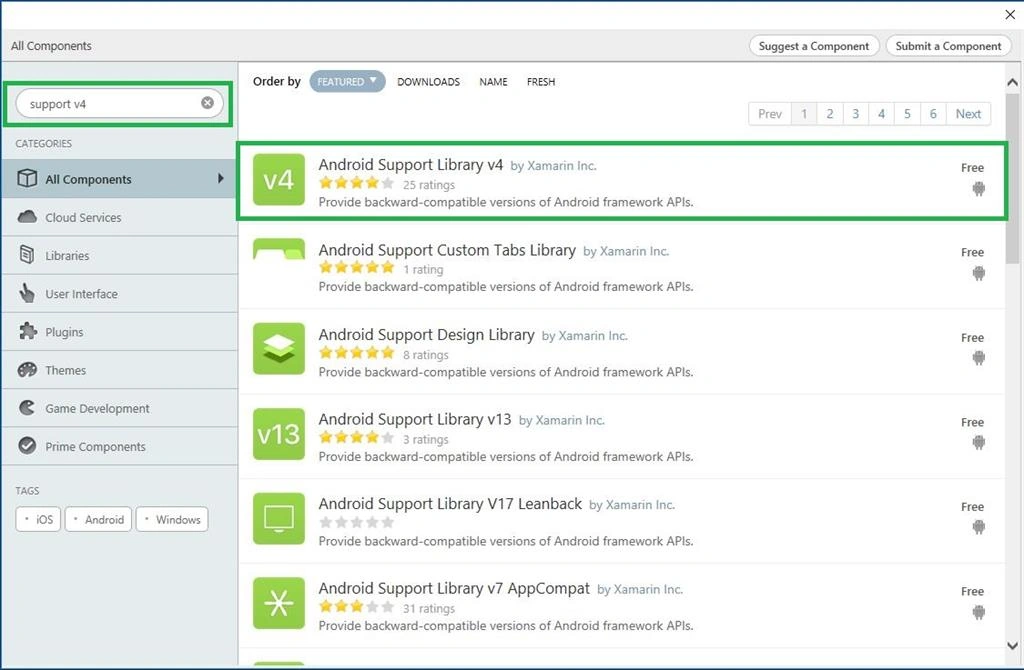
Go to Solution Explorer-> Project Name-> Components, right click to Get More Components and the new dialog box opens. This dialog box is required to search the Support V4, add the Android Support Library V4 Packages.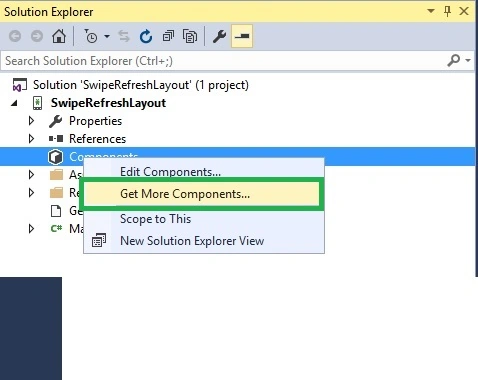
Step 3: To open Solution Explorer, go to -> Project Name->Resources->layout ->Main.axml, click to open Design View and the code, given below: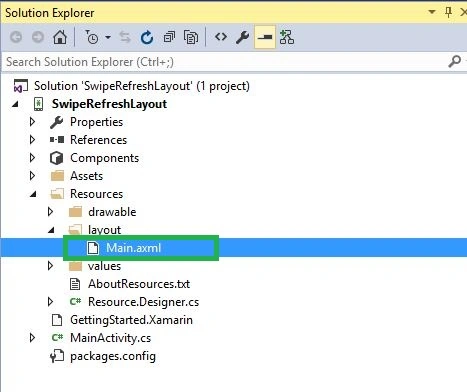
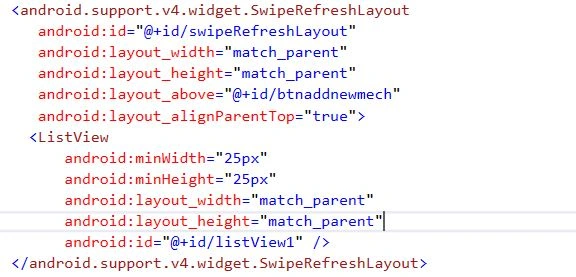
- <android.support.v4.widget.SwipeRefreshLayout
- android:id="@+id/swipeRefreshLayout"
- android:layout_width="match_parent"
- android:layout_height="match_parent"
- android:layout_above="@+id/btnaddnewmech"
- android:layout_alignParentTop="true">
- <ListView
- android:minWidth="25px"
- android:minHeight="25px"
- android:layout_width="match_parent"
- android:layout_height="match_parent"
- android:id="@+id/listView1" />
- </android.support.v4.widget.SwipeRefreshLayout>
Step 4: After Design view creation, open Solution Explorer-> Project Name->MainActivity.cs, add the namespaces, given below: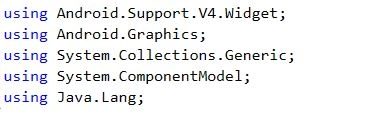
- using Android.Support.V4.Widget;
- using Android.Graphics;
- using System.Collections.Generic;
- using System.ComponentModel;
- using Java.Lang;
Step 5: To create the new variables for RefreshLayout and ListView, one can use the code, given below:

- private SwipeRefreshLayout refreshLayout;
- private ListView listitem;
Step 6: Go to Oncreate() to declare the list view id and Listview<string>Variable.
Step 7: Next step is to create one List String Item and then add the list view adapter.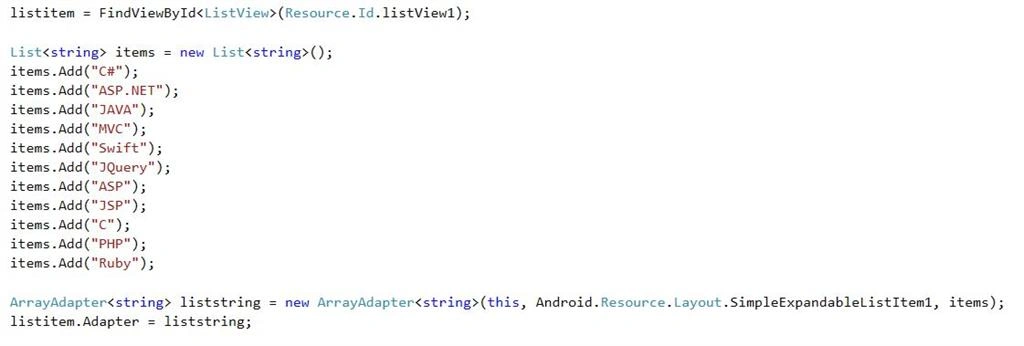
C# Code
- listitem = FindViewById < ListView > (Resource.Id.listView1);
- List < string > items = new List < string > ();
- items.Add("C#");
- items.Add("ASP.NET");
- items.Add("JAVA");
- items.Add("MVC");
- items.Add("Swift");
- items.Add("JQuery");
- items.Add("ASP");
- items.Add("JSP");
- items.Add("C");
- items.Add("PHP");
- items.Add("Ruby");
- ArrayAdapter < string > liststring = new ArrayAdapter < string > (this, Android.Resource.Layout.SimpleExpandableListItem1, items);
- listitem.Adapter = liststring;
Step 8
After Listview declaration, assign Refresh Layout variables and colors. Here, create one more method for Refresh event. This event is declared after Oncreate().

C# Code
- refreshLayout = FindViewById < SwipeRefreshLayout > (Resource.Id.swipeRefreshLayout);
- refreshLayout.SetColorSchemeColors(Color.Red, Color.Green, Color.Blue, Color.Yellow);
- refreshLayout.Refresh += RefreshLayout_Refresh;
Step 9
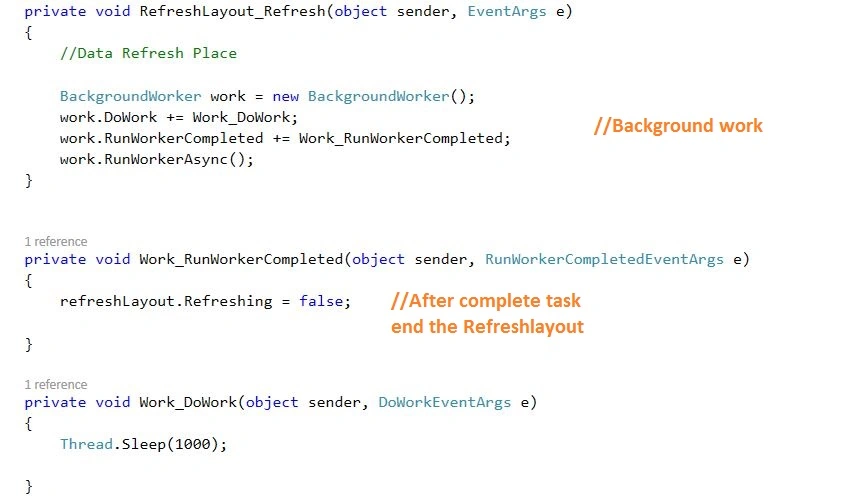
Declare RefreshLayout_refresh method. This method is working in the background process of the layout. Once the work completes, it will terminate the work.
C# Code
- private void RefreshLayout_Refresh(object sender, EventArgs e)
- {
- //Data Refresh Place
- BackgroundWorker work = new BackgroundWorker();
- work.DoWork += Work_DoWork;
- work.RunWorkerCompleted += Work_RunWorkerCompleted;
- work.RunWorkerAsync();
- }
- private void Work_RunWorkerCompleted(object sender, RunWorkerCompletedEventArgs e) {
- refreshLayout.Refreshing = false;
- }
- private void Work_DoWork(object sender, DoWorkEventArgs e) {
- Thread.Sleep(1000);
- }
Step 10: Press F5 or build and run the Application.
Finally, we successfully created Xamarin Android SwipeRefreshLayout with ListView items.
kalu singh raoPosted Jul 12, 2016, 1:47 AM
Nice...
Kishor Bikram OliPosted Jul 12, 2016, 1:06 AM
Good work!
Anbu ManiPosted Jul 12, 2016, 12:27 AM
Thanks
Anu VPosted Jul 12, 2016, 12:19 AM
Good share..
Manoj KulkarniPosted Jul 11, 2016, 11:16 PM
Nice article. Thank you for sharing