

This article will explain how to create Azure Web App using App Services. We will see it step-by-step.
Please refer to my previous article
Before we start, let's understand the objective of this demonstration which tells what exactly will be covered in this article.
- Create a Web App using App services.
- Test the Web App
- Understanding Charts
Prerequisites
- Conceptual Understanding of Azure Web App.
- You must have Azure Portal Access.
Azure App Services
Azure App Services provide a hosting service that developers can use to develop mobile or web apps. Apart from this, developers can also use it to build API apps or Logic apps, which provide integration with SaaS.
Azure Web Apps
Azure Web Apps provides a platform to build an app in Azure without having to deploy, configure and maintain your own Azure VMs. You can build a Web app using ASP.NET, PHP, Node.js and Python. They also integrate common development environments like Visual Studio and GitHub. With Web apps, you can host your apps anywhere in Microsoft’s global data center infrastructure.
Step 1
Open the Azure management portal and log in to https://portal.azure.com
Step 2
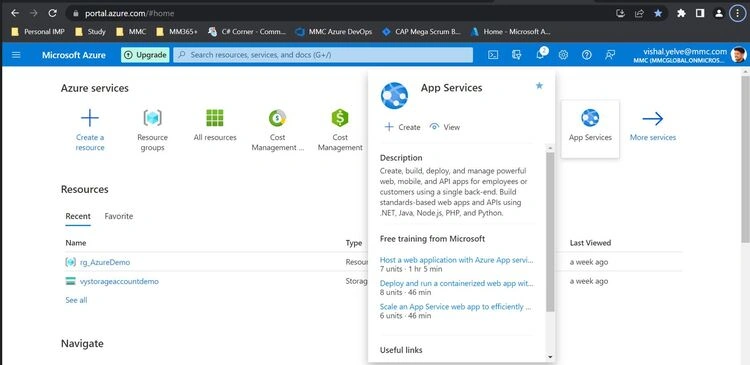
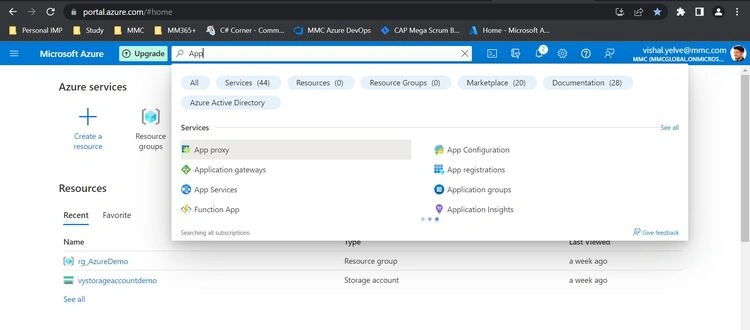
On Home Page, you can see "App Services". Click on it or Go to the search bar and search for "App Services". Click on it.
Step 3
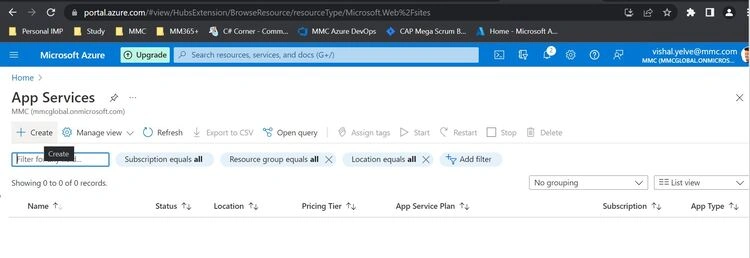
Click on the "+ Create" button.
Step 4
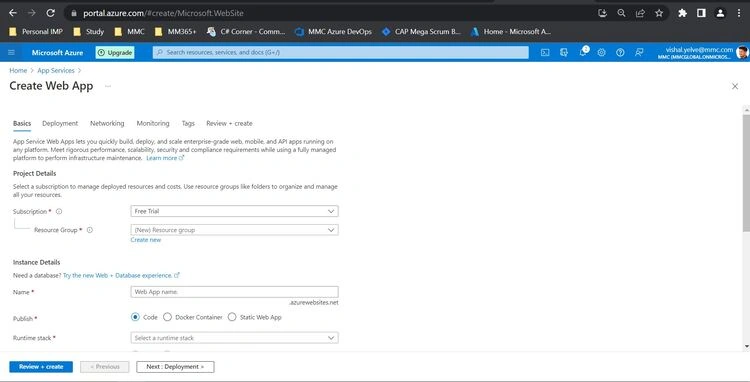
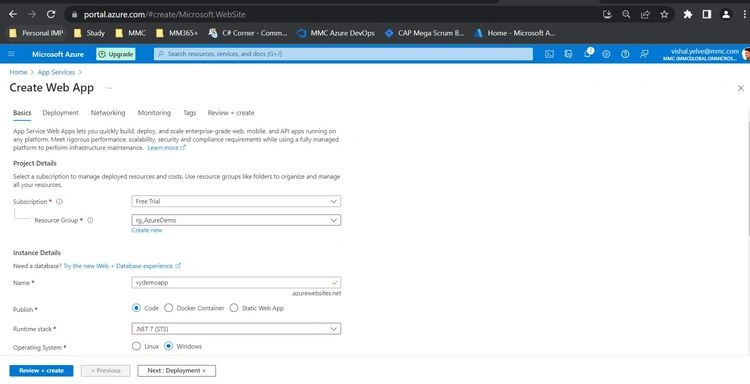
After clicking create option, fill in the required details in the Basics tab
- Subscription
Choose a suitable subscription.
- Resource group
Resource group is a container that holds related resources for an Azure solution. You can keep the resource group as it is or you can also create one by clicking "Create New".
- Name
Mention a name for your Web app.
- Publish
Select "Code" Option.
- Runtime Stack
Select .NET 6 (LTS) from the drop-down menu.
- Operating System
You can select either Linux or Windows.
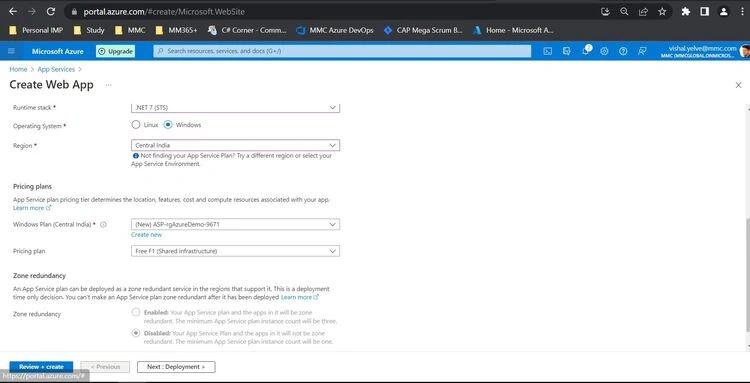
- Region
Region determines where your app service plan is created.
Before details are filled.
After the details are filled.
Step 5
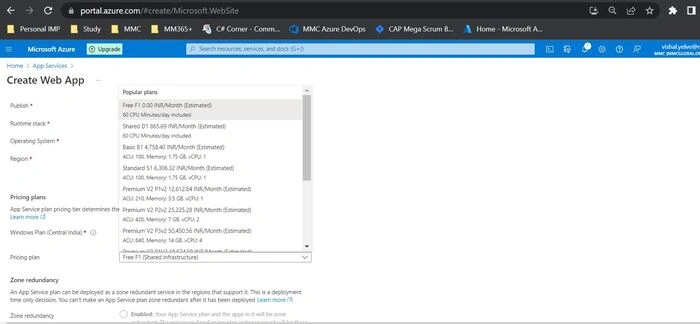
App Service Pricing Plan
App Service is a Platform as a Service (PaaS) offering and we use it to host web applications, REST API, and backend services for mobile applications. To create an App Service, you need an App Service Plan. Without an App Service Plan you cannot create App Service.
Each pricing tier has some extra features as shown below. Select the pricing tier as per your needs and select "Apply". Here, we selected Free F1
Step 6
Leave all the settings as default and directly click on "Review + Create". Click on "Create" for the deployment process.
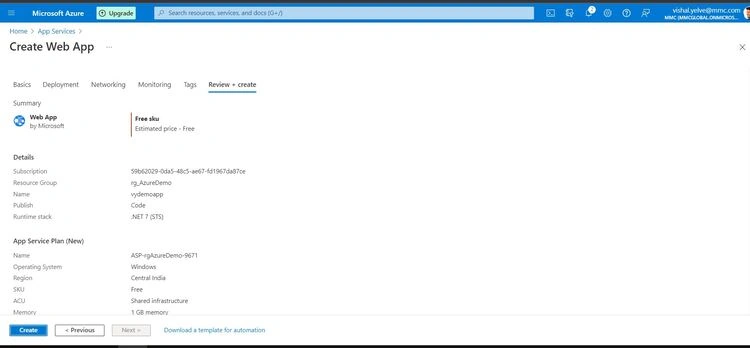
Initializing deployment After Validation Passed
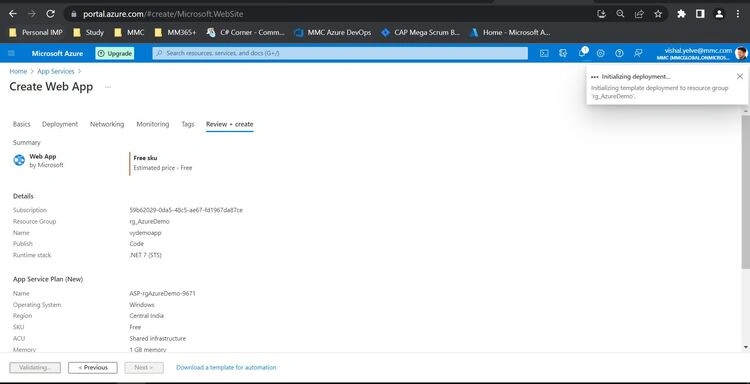
Step 7
Now, once the "Validation is Passed", It will start deployment.
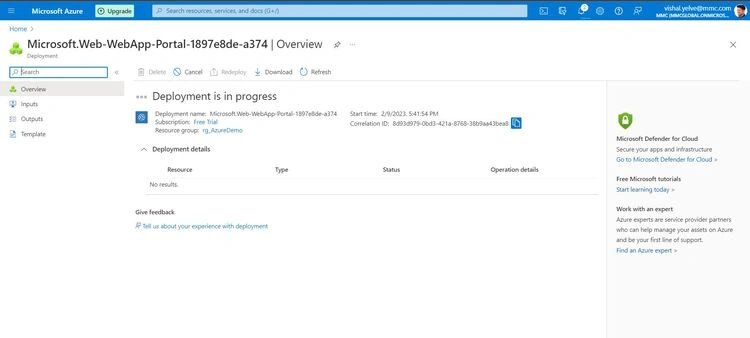
Step 8
A message will notify you that your Web App is created.
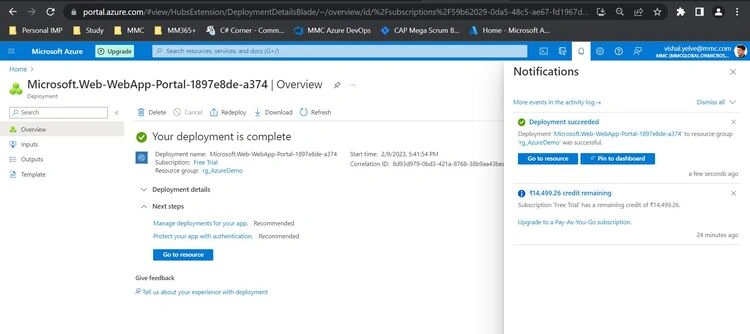
Step 9
Now, the Web App is created. Click on the "Go to resource" button.
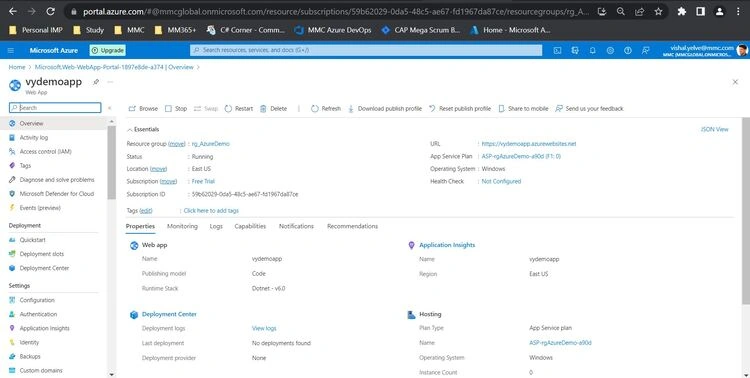
Step 10
Now, Click on that URL and it’ll be redirected to a new browser in which Sample App Page.
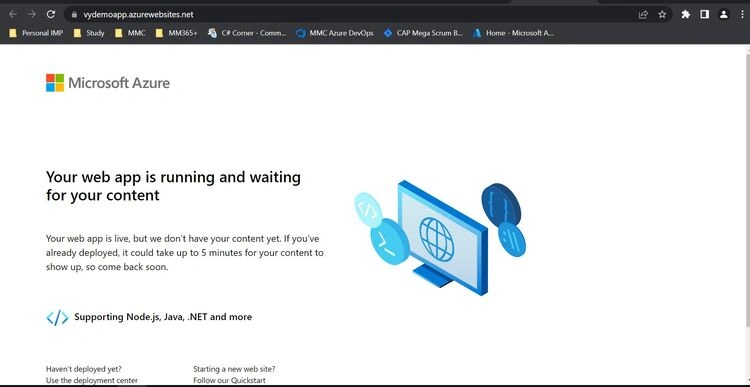
Step 11
Now, Return to the Overview page of the web app. Scroll down a bit, and click on "Monitoring" you’ll see some charts
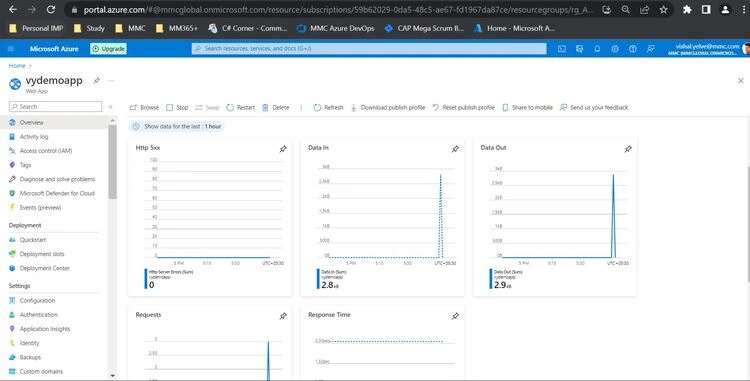
Step 12
Visit the app URL several times so that it can simulate the response request cycle. Now, Just wait for 2-3 mins and you’ll notice the variations in graphs. Those variations are the traffic details of the web app. Refresh the page if the graph does not show any variations.
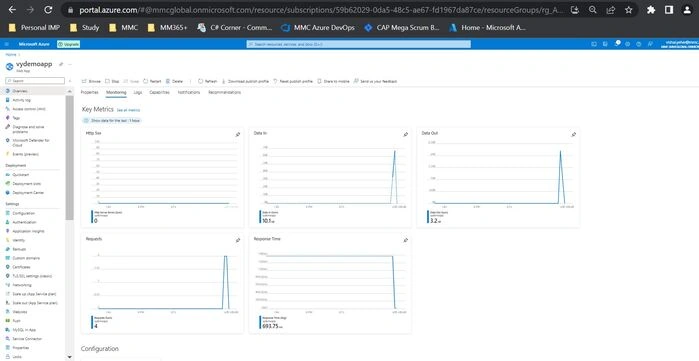
Step 13
You should be able to see the corresponding telemetry displayed in the charts. These charts will include HTTP 5xx, Data In, Data Out, Requests and Response Time.
Understanding Charts
HTTP 5xx Chart
HTTP 5xx responses indicate the server issues. A sudden spike in the number of 5xx responses can be the result of the following:
- Deploying new code which contained a bug.
- Issues in the configuration for your app service.
- Your application is overwhelmed by the amount of traffic it is receiving.
- Errors returned by upstream services that your application depends on.
Data In
It shows the details of incoming data to the Web app.
Data Out
It shows the details of outgoing data to the Web app.
Requests
It shows the number of requests received by the Web app over the period.
Response Time
It shows the amount of time the Web app took to revert to the requests it is receiving.
Jaydeep PatilPosted Feb 14, 2023, 7:18 AM
Good content