

Introduction
From what I understand React is one of the most popular JavaScript libraries for building UI, and the good news is that getting started with it is not that complicated. In this article, I’ll walk you through creating your very first React app using Visual Studio Code (VS Code)
Prerequisites
Before we jump in, make sure you have these installed.
- Node.js and npm: React relies on Node.js and npm (Node Package Manager) to run its development tools.
- Download it here: https://nodejs.org
- To check if it’s installed, open your terminal and type
node -v
npm -v
- Visual Studio Code: We’ll use VS Code to write and manage our React app. It’s lightweight, easy to use, and has tons of helpful extensions.
- Grab it from: https://code.visualstudio.com
Steps
Step 1. Open Visual Studio Code.
Once you have VS Code open, launch the Terminal.
- Shortcut: `Ctrl + `` (backtick)
- Or, from the menu: View > Terminal
Step 2. Use npx to Create the React App.
Navigate to the folder where you want to create your React app.
Now, let’s create the React app! Run this command in your terminal.
npx create-react-app first-react-app
- You can replace "first-react-app" with whatever you want to call your project.
- This will automatically set everything up for you with all the files and folders you need.
Note. npx lets you run Node.js packages without installing them globally, so it's super handy for one-time tasks like this.
Step 3. Navigate to Your Project.
Once that’s done, move into your new project folder.
cd first-react-app
Step 4. Open the Project in VS Code.
You can open your project directly in VS Code with this command.
code .
This will launch the editor with all your new project files.
Step 5. Start the Development Server.
Now, let's get your app running! In the terminal, type.
npm start
This will start a local development server and open your app in the browser at,
http://localhost:3000
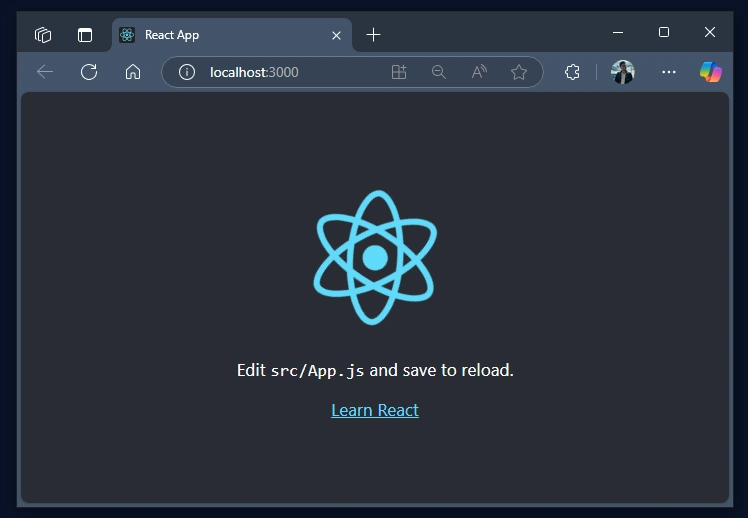
If everything works, you should see the default React welcome page.
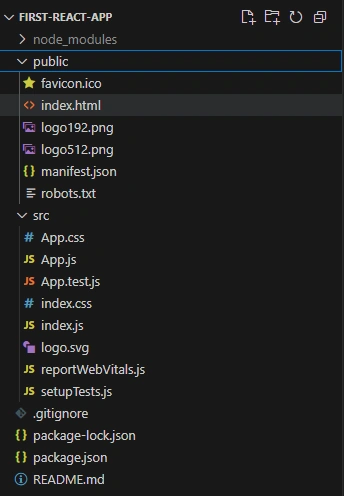
first-react-app/
├── public/             # Static files (like index.html)
├── src/                # React source code
│   ├── App.js          # Main component
│   └── index.js        # Entry point for the app
├── package.json        # Project configuration and dependencies
└── node_modules/       # Installed npm packages
Next Steps: What You Can Do Next
Now that you’ve got your app running, you might want to,
- Change the text in App.js to something like "Hello, World!"
- Start building new components inside the src/ folder
Conclusion
And that’s it, you’ve just created your very first React app in Visual Studio Code! Now that you have the basics down, you're ready to start building your own cool, interactive web apps.
Happy coding!
Join the conversation! Your thoughts help the community grow.