

Requirement
- Windows PowerShell ISE.
- Azure Account.
- No Proxy Internet Connection.
Step 1: Install PowerShell
Go to Below Links,
Follow the steps and select PowerShell from the downloader.
Step 2: Add your Azure Account to the local PowerShell Environment.
Open the PowerShell in administrator mode and type the below Script:
Add-AzureAccount

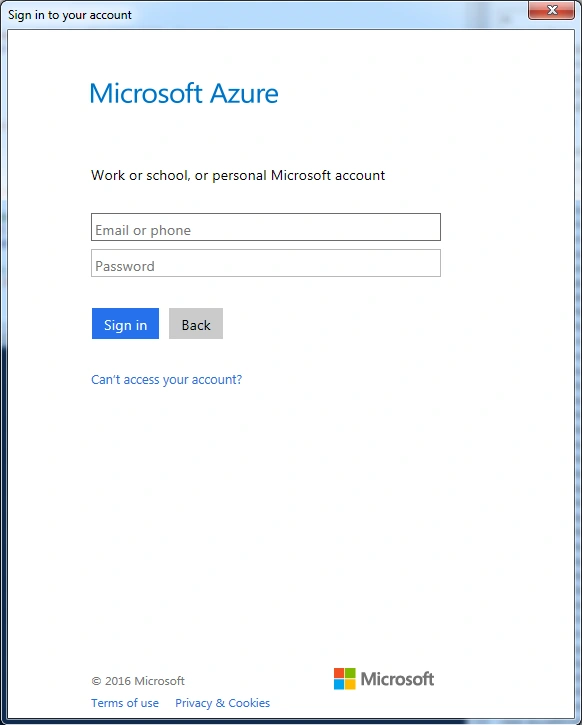
This will ask you to sign into your Microsoft Azure Account.
After signing in, you will get the list of all your subscriptions.
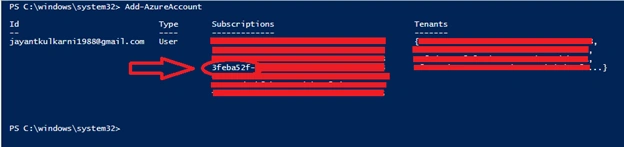
Step 3: Set a default Azure Subscription
We are going to use 3f subscription from my account. You can choose from the subscriptions that you have and replace it with <”SubscriptionId”> in the script.
Select-AzureSubscription -SubscriptionId <”SubscriptionId”>

Before going ahead, you need to make sure that you already have created the Storage Account for the VM.
Step 4: Set Subscription and Storage Account
If you don’t have storage account, you will get an error like this.

Go to the following links to make a storage account
Get Image Family list,
Get-AzureVMImage | select ImageFamily -Unique
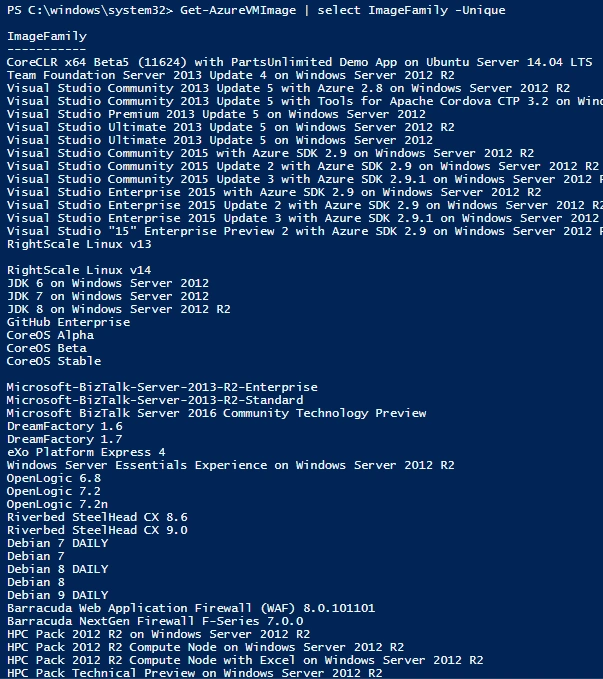
Select Image Family to create VM, using the below script. (We are going to select “Windows Server 2008 R2 SP1”)
$family="Windows Server 2008 R2 SP1"
$image=Get-AzureVMImage | where { $_.ImageFamily -eq $family } | sort PublishedDate -Descending | select -ExpandProperty ImageName -First 1

Step 6: Build Your Command
By using this command, we are going to set VM Name, VM Size and Image Name
$vmname="VMByPowerShell"
$vmsize="Small"
$vm1=New-AzureVMConfig -Name $vmname -InstanceSize $vmsize -ImageName $image

Step 7: Set Credentials
In this command, you need to give user name and password for administrator profile for the VM.
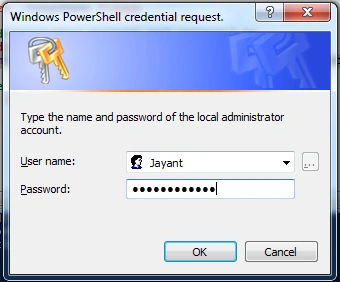
$cred=Get-Credential -Message "Type the name and password of the local administrator account."
$vm1 | Add-AzureProvisioningConfig -Windows -AdminUsername $cred.Username -Password $cred.GetNetworkCredential().Password
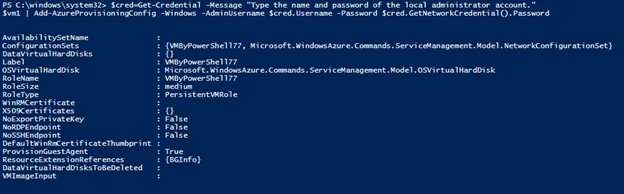
It will prompt a popup window for user name and password.
Step 8: Create the virtual machine in an existing cloud service
I have already created Empty Cloud Service. If you don’t know how to create one, just go here,

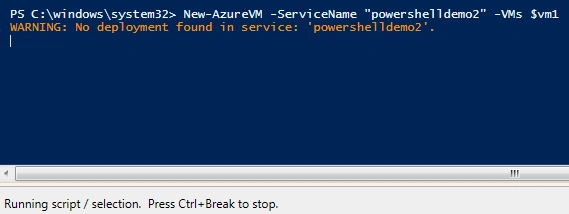
It gives a warning because it’s an empty service.

Now, you can see that it succeeded. On the portal you can see that Cloud Service and VM is created.
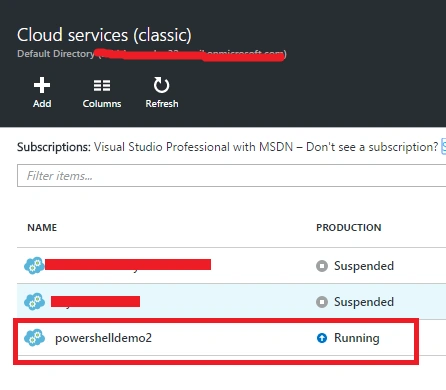
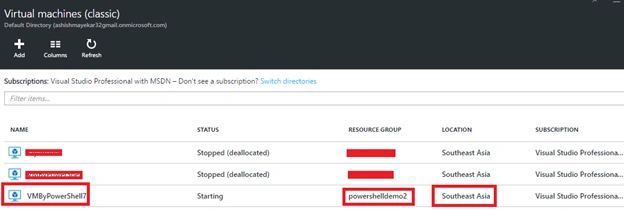
In Storage Account, you can see that Container is having “vhds” for the VM deployment. Vhds contains the Package and configuration files.
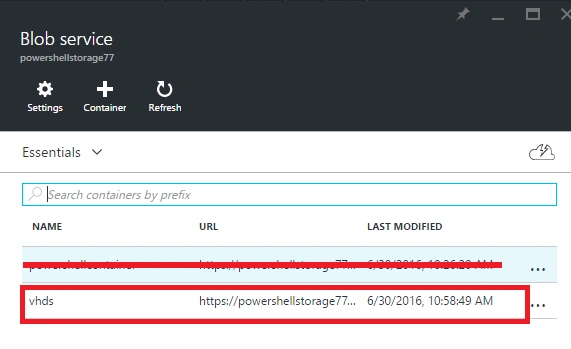
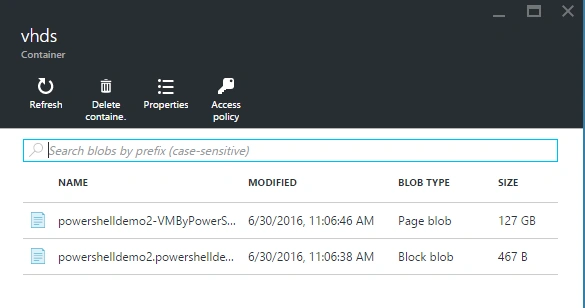
Now, you need to get port details and update the Port Endpoint.
Get Port Details
Get-AzureEndpoint -VM (Get-AzureVM -ServiceName "ServiceName" -Name "VMName") |
ft -AutoSize
Update Port Endpoint
Previous Endpoints are,
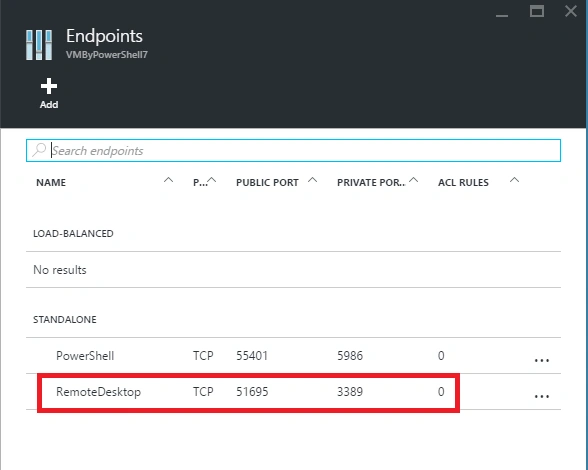
Set-AzureEndpoint -Name "RemoteDesktop" -PublicPort 443 -LocalPort 3389 -Protocol "tcp" |
Update-AzureVM

Now,
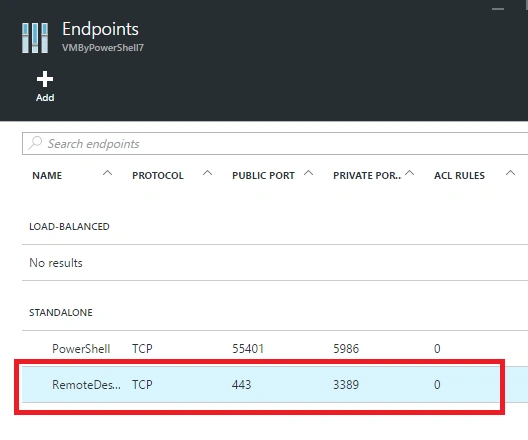
You can also run these two scripts together at the same time.
Vignesh ManiPosted Jul 8, 2016, 8:24 AM
Nice
RajaPosted Jul 8, 2016, 12:03 AM
Nice Share...
kalu singh raoPosted Jul 7, 2016, 2:20 PM
Nice...