

Requirement
- Azure Account.
- No proxy network.
Step 1: Login to the new portal by clicking here.
Step 2: Add SQL database
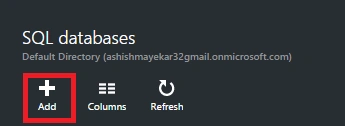
From the left side menu, choose SQL database and click the add button to create a new SQL database.
It will ask you to fill in the details.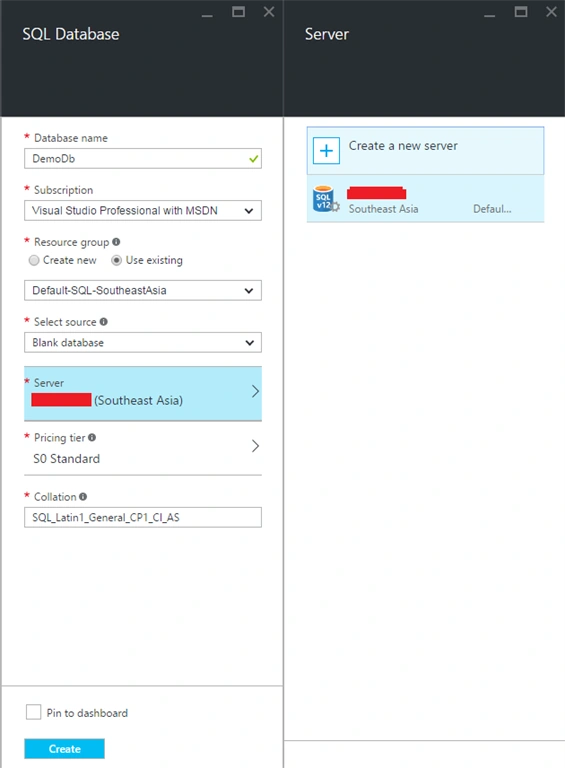
Step 3: Create New Server
Click to create new Server.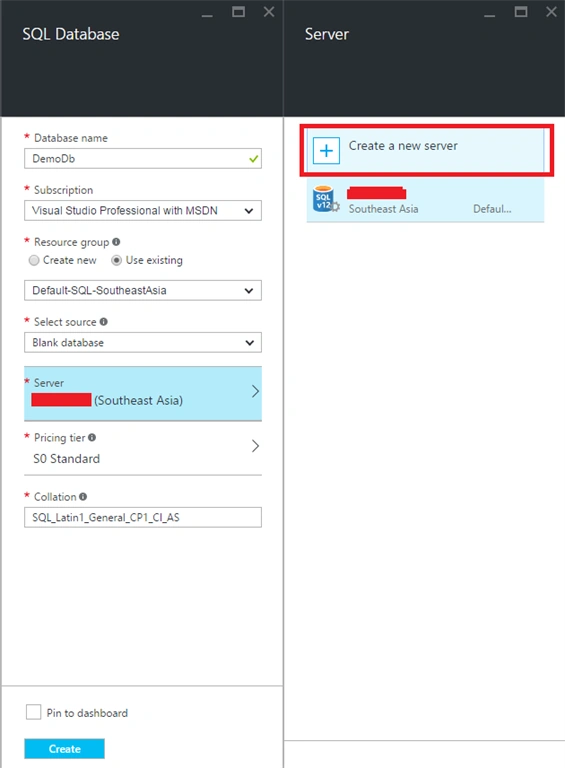
Give all the details of the Server.
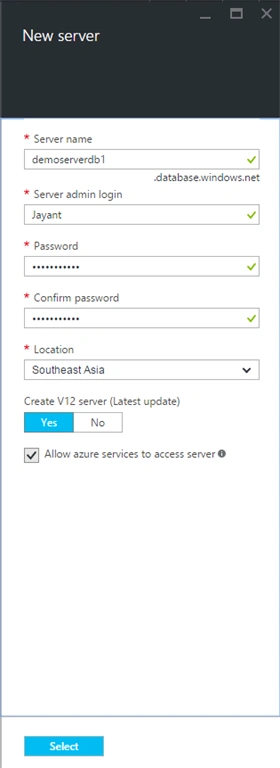
Click select and create button; it will create a Server and a database.
Deployment Started. After it completes, you will get SQL database, which is ready to access.
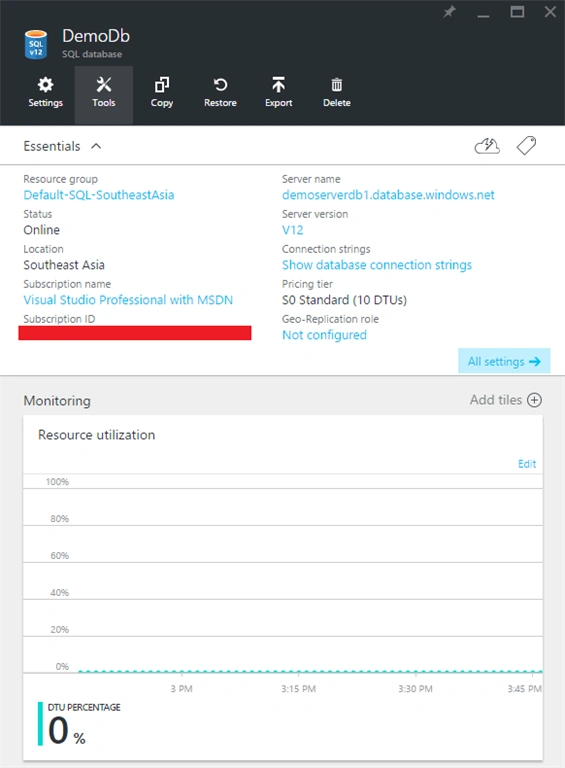
Step 4: Access through SSMS
Open your SQL Server Management Studio (SSMS), give Server name and the credentials.
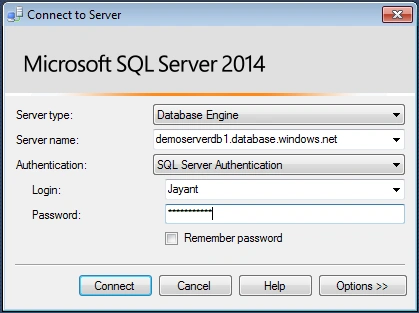
It will give you an error or a message, showing it cannot connect to the server.
Step 5: Add Client IP address to Firewall
Add your IP Address to the server’s firewall setting.
Select Server and choose the settings. In the setting, choose firewall and save your IP address.
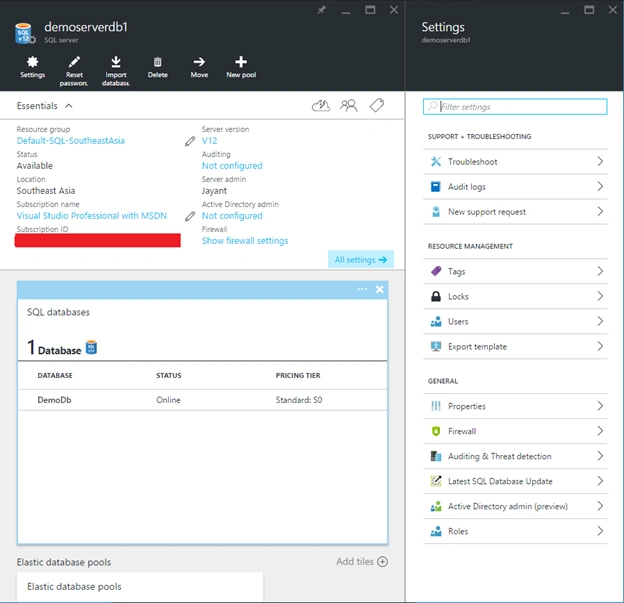
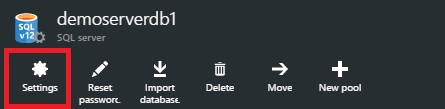
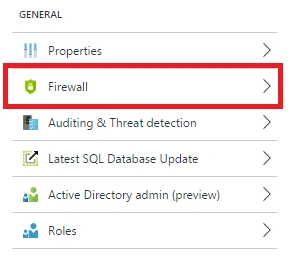
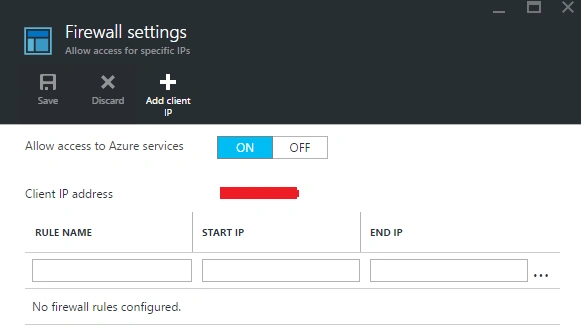
Here, you can see your IP address is already displaying. I have hidden it with a red mark.
Click Add Client IP.
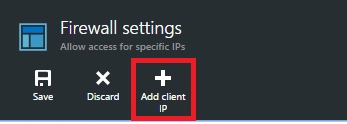
It will appear in the below section.
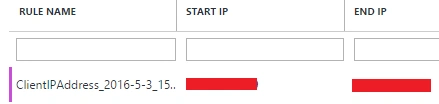
Also, you can give the name of your IP.
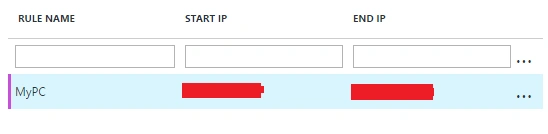
Here, I am giving the name “MyPC”.
Now, save the setting and you are able to connect to the Server.

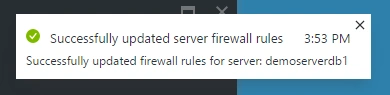
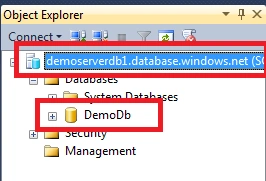
Here we go, settings are updated and we are now able to access SQL database.
Click select and create button; it will create a Server and a database.
Deployment Started. After it completes, you will get SQL database, which is ready to access.
Step 4: Access through SSMS
Open your SQL Server Management Studio (SSMS), give Server name and the credentials.
It will give you an error or a message, showing it cannot connect to the server.
Step 5: Add Client IP address to Firewall
Add your IP Address to the server’s firewall setting.
Select Server and choose the settings. In the setting, choose firewall and save your IP address.
Here, you can see your IP address is already displaying. I have hidden it with a red mark.
Click Add Client IP.
It will appear in the below section.
Also, you can give the name of your IP.
Here, I am giving the name “MyPC”.
Now, save the setting and you are able to connect to the Server.
Here we go, settings are updated and we are now able to access SQL database.
Ravi KandelPosted Jul 14, 2016, 12:07 PM
Awesome
Santhakumar MunuswamyPosted Jun 25, 2016, 12:27 AM
Thank you for nice article
Bhuvanesh MohankumarPosted Jun 24, 2016, 12:53 PM
Good one
Debasis SahaPosted Jun 24, 2016, 1:16 AM
Good One..
RajaPosted Jun 24, 2016, 12:10 AM
Nice Share...
Kuppurasu NagarajPosted Jun 23, 2016, 1:20 PM
Nice Sharing..
Prasanna MuraliPosted Jun 23, 2016, 12:01 PM
Nice one..