

Introduction to Designer Workflows
- SharePoint Designer is one of the best tools to create workflows.
- A lot of activities, actions, and conditions are available in Designer. We can create rules that associate conditions and actions with items in SharePoint List and Libraries.
- We can use the workflow for the business process and approval process.
Below are the workflow start options for SharePoint List & Libraries.
- Allow workflow to be manually started
- Start workflow automatically when an item is created.
- Start workflow automatically when an item is changed
Steps to create a designer workflow for List
Follow the below-listed steps to create the list workflow.
Note. Make sure that you have installed the SP designer on your machine.
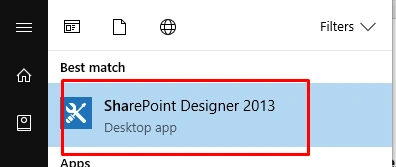
Step 1. Open the SharePoint Designer.
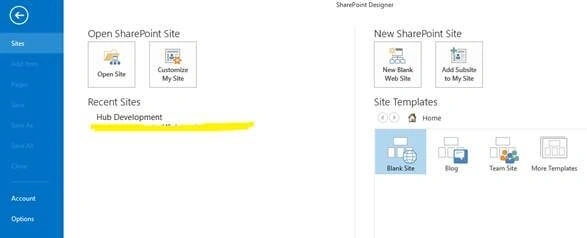
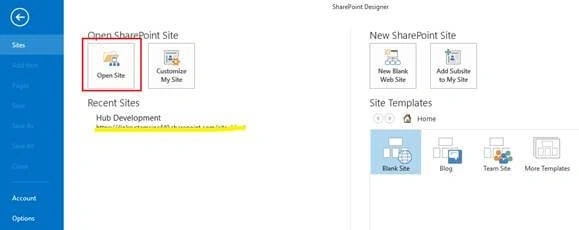
Step 2. Then, click on the “Open Site” option from SP Designer.
Step 3. Provide the URL in the "site name" text box, as shown below.
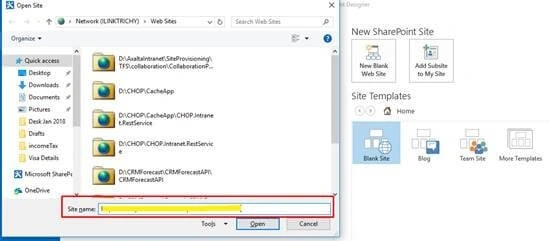
Step 4. Click on the “Open” button. It will prompt you to the credential page. Provide the site credentials and click the “Sign In” button. The site will open in Designer.
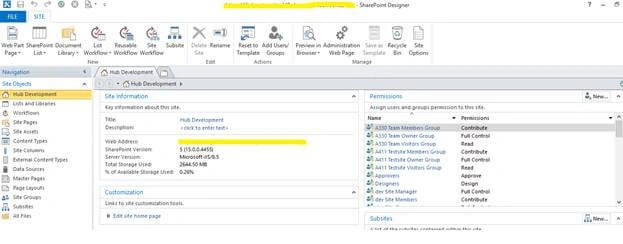
Step 5. Then, click on the “List Work Flows” from the top navigation. It will show the SharePoint List.
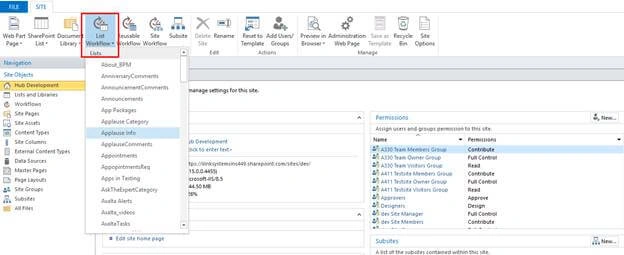
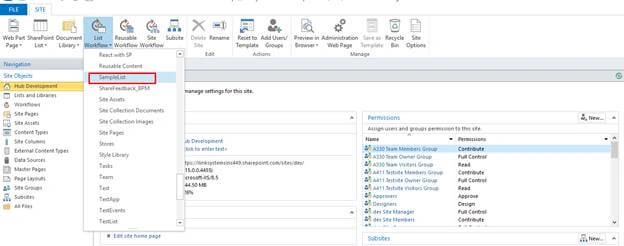
Step 6. Select the list where you want to associate the list workflow. I’ve selected the “Sample List” for demo purposes.
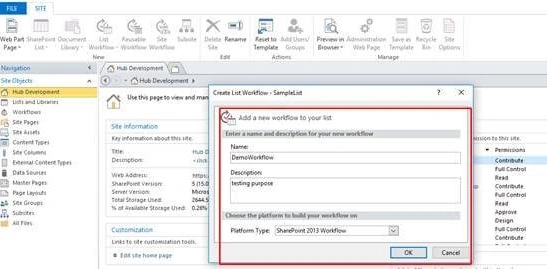
Step 7. On selecting the list, it will prompt the pop-up as shown below. Provide the list workflow name, description, and select the Platform type and click the “OK” button.
Step 8. Wait a while until the list workflow is created. Once it is created, you can see the workflow screen below.
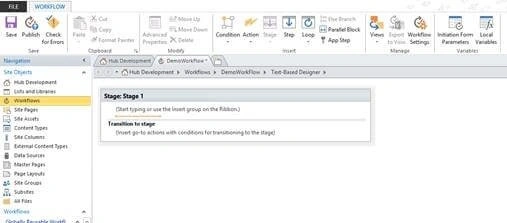
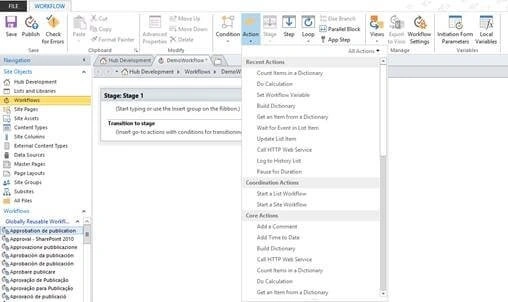
Step 9. Then, add your action as per the requirement. Given below are the actions available in workflows.
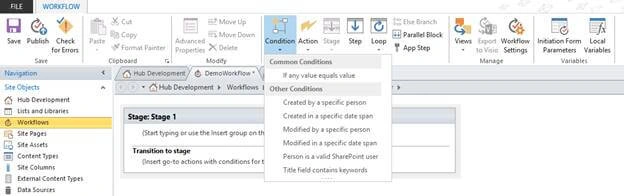
Conditions
For the demo purpose, I’ve added the log.
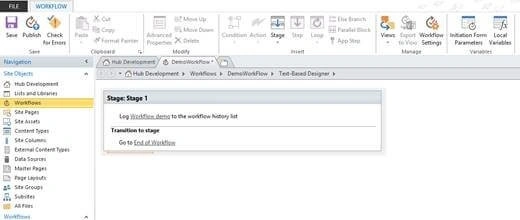
Step 10. Save the workflow and publish it. If there is an error in your workflow, you can’t publish the workflow.
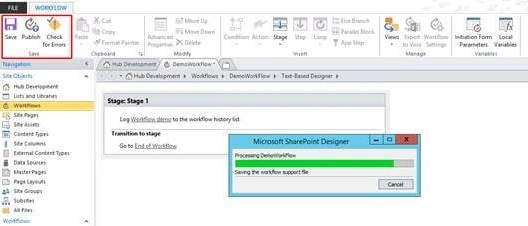
Step 11. You can configure the workflow settings also. Just go to the “Workflow Settings” from the top ribbon bar and select when the workflow has to start.
After the changes are done, save the workflow and publish it.
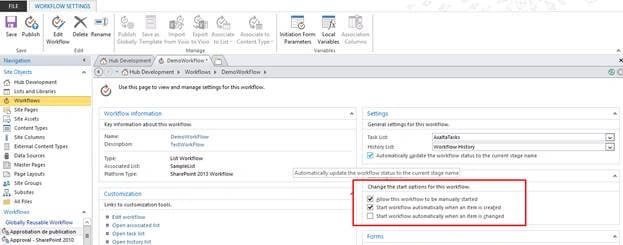
Finally, the workflow has been created successfully.
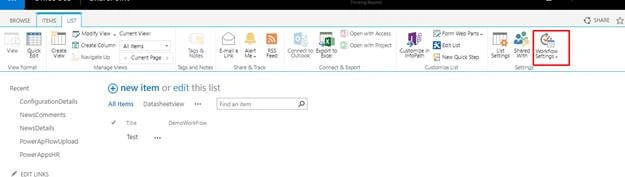
Step 12. Go to the list from your SharePoint site and select the workflow settings from the top ribbon to see the created workflow.
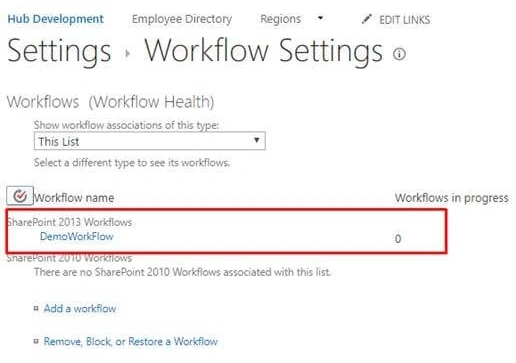
Step 12. Add the item to the list and your workflow will be triggered.
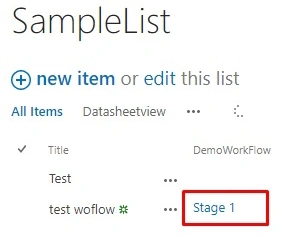
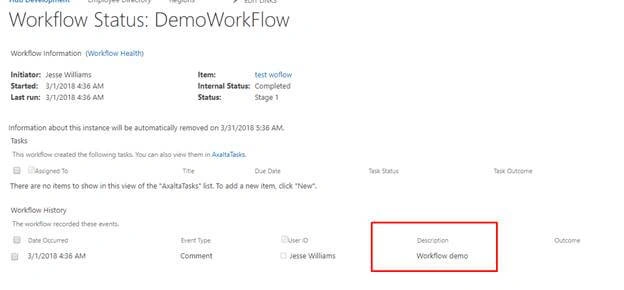
Finally, you can see the workflow log as shown below.
Summary
In this article, we have explored how to create a SharePoint list workflow using Designer.
Piyush AgarwalPosted Mar 6, 2018, 3:09 AM
Nice article... Will surely help
Naresh SinghalPosted Mar 5, 2018, 10:22 PM
Nice to read....very well explained ......Kaviya Balasubramanian